Essential Equipment for a Home Photo Studio
Must-Have Tools for Picture-Perfect Creativity
So, you’re turning that cozy corner of your home into a full-blown photo studio? First off, bravo! Now, let’s dive into the essentials you’ll absolutely need to make magic happen. Think of this as your photography toolkit – without it, the whole operation might crumble like a cookie under pressure.
Lighting is your ultimate BFF — natural light is amazing, but when the sun isn’t cooperating, invest in some artificial lighting. A couple of adjustable LED light panels or softboxes bring out brilliance even on gloomy days.
For backgrounds, you’ll want a handful of versatile backdrops. Neutral options like white, gray, or beige are staples, but don’t shy away from a pop of color or texture. You can snag roll paper or even repurpose fabric like linen or muslin.
Here’s a quick breakdown of items you won’t want to skip:
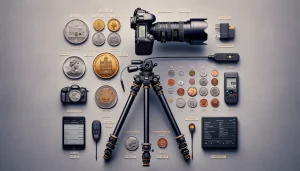
- A tripod – sturdy, adjustable, and rock-solid for crisp shots.
- Reflectors – because shadows can be a drama queen sometimes.
- Clamps and tape – yes, even pros rely on these for chaos control!
Finally, don’t forget your camera gear (obviously), and if you really want to impress, grab an external monitor for those detailed previews. It’s all about layering small wins for that professional edge!
Choosing the Right Space
Find Your Creative Haven
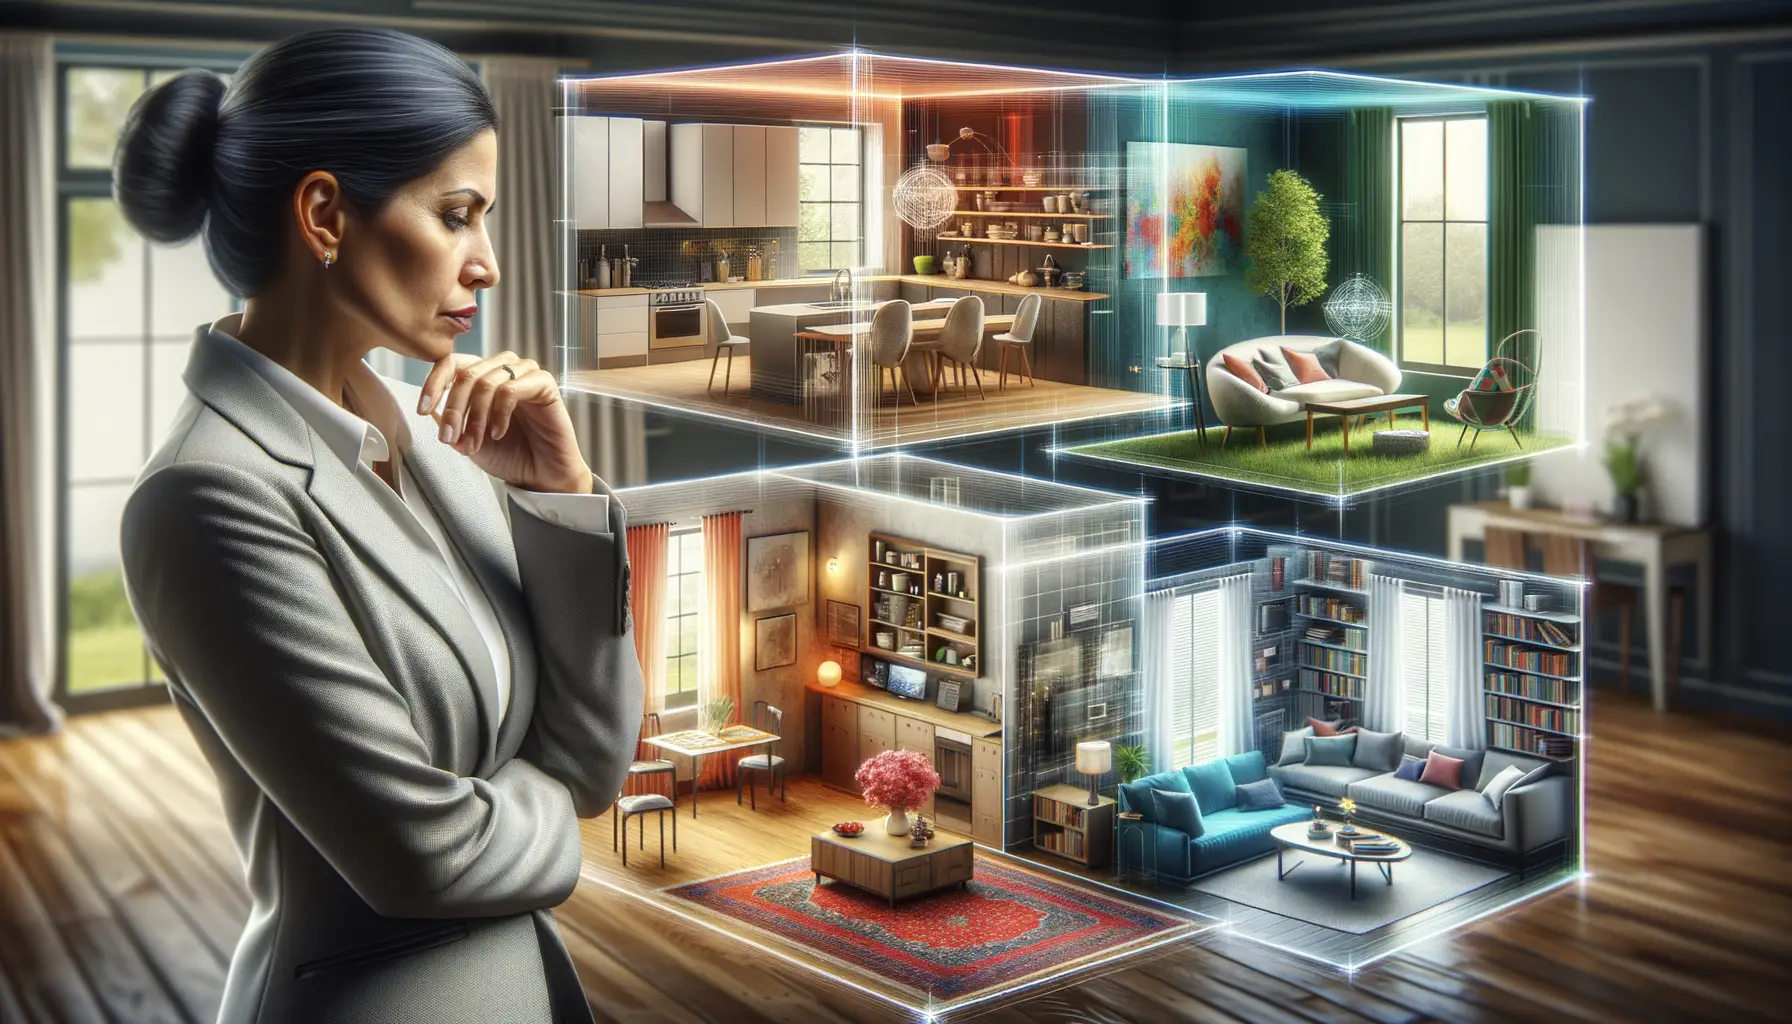
Your home is filled with potential photo studio spots—if you know where to look! Finding the right space can feel like discovering a secret treasure chest—it’s all about seeing those everyday corners in a fresh, new light. Start small. You don’t need a sprawling loft; sometimes, a cozy corner with character is just the ticket.
Think about the essentials first: natural light and size. A room with large windows or soft, indirect sunlight will be your best friend. Shooting outdoors isn’t always practical, so this light source becomes your built-in glow machine.
Here’s a checklist to help you envision your ideal studio spot:
- Lighting: Does the area offer plenty of natural or controllable light?
- Space: Is there enough room to maneuver, even for full-body shots?
- Distractions: Is it free from clutter and interruptions? (Bye-bye, barking dogs!)
Transforming Ordinary into Extraordinary
Don’t underestimate awkward nooks or tight spaces! Even your hallway can get a makeover with a few clever tweaks. That blank wall in your bedroom? Dress it up with a stunning DIY backdrop (we’ll cover that next), and voilà—you’ve turned “meh” into magic.
DIY Backdrops and Creative Ideas
Transform Your Wall into a Work of Art
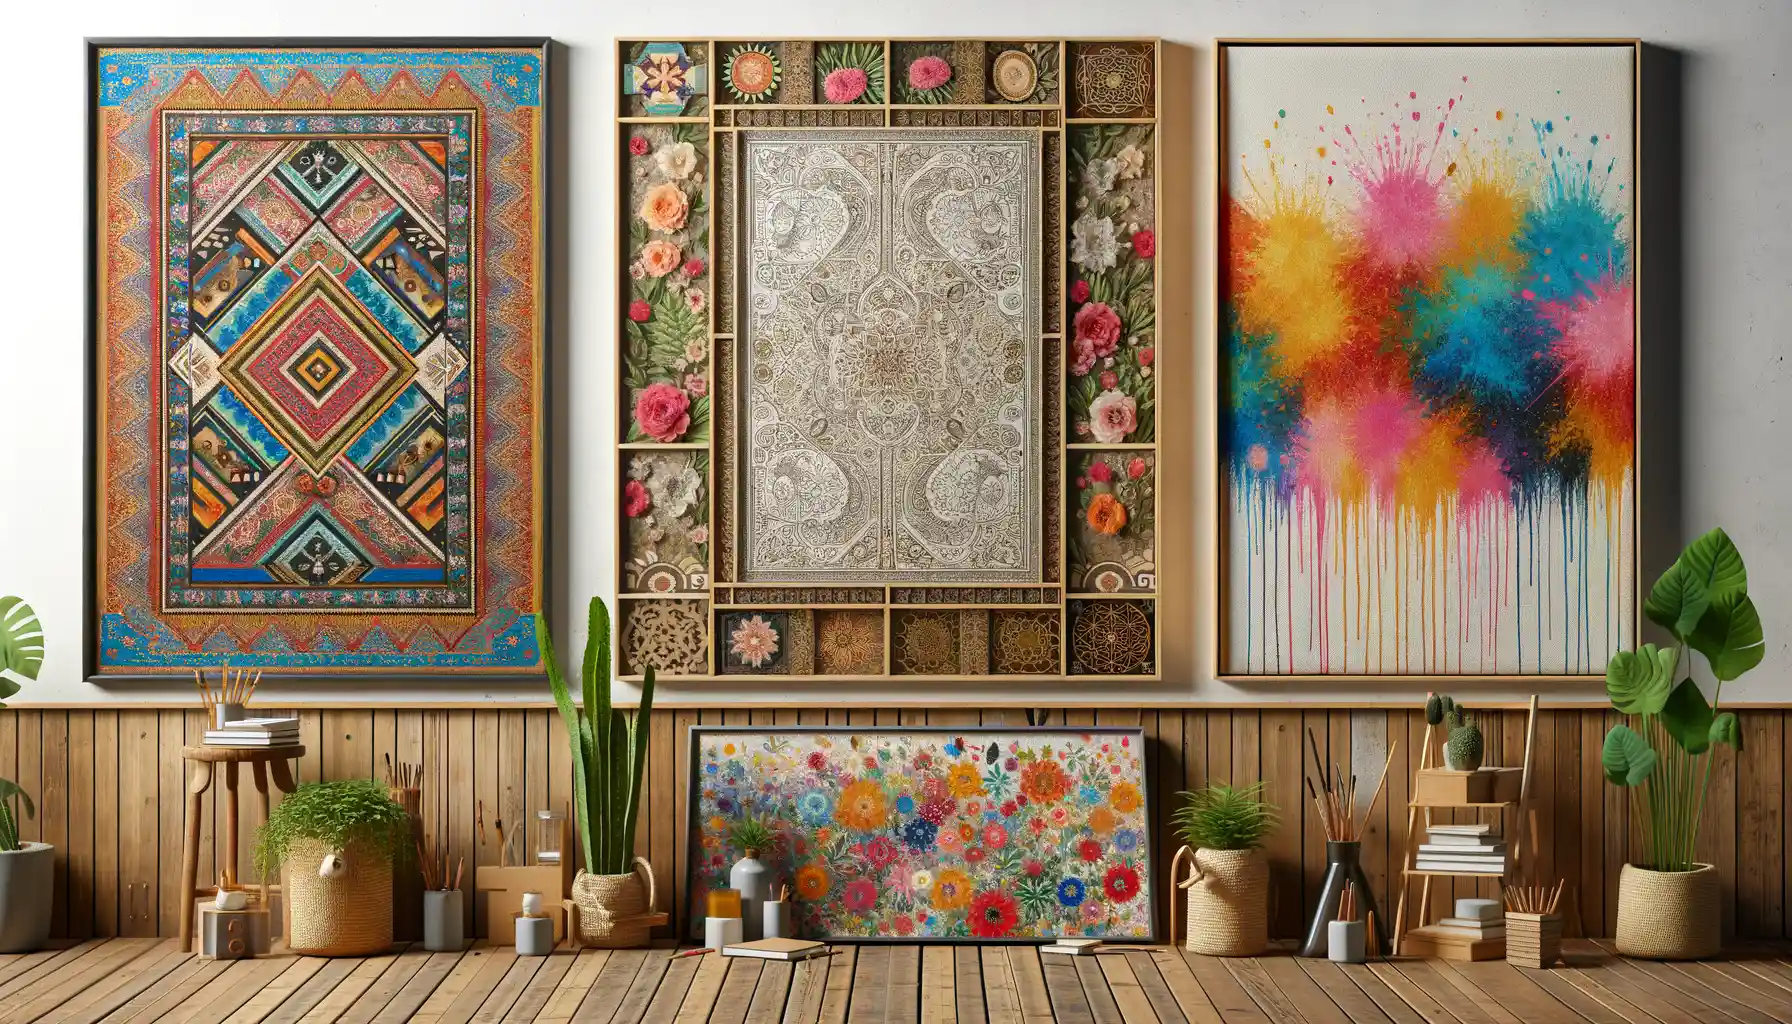
Who says you need a fancy studio to create jaw-dropping backdrops? A blank wall can be your best friend—and the perfect blank canvas. Grab some painter’s tape and let your creativity loose! You can layer sheets of colored paper, drape fairy lights, or even pin fabrics with eye-catching designs. Want something truly one-of-a-kind? Paint a splashy mural or hang a tapestry that screams *vibes*.
Here’s a tip: raid your closet (yes, really). Scarves, old curtains, even a boho-chic bedspread can double as Insta-worthy backdrops. They add texture, personality, and often cost you nothing but a few minutes of digging.
Quirky Props and Reusable Magic
The trick to making your photos pop is versatility. Collect props that fit your aesthetic—or dream up new ones entirely. Why not try:
- A vintage ladder strung with flowers or polaroids.
- Paper cutouts shaped like clouds, stars, or funky abstract patterns.
- Custom chalkboard art for endless theme changes.
Don’t underestimate the humble roll of kraft paper or cardboard; they’re the unsung heroes of DIY studios. Picture a faux brick wall or dreamy pastel ombré skies—it’s all about how far your imagination will take you!
Lighting Setup for Professional Results
Why Lighting is Your Studio’s Secret Ingredient
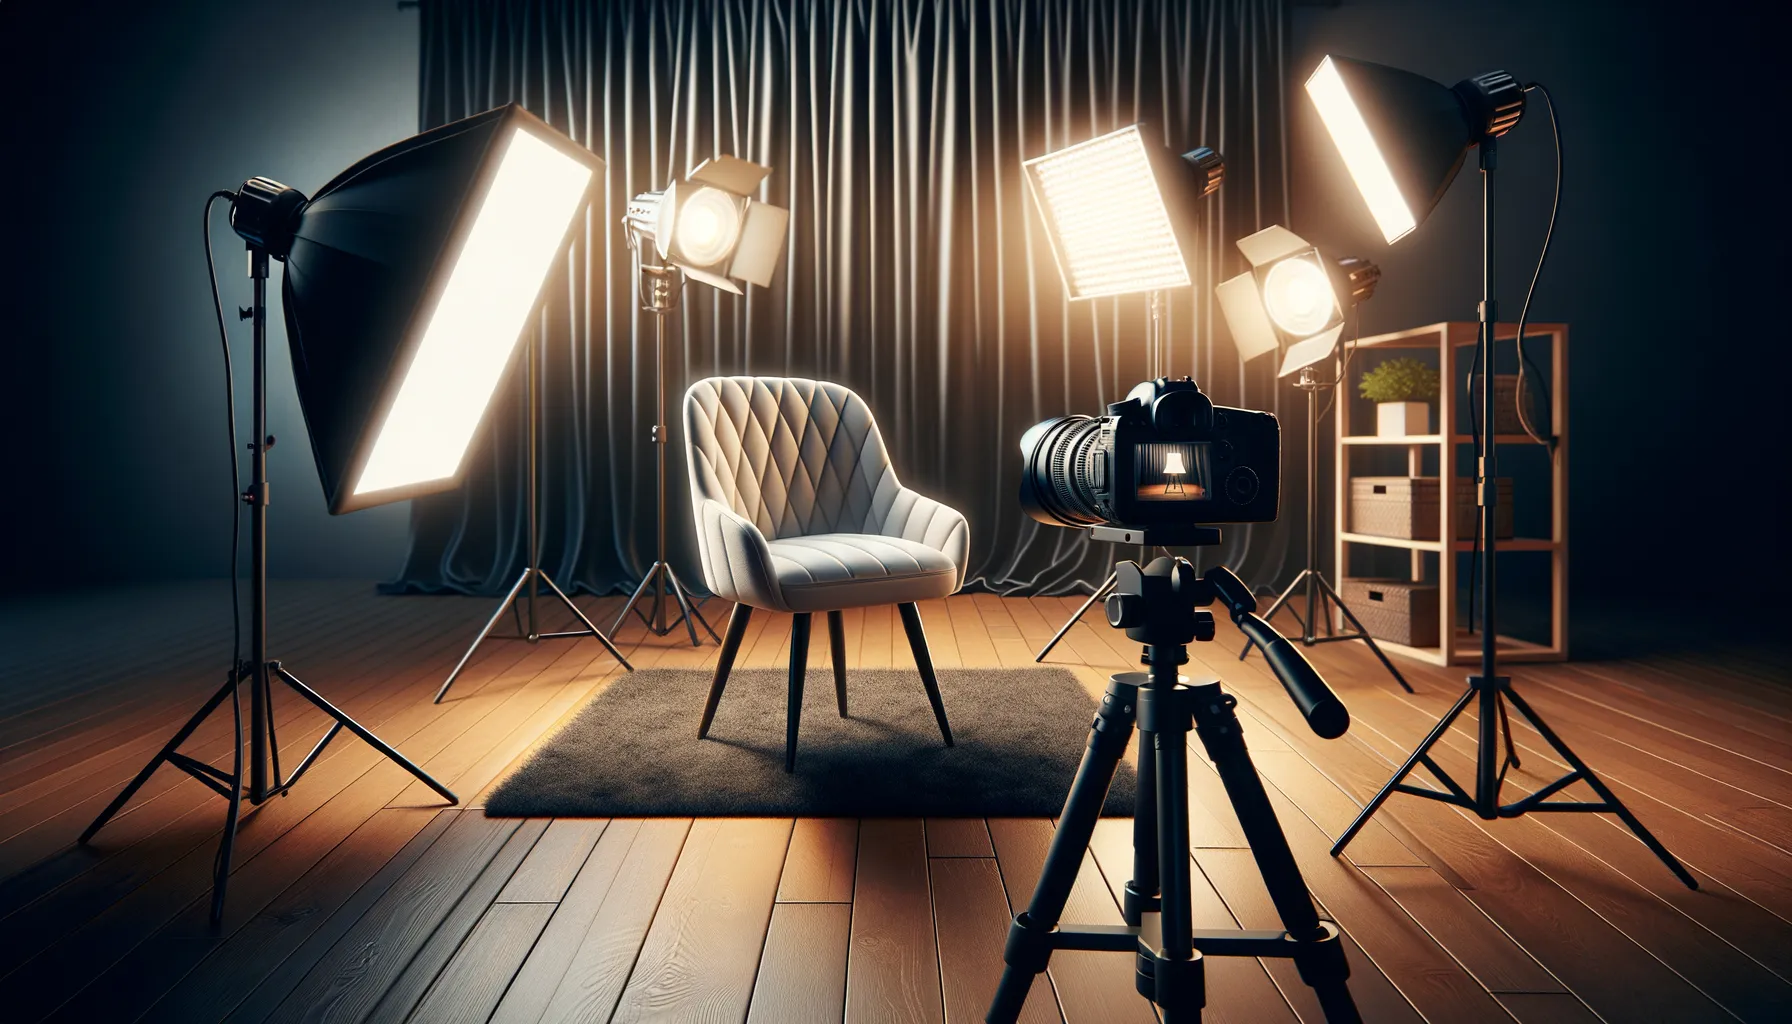
Think of your lighting setup as the heartbeat of your home photo studio—it can make or break your results. It’s not just about “adding light”; it’s about crafting mood, depth, and drama. Even the most stunning backdrop will fall flat without the right glow. Picture this: soft shadows dancing across a subject’s face in a portrait or crisp, even light showcasing every tiny detail of a product shot. That’s the magic of proper lighting.
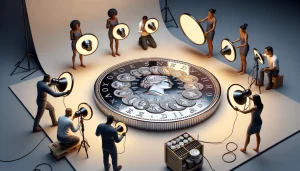
To get started, invest in at least two light sources. For incredible versatility, a pair of softbox lights will be your best friends. They provide diffused, natural-looking light perfect for almost any scenario. On a tighter budget? No problem—DIY it! Wrap a sheer white shower curtain around an old lamp for an instant softbox effect.
- Position one light at a 45-degree angle from your subject to create dimension (known as the key light).
- Use a second light or reflector to fill in shadows gently (the fill light).
Not near natural daylight? No sweat. Use adjustable LED panels with dimmers to control warmth and coolness—perfect for finessing the vibe.
Tips for Maximizing Your Photo Studio’s Potential
Transform Small Details Into Big Wins
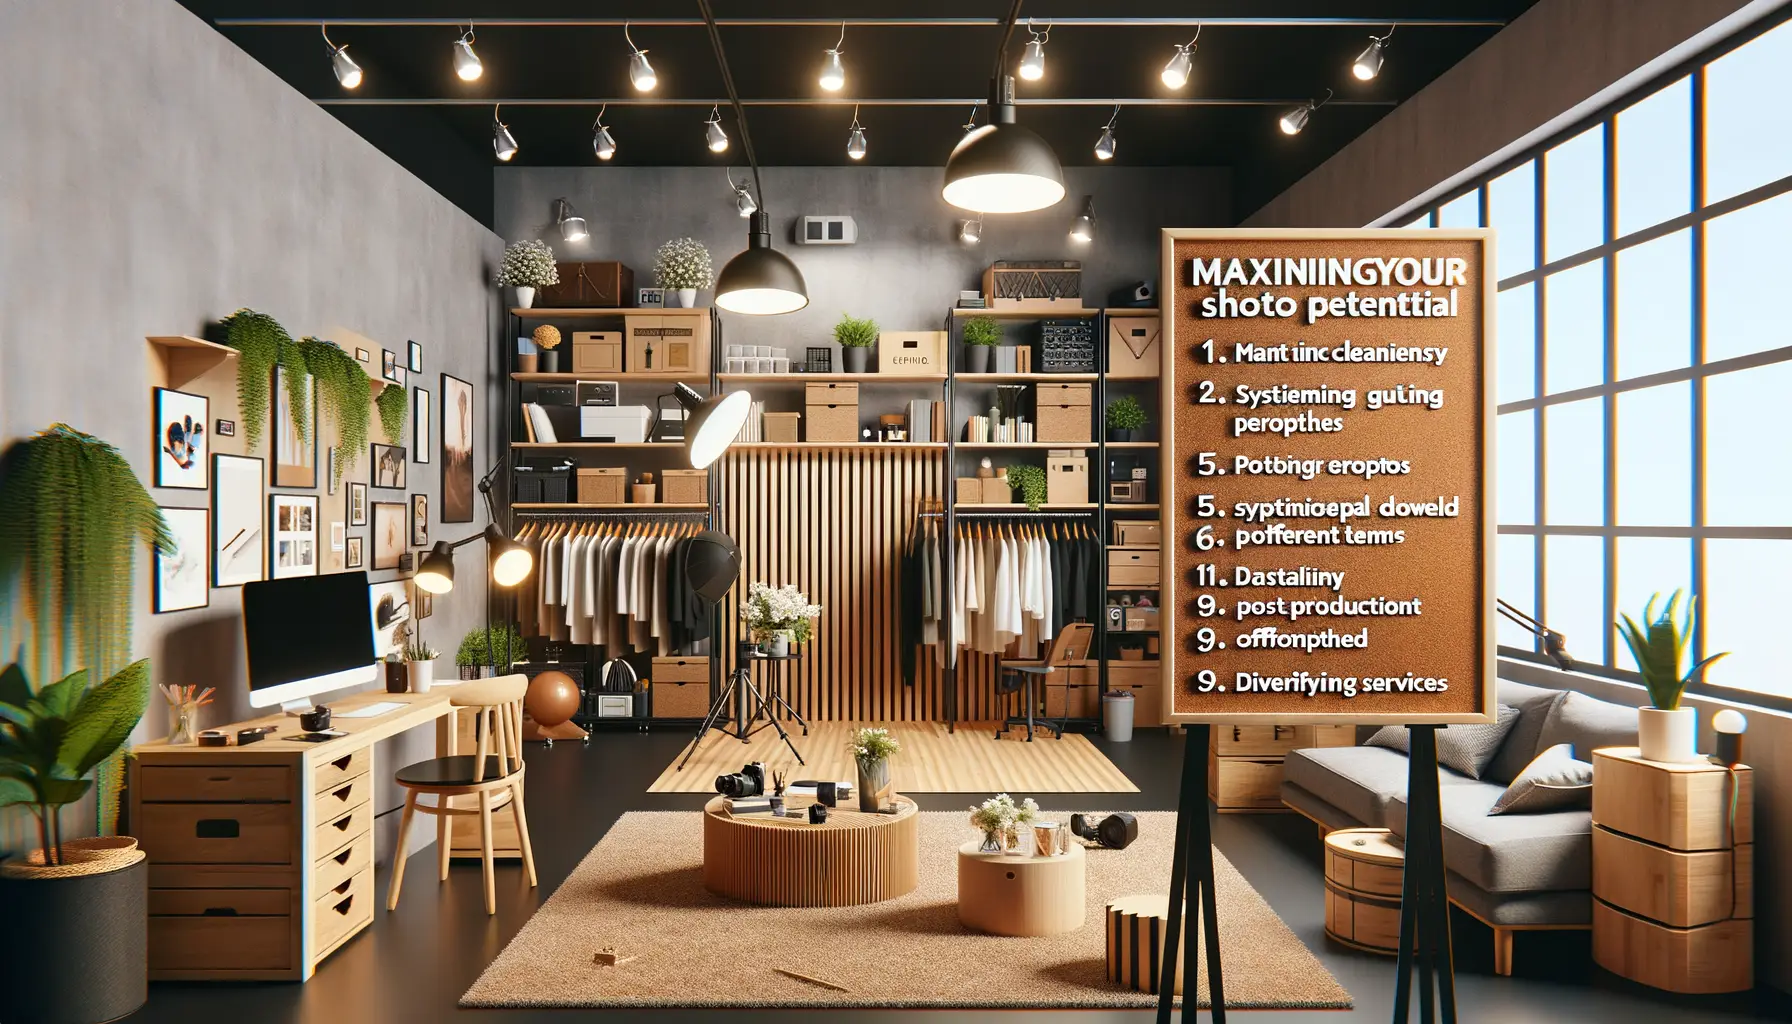
Your home photo studio might be compact, but its potential can be colossal. The magic lies in the details—those tiny decisions that elevate every shot from “good” to “jaw-dropping.” Start with organization. Keep your props tidy and within arm’s reach because hunting for that perfect vase mid-shoot is a creativity killer.
Now, let’s talk angles. One backdrop doesn’t mean one viewpoint! Get playful—shoot from above, crouch low, or try diagonal frames. Each new angle adds dimension and drama to even a simple setup.
And don’t underestimate the power of editing. Invest time in learning post-production tools like Lightroom or Photoshop. Editing isn’t cheating; it’s like seasoning a dish—it brings out the best flavors hidden in the raw ingredients.
Think Outside the (Backdrop) Box
Creativity thrives on resourcefulness. Don’t limit yourself to traditional backdrops. Have a textured blanket? Drape it over a chair for some boho vibes. Feeling bold? Create depth by layering sheer curtains or gluing colored paper onto cardboard for a geometric twist.
Here are more no-cost ideas to spark your imagination:
- Use fairy lights for a dreamy, ethereal glow.
- Incorporate everyday objects like mirrors to reflect light and expand your frame.
- Experiment with shadows—think lace fabrics or household plants for intricate shadow designs.
Your creativity is your most powerful lens. Let it roam free!
