Introduction to Macro Photography
Discovering the Small Wonders of the World
Have you ever stopped to admire the intricate details of a flower petal or the shimmering patterns on a butterfly’s wing? That’s the magic of macro photography—it transforms the tiniest elements of our world into larger-than-life masterpieces. Think of it as unlocking a secret dimension, one that most people walk past every single day without noticing.
Unlike typical photography, macro work is all about intimacy. It’s less about sweeping landscapes and more about crouching down in dew-soaked grass, your lens inching closer to a tiny subject until its hidden artistry unfolds. A simple raindrop? Through a macro lens, it becomes a miniature universe reflecting the world around it.
- The spiral symmetry inside a sunflower head.
- The almost alien structure of a dragonfly’s eye.
- The textured ridges of an everyday penny.
Macro photography holds the power to surprise you over and over again. It’s not just about clicking photos; it’s a journey of curiosity and discovery. Ready to let your inner explorer roam free? Let’s dive deeper!
Essential Equipment for Macro Photography
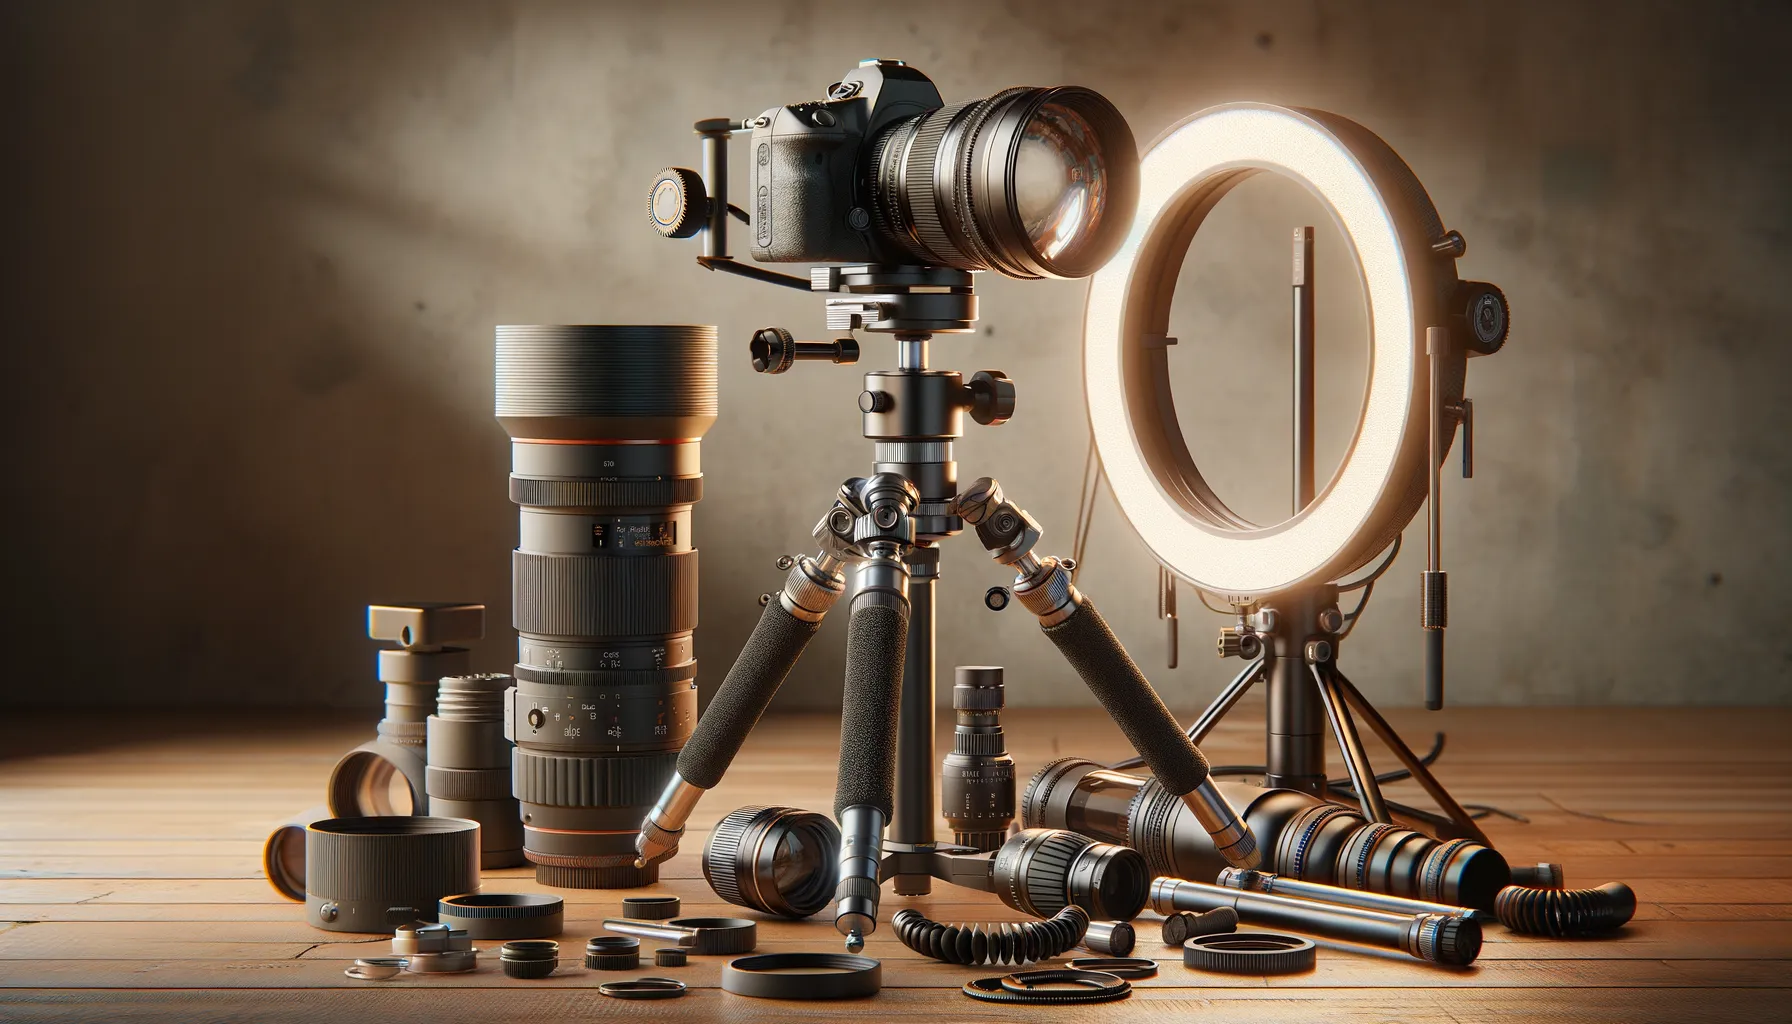
Tools to Bring Your Macro Dreams to Life
Getting into macro photography is like stepping into a hidden world. But let’s be honest: without the right gear, capturing those tiny marvels can feel impossible. So, what do you need to turn those everyday insects, delicate flower petals, or water droplets into show-stopping works of art? Let’s dive in.
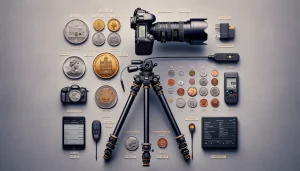
First and foremost, your camera matters—but not as much as you might think. Whether it’s a DSLR, mirrorless, or even a smartphone with macro capabilities, what truly counts is pairing it with the right lens. A dedicated macro lens is your best friend. Look for one with a 1:1 magnification ratio to reveal every whisper of detail. Got a tight budget? Extension tubes or close-up filters can work wonders too!
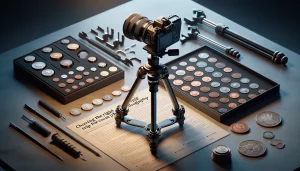
Steady hands might not always be an option when you’re zoomed in that close, so you’ll need some extra help. Say hello to tripods! For macro shots, look for one with adjustable legs that lets you get low to the ground—you’d be surprised at the magic that happens just inches above the dirt.
- Camera and lens – start with a macro lens for precision.
- Sturdy tripod – stability = sharper photos.
- A ring light or diffuser – soften those shadows like a pro.
Accessorize for Success
Let’s talk about the unsung heroes of macro photography. Ever hear of a focusing rail? This sliding mechanism attached to your tripod allows you to make microscopic adjustments to your focus. It’s a game-changer, especially when shooting insects that won’t sit still.
And don’t underestimate the power of a simple reflector. A white piece of cardboard can bounce soft light onto your subject, lifting your image from “meh” to magical. Lastly, consider carrying a waterproof mat or knee pads because, trust me, you’ll find yourself rolling around on the forest floor more than you expect!
Techniques and Tips for Capturing Stunning Macro Shots
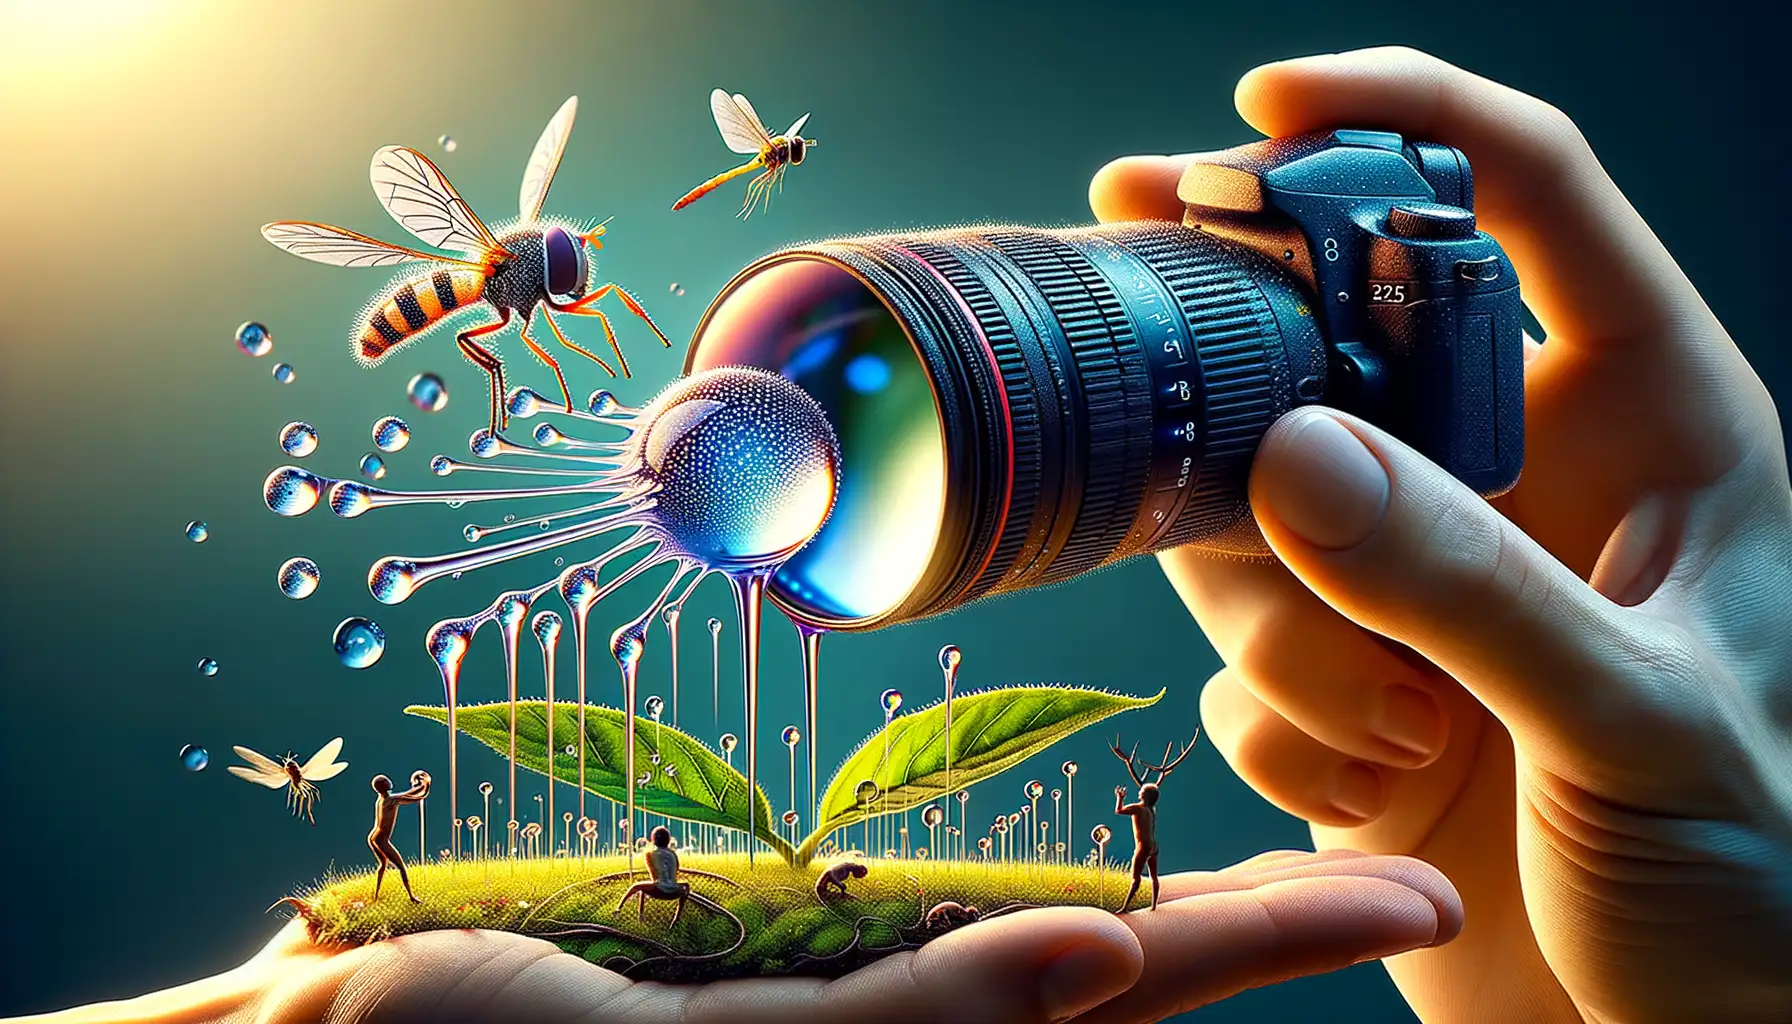
Get Up Close but Stay Steady
Macro photography is all about embracing the tiny universe hiding in plain sight, but let’s be real—it can also test your patience. The closer you get to your subject, the more noticeable even the slightest wobble becomes. To avoid blurry mishaps, set up a sturdy tripod. It’s like giving your camera a comforting hug, ensuring steady hands for that razor-sharp detail. Don’t have one? Lean against something solid or use a beanbag as a makeshift stabilizer. Sometimes, the simplest tools work wonders.
And don’t just dive in with your lens—experiment with your distance! A macro lens‘s minimum focusing distance is NOT optional. Too close, and your shot will look like a hazy dream instead of a vivid masterpiece.
Play With Perspective and Focus
The magic of macro lies in its ability to transform the ordinary into the extraordinary. Get creative with your angles: shoot from below, tilt your camera, or frame your subject from unexpected sides. Need a sharper focus on a minuscule detail, like the textures of an insect’s wing or a droplet clinging to a leaf? Try manual focus. Autofocus often struggles at such tight ranges, whereas manual focus lets *you* control what steals the spotlight.
To enhance drama, incorporate depth:
- Use a wide aperture (f/2.8, f/4) to blur the background into dreamy softness.
- Focus stack if you crave extreme sharpness across your subject.
Every tiny adjustment transforms your image—like alchemy for photographers.
Understanding Lighting in Macro Photography
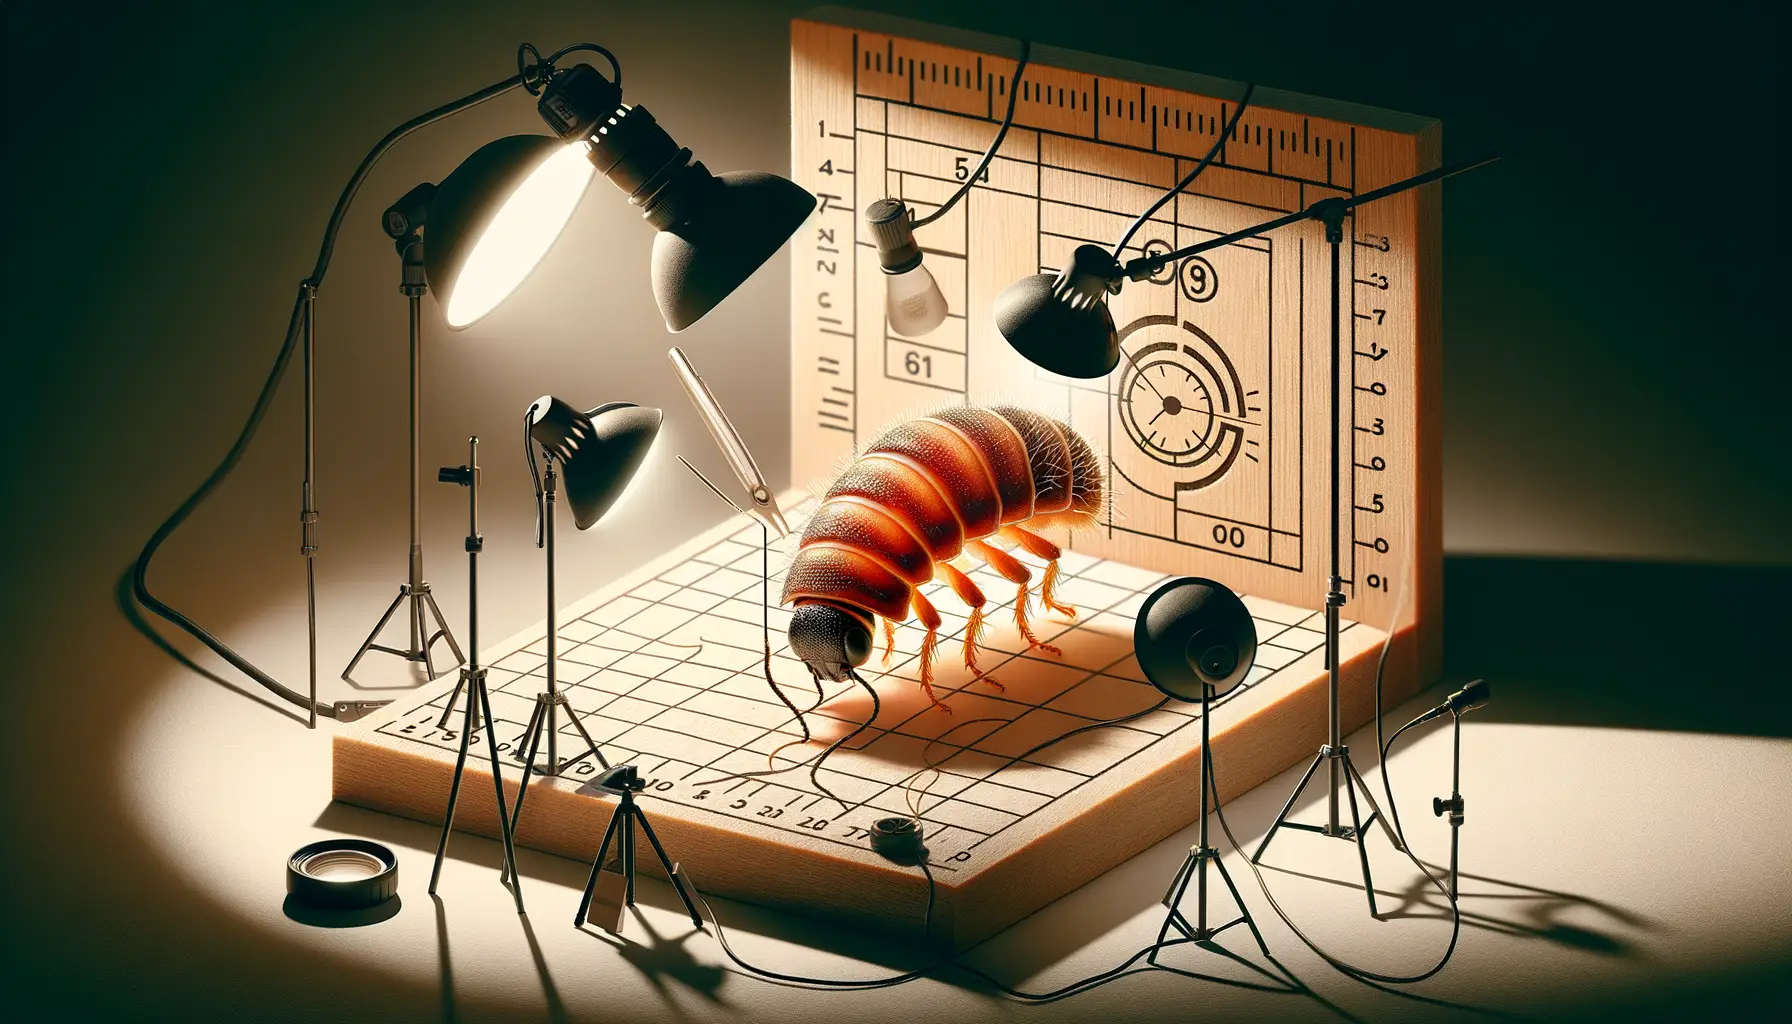
Why Lighting Can Make or Break Your Macro Shots
Ever tried photographing a delicate flower petal only for it to look like a flat, lifeless blob? That’s the magic—or misery—of lighting. In macro photography, light isn’t just an ingredient; it’s the secret sauce. The way light falls on your subject can add depth, drama, even emotion, turning “meh” into “wow!”
Imagine sunlight streaming through leaves and backlighting an insect’s translucent wings. That’s backlighting, and it’s not just poetic—it adds texture and glow. On the flip side, using harsh midday sun can create ugly shadows that gobble up your details. Experiment with softer options: cloudy skies, diffused flash, or even a sheet of white paper as a reflector (yes, DIY can work wonders).
- Natural Light: Early mornings and late afternoons bathe subjects in golden, low-angle light. Ideal for outdoor setups.
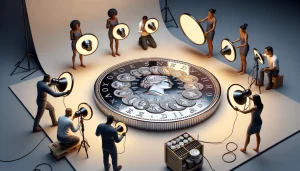
- Artificial Light: Ring lights or LED panels can mimic soft, even lighting and bring control to your indoor shots.
Mastering Shadows and Highlights
Don’t fear shadows—they’re like bold punctuation on a sentence. Positioning your light source at an angle creates shadows that lend a 3D effect to tiny textures: the ridges of a seashell, the veins on a leaf. For balance, use a simple bounce card to lift stubborn dark areas.
Keep experimenting; every beam of light tells a different story!
Post-Processing Tips for Enhancing Macro Photos
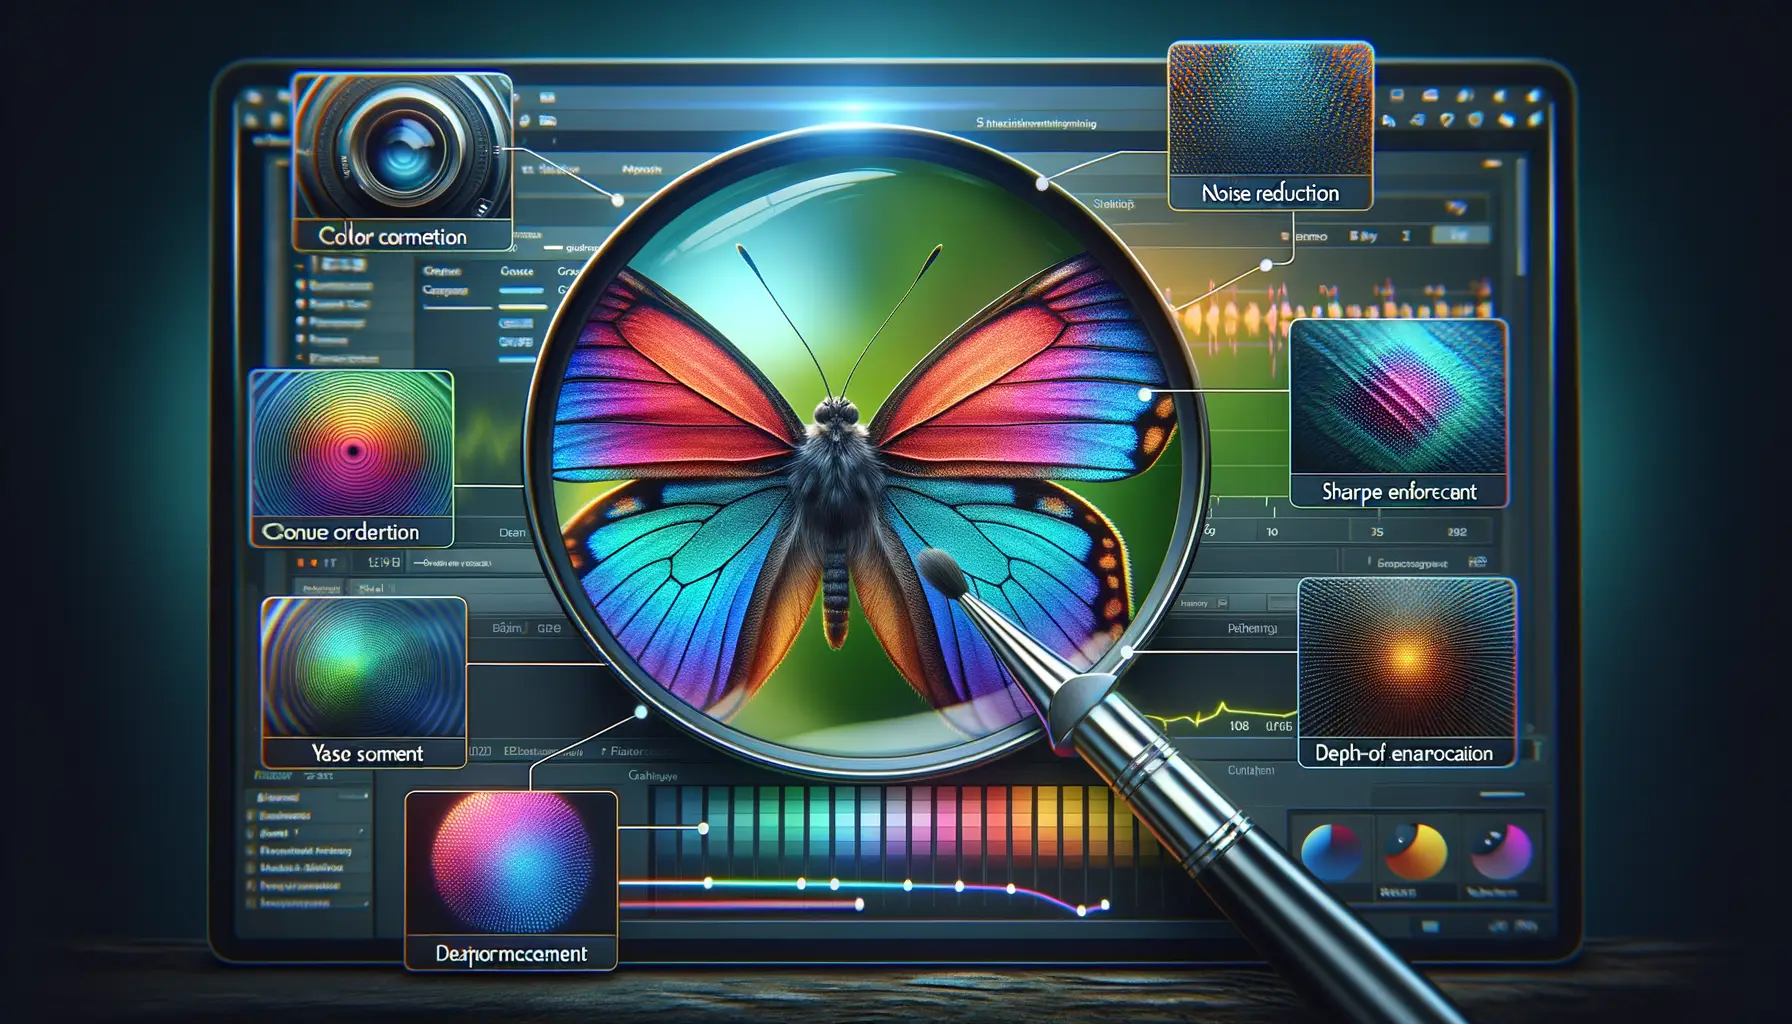
Bring Your Shots to Life with Vibrant Adjustments
You’ve captured a breathtaking close-up of a dew-kissed leaf or a bee mid-flight. But here’s the secret sauce: post-processing is where your macro photos can truly shine. Think of it as polishing a precious gem—it’s not about faking it, but amplifying the beauty already there.
First, tweak the exposure and contrast. Macro photography often picks up minuscule details that camera sensors might underplay. For example, gently boosting contrast can make those delicate petal textures pop like they’re dancing off the screen.
Next, dive into the world of color correction. That earthy green? Maybe it could hum with more warmth. That golden hour light? Let’s make it even dreamier. Tools in photo editors like Lightroom allow you to adjust individual colors—just a subtle nudge can work wonders.
- Sharpening: Highlight those intricate details without overdoing it. Focus on edges where the magic of macro lies.
- Noise Reduction: Low light shots? Smooth out unwanted grain for a pristine finish.
A final touch? Experiment with cropping to refine your composition. A tight crop can transform a good macro shot into a masterpiece.


