Understanding Time-Lapse Basics
What Makes Time-Lapse So Magical?
Time-lapse photography transforms time. Imagine watching a flower bloom in seconds or a city skyline pulsating with life as day melts into night. It feels like bending reality, doesn’t it? At its essence, time-lapse captures the beauty of change—a process too subtle for our daily rush.
Here’s the golden rule: you compress hours, days, or even months into mere seconds of video. This happens by taking still frames at regular intervals and playing them back quickly. But how you do it depends on your story. Want to show clouds racing across the sky? A frame every 5-10 seconds works wonders. Craving that “melting candle” drama? You might need intervals as short as a second.
The magic lies in the balance—the dance between your subject, interval timing, and playback speed. Too slow, and movement vanishes; too fast, and the result is jittery chaos.
- The beauty of simplicity: Mastering time-lapse is less about expensive gear and more about deliberate choices.
- Patience: Yes, waiting is part of the fun! Watching your scene evolve becomes oddly meditative.
Essential Equipment for Time-Lapse Photography
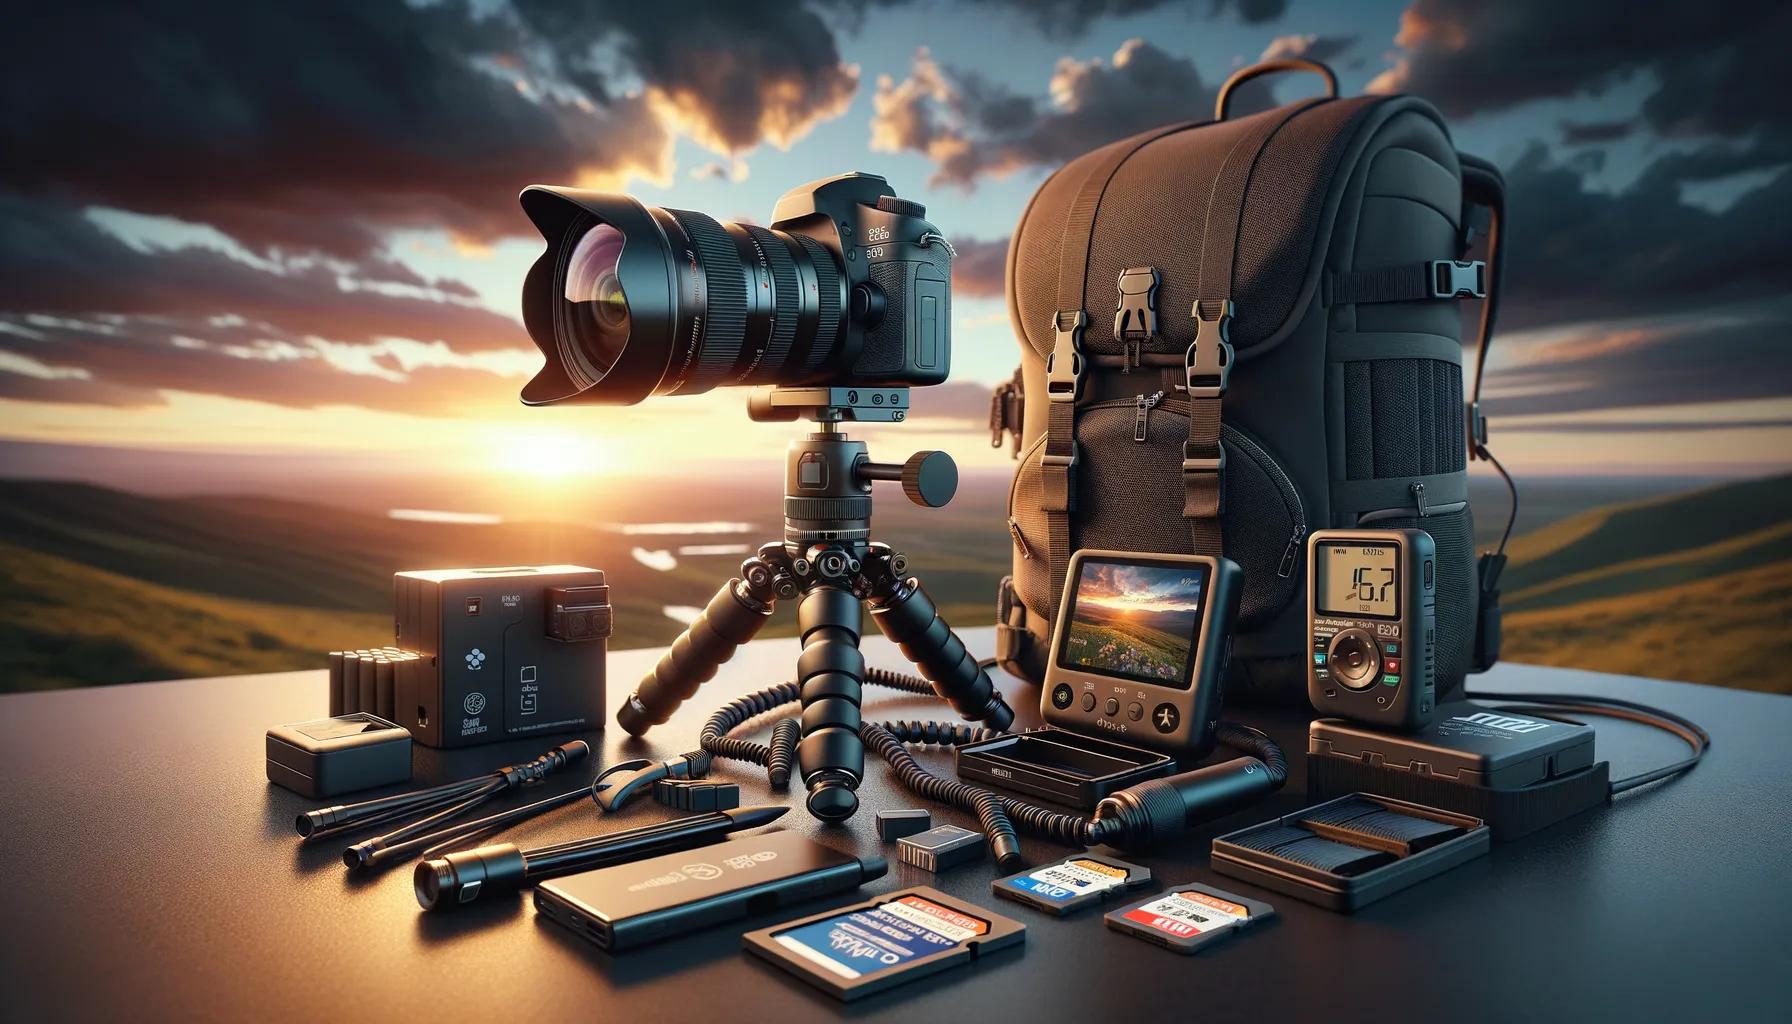
Choosing the Right Camera
When it comes to time-lapse photography, your camera is more than just a tool—it’s your partner in storytelling. While almost any camera can create a time-lapse, investing in one with a built-in intervalometer (or compatibility with one) will make life infinitely easier. Consider models like the Canon EOS R or Sony Alpha series, which combine versatility with stunning image quality. Don’t forget: a camera with manual settings is paramount! Auto mode? That’s a recipe for flickering chaos in your final footage.
Must-Have Accessories
The devil is in the details, and no time-lapse setup is complete without thoughtfully chosen accessories. You’ll absolutely need these essentials:
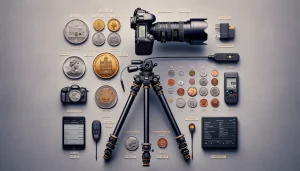
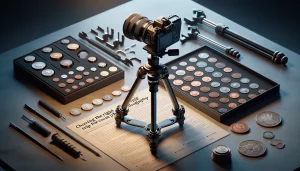
- Sturdy tripod: A wobbling tripod is the arch-nemesis of smooth, professional time-lapses. Opt for a dependable option like the Manfrotto Befree Advanced.
- ND filters: Shooting during the day? Prevent overexposure with neutral-density filters that let you control light like a pro.
- External intervalometer: If your camera lacks one, this tiny device will trigger perfectly timed shots so you can focus on creativity.
And let’s not forget batteries—lots of them. Time-lapse photography drains power like a marathon drains stamina. Always carry spares!
Step-by-Step Process to Capture Time-Lapse Videos
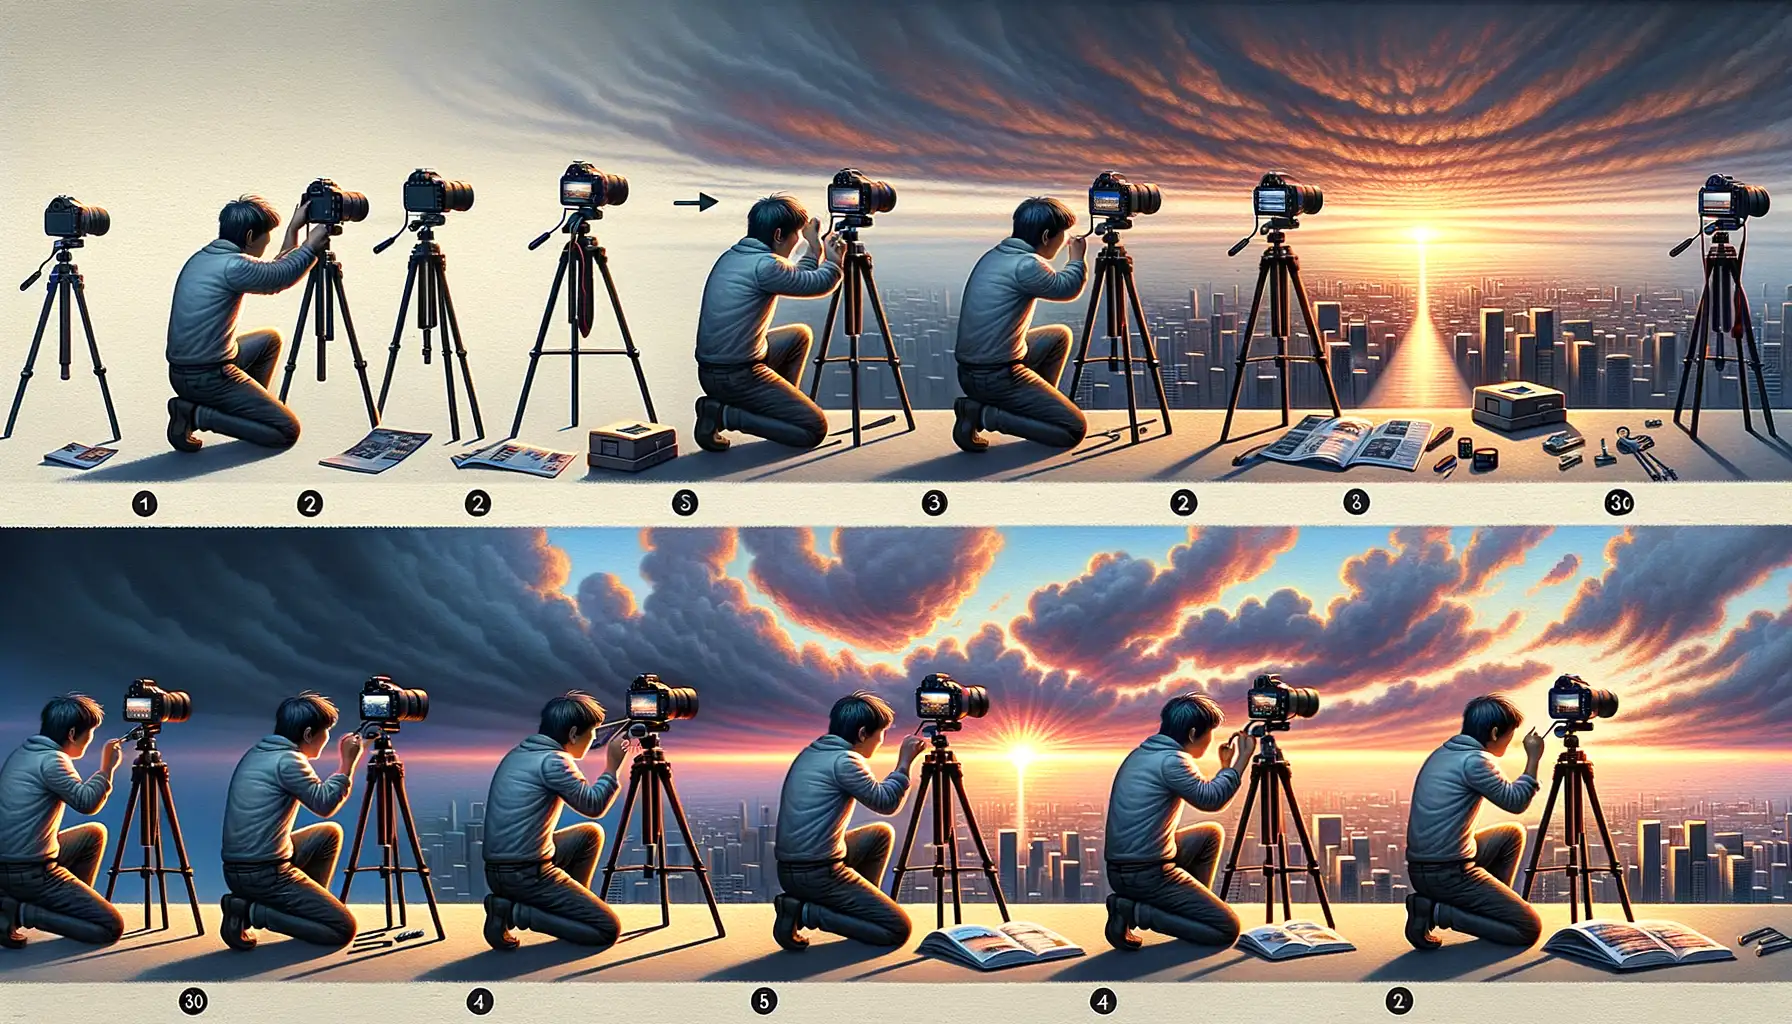
Setting Up for a Seamless Shoot
Ready to dive into the magical world of time-lapse photography? Start by finding the perfect location—think sweeping cityscapes or tranquil starry skies. Next, lock in your camera firmly on a **sturdy tripod**; the tiniest shake can ruin hours of effort. Now, tap into your creative side. Consider what story you want to tell: the hustle of a busy morning market? Or perhaps flowers dancing in the breeze?
Don’t forget settings matter! Switch your camera to manual mode and adjust to ensure consistency in every shot. Keep your aperture steady, set ISO low for noise control, and choose a shutter speed that suits your vibe. Not sure about intervals? Use this cheat sheet:
- Fast-moving scenes: 1-2 second intervals (like traffic flow).
- Slow-paced magic: 30 second intervals (such as sunsets).
Capturing the Perfect Sequence
Once you’re rolling, patience is key—time-lapse is a marathon, not a sprint! Press record and let your camera work its magic while you soak in the moment. Pro tip: bring a book, snacks, or even meditate while waiting. Oh, and always double-check your battery life—running out mid-shot can crush your dreams.
Editing and Post-Processing Techniques
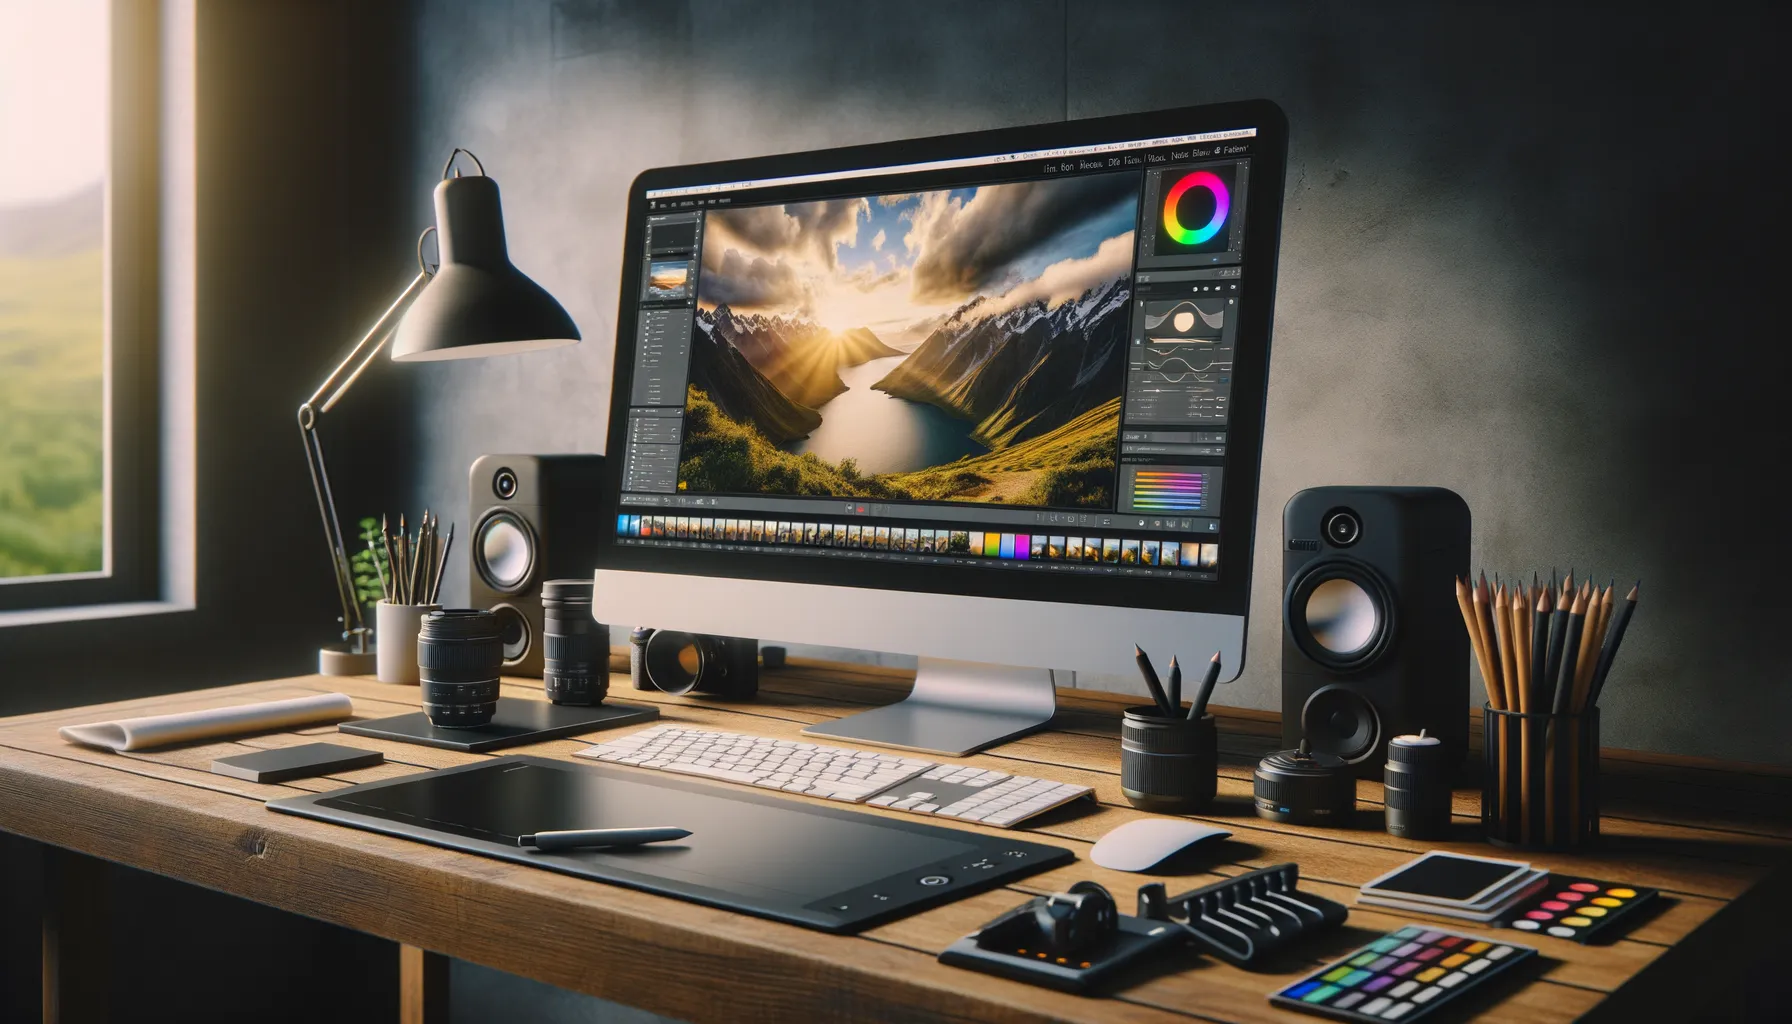
Transforming Raw Footage into Magic
Congratulations! You’ve captured your frames. Now it’s time to breathe life into those still images through editing and post-processing. This is where the magic happens—where a collection of photos turns into a silky-smooth, mesmerizing time-lapse video that wows your viewers.
Start by organizing your images. Keep them in sequence; trust me, nothing disrupts the creative process more than hunting for a stray frame in the middle of post-production. Use software like Adobe Lightroom or Capture One to adjust colors, contrast, and exposure. Think of this part as painting over your work—a touch of shadows here, a pop of vibrance there.
Want buttery transitions? Import your files into specialized software like LRTimelapse or Adobe Premiere Pro. These tools let you deflicker sequences (yes, that pesky brightness inconsistency) and weave motion effects seamlessly. Here’s how to enhance your footage further:
- Add keyframes to create stunning zooms and pans.
- Stabilize shaky moments for a polished look.
- Play with speed to emphasize drama or tranquility.
Editing is not just technical—it’s storytelling. Every adjustment tells a part of your narrative.
Tips and Best Practices for Professional Results

Mastering Composition and Lighting
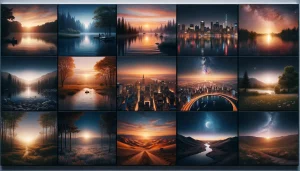
To create jaw-dropping time-lapse videos that make people stop scrolling, pay attention to your composition and lighting—they’re your secret weapons. Think of your scene as a canvas. Are you framing a fiery sunset, the hustle of a cityscape, or clouds lazily drifting over mountains? Each setting demands thought. Use the rule of thirds to give your shot balance, but don’t be afraid to break rules—sometimes chaos is where the magic happens!
Lighting? Oh, it’s EVERYTHING. Never underestimate the power of golden hour; those soft, warm tones can transform an ordinary frame into a masterpiece. And if you’re after something more dramatic, consider including light trails or even starry skies for a touch of celestial wonder.
- Always scout your location in advance. Bonus points if you visit twice—once during daylight and again when you plan to shoot.
- Use a tripod – no exceptions! Shaky footage will ruin even the most spectacular scene.
Fine-Tuning Camera Settings Like a Pro
The devil’s in the details, especially when it comes to camera settings. Let’s talk shutter speed: A longer exposure (e.g., 2-8 seconds) works wonders for smoothing out motion, like flowing water or car headlights streaking across twilight streets. Adjust your ISO, too—keep it low (under 400) to avoid grainy footage unless you’re chasing stars, where a higher ISO might be your friend.
And here’s the kicker: consistency! Set your camera to manual mode, lock those settings, and say goodbye to sudden changes in exposure that ruin continuity. Feeling adventurous? Experiment with intervals—shorter ones (1-2 seconds) capture fast-paced action, while longer gaps (10+ seconds) are perfect for slower shifts like shadows creeping across a desert.


