Essential Equipment for Photographing Coins
Setting the Stage: Tools You Can’t Shoot Without
When it comes to photographing coins, your equipment is more than just gear—it’s your artistic ally. The right tools transform a dull snapshot into a stunning visual masterpiece. Let’s talk essentials.
First, your camera: A **DSLR or mirrorless camera** is ideal, but don’t underestimate what a modern smartphone can do. If you’re chasing razor-sharp clarity, invest in a quality macro lens. Trust me, the detail it captures will leave you gobsmacked—it’s like discovering a secret world etched onto those tiny surfaces.
Next up, a **sturdy tripod**. This isn’t negotiable. A shaky hand can blur even the finest inscription, robbing your photo of the crisp elegance it deserves. Got uneven lighting? Enter the **ring light or adjustable LED lights**, your best friend for achieving that perfect illumination without harsh shadows.
- Soft microfiber cloth (because fingerprints are a coin’s nemesis!)
- Neutral background material—think velvet or matte black fabric for drama
- Optional: Diffuser sheets to soften reflections
Bottom line? Think precision, stability, and light control. Each item on this list plays a critical role, so outfit your toolkit thoughtfully and watch your coin photography soar to new heights!
Techniques for Capturing Coin Edges
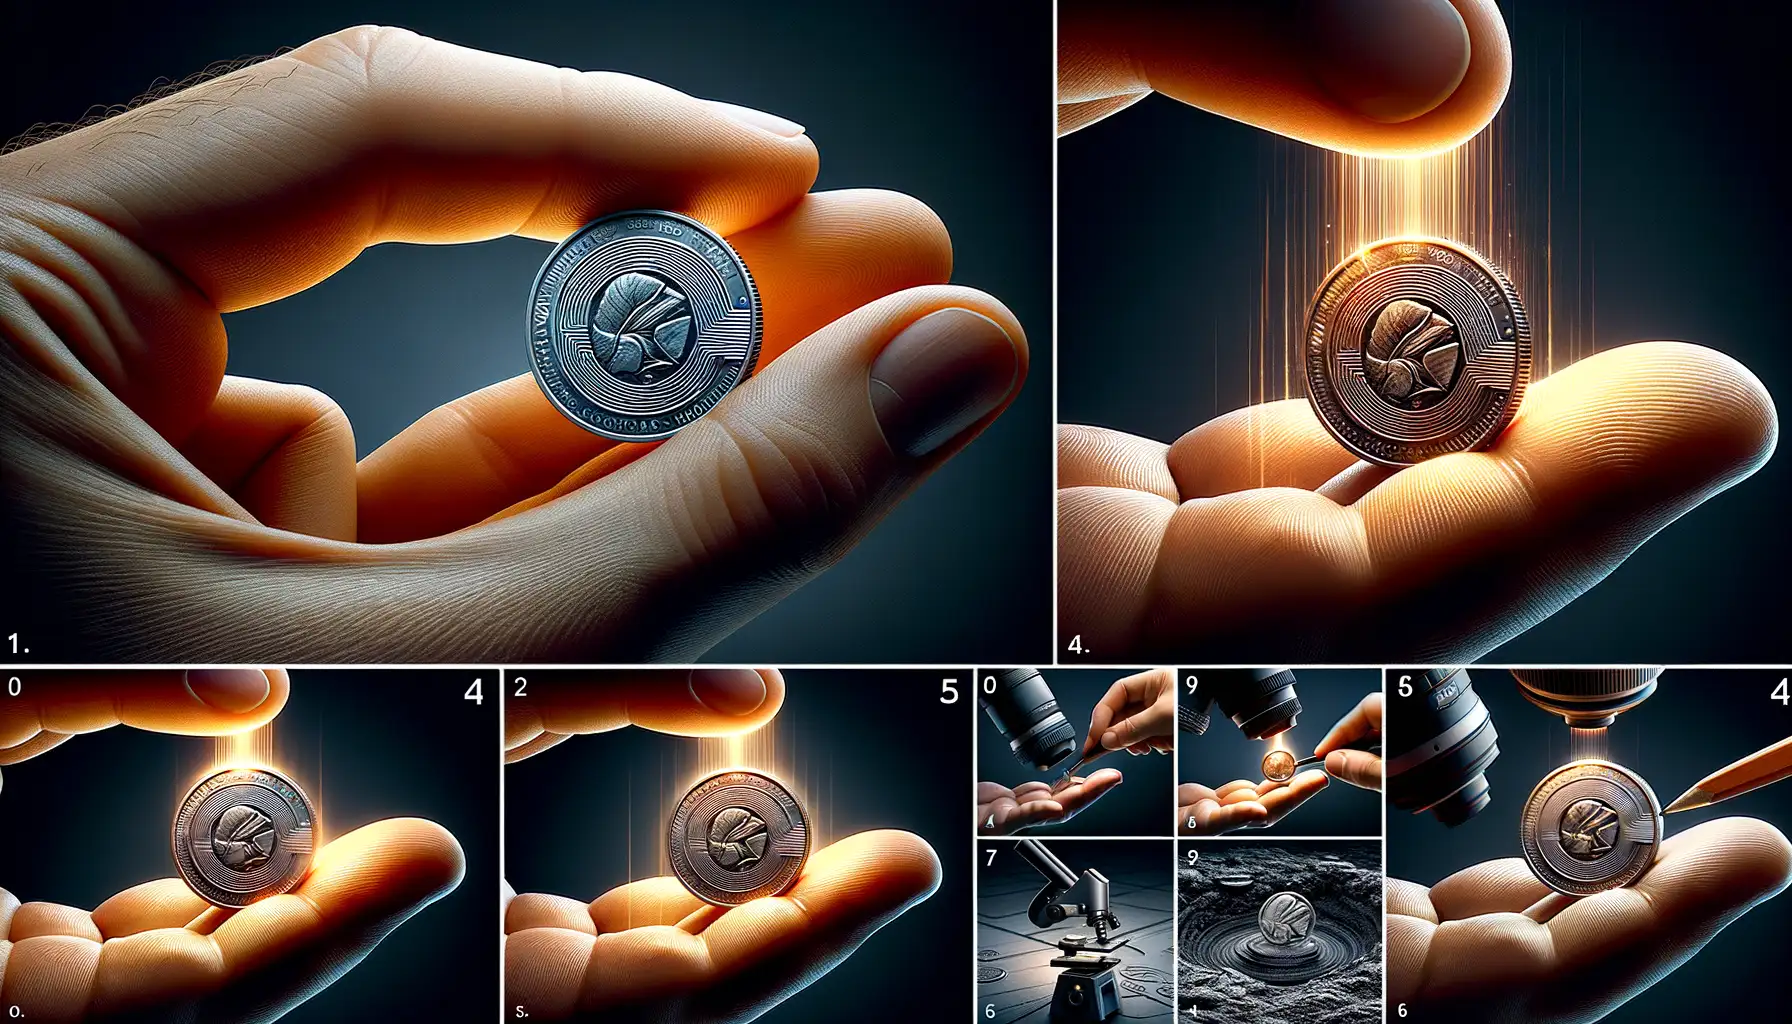
Mastering the Angle for Maximum Detail
When it comes to photographing coin edges, finding that perfect angle is like unlocking a secret treasure chest. The sweet spot isn’t always obvious, but trust me, patience pays off. Place your coin vertically or slightly tilted, using something steady like a coin stand or even a rolled-up piece of paper (yes, simple hacks work wonders!). Adjust your position carefully—sometimes just a fraction of an inch can make inscriptions pop like magic.
Want a pro tip? Keep your camera parallel to the coin edge. This minimizes distortion and ensures no detail—whether it’s a tiny mark or an intricate pattern—gets lost. A tripod can be your best ally here. No shaky hands allowed when perfection is on the line!
- Rotate the coin: Shift it gently to catch light differently. Some engravings shine best at an unexpected angle!
- Experiment with height: Lower or raise your camera to discover how depth transforms your shot.
Zooming In Without Losing Resolution
Zooming in on inscriptions demands finesse. Instead of relying on your camera’s digital zoom, switch to a macro lens or turn on your smartphone’s macro setting. The results? Crisp, clean, jaw-dropping details that make collectors swoon.
If you’re working with a phone, tap to focus on the exact spot where edges meet the inscription. This keeps everything razor-sharp. And yes, don’t forget to breathe—getting this right is more like surgery than photography.
Lighting Tips for Highlighting Inscriptions

Get the Angle Just Right
Shining a light on inscriptions is all about precision, and trust me—it’s like coaxing out a secret whispered into metal. The goal? To reveal every curve, groove, and subtle detail etched onto that coin. Start by experimenting with the **angle** of your light source. A flat, straight-on light often washes out those intricate lines, so try tilting your light at around 45 degrees instead.
Does the surface feel stubborn? Adjust in tiny increments—sometimes even a few degrees can bring letters alive, casting delicate shadows that accentuate the depth. Use a strong but diffused light, like an LED panel with a diffuser or even an adaptable desk lamp paired with a thin sheet of white paper to soften the glare.
Play With Shadows and Reflections
To create drama (and clarity!), play with shadows. Shadows aren’t the enemy here; they give depth and dimension to flat inscriptions. Here are some tricks:
- Position a reflective surface, such as aluminum foil or a small white card, opposite your light source. This bounces gentle light into shadowed areas.
- Move your coin slowly under the light rather than moving the lamp itself. You’ll be amazed how sudden details spring forth.
It’s part science, part art—and completely worth the effort!
Post-Processing and Editing Coin Photos
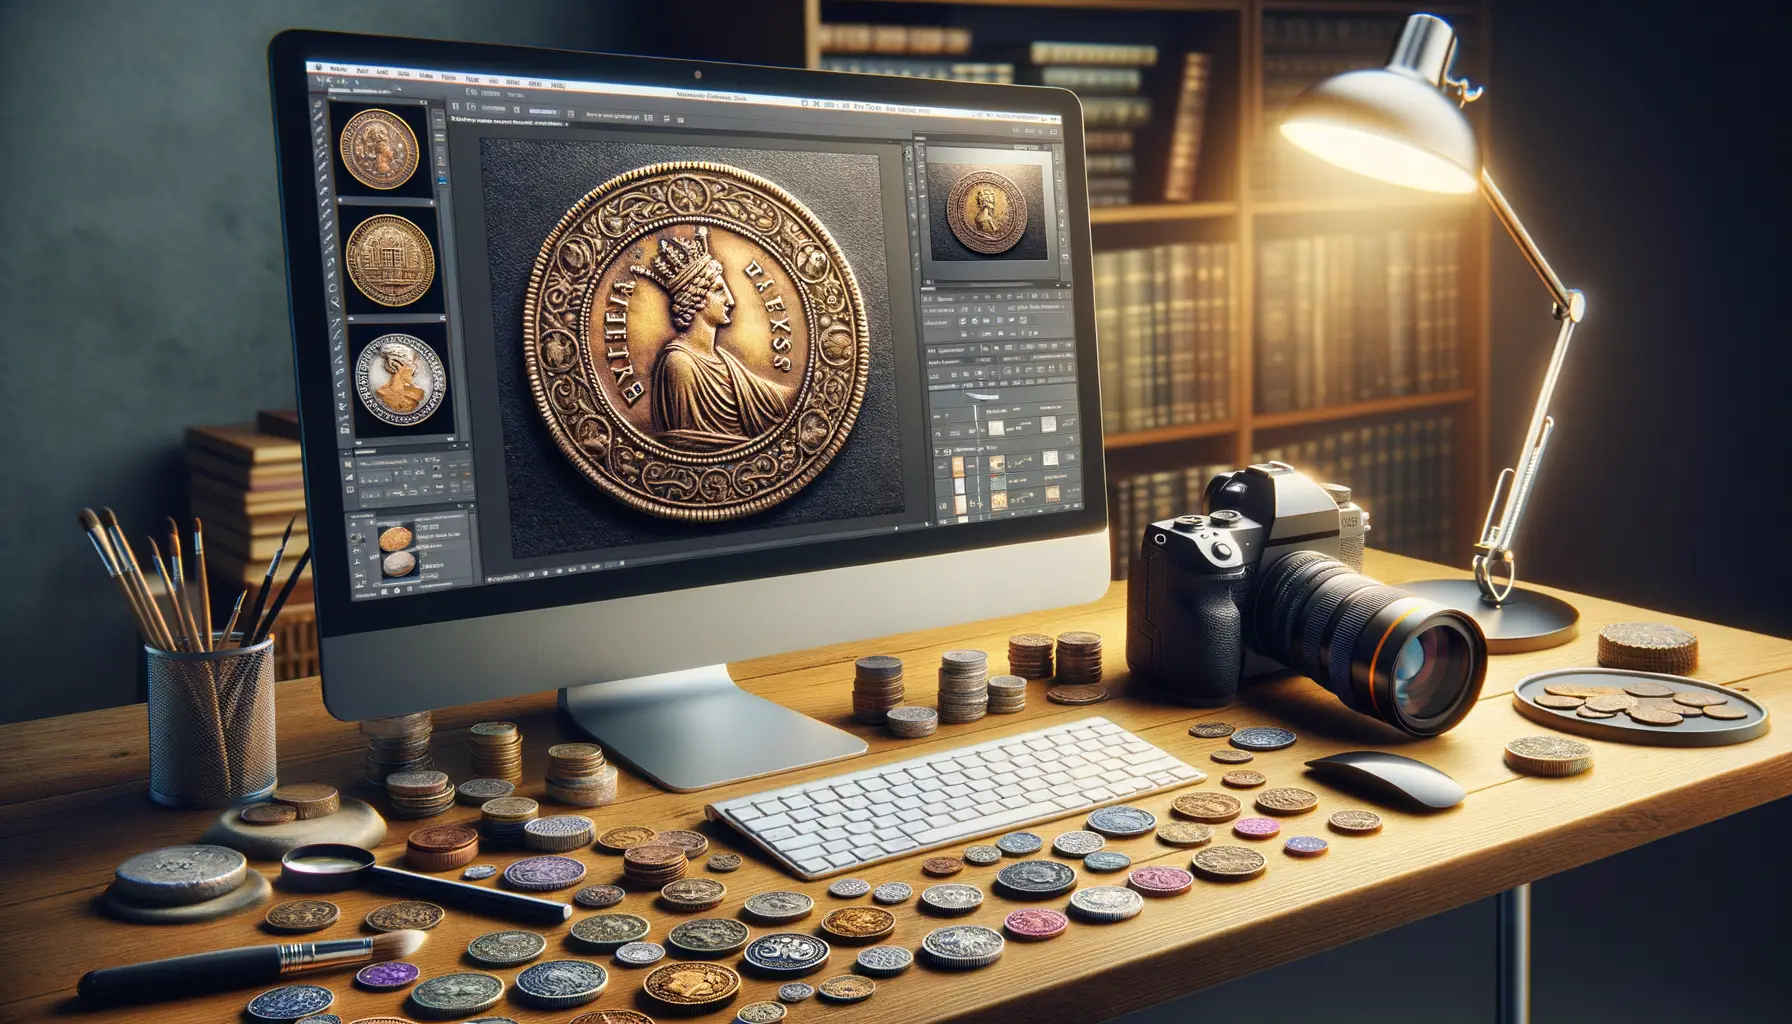
Breathe Life into Your Coin Photos with Editing
Once you’ve captured that perfect shot of a coin’s edge or inscription, the real magic begins in post-processing. Think of it as polishing a gemstone—your photo is already good, but with a little refinement, it can shine like never before. No matter how precise your setup was, editing helps correct tiny imperfections and make those details pop.
Start with adjusting the basics: tweak brightness and contrast to bring out the fine textures of the coin’s surface. If an inscription feels dull, sharpening tools can help recreate its crispness. But don’t overdo it—coins have stories etched into them, and too much sharpness can turn them from timeless relics into something cartoonishly harsh!
- Noise reduction: Essential for eliminating grainy backgrounds, especially if you’re using higher ISO settings.
- Color correction: Ever noticed odd yellowish tones? Editing lets you balance whites and restore the coin’s natural metallic hues.
Finally, crop and frame the image to guide viewers’ eyes toward what matters: that intricate edge pattern or centuries-old engraving. Your job isn’t just editing; it’s storytelling!
Common Challenges and How to Overcome Them

When Reflections Take Over
Coin photography is sneaky business—especially when those glossy coin edges start behaving like little mirrors! You position your camera just right, only to discover later that your own reflection—or worse, the ceiling fan—has photo-bombed your masterpiece.
Here’s how to fix it:
- Use a matte black cardboard or cloth around your setup to eliminate unwanted reflections.
- Angle the light sources slightly so they illuminate the coin without bouncing directly into your lens.
- Consider using a polarizing filter on your camera lens—your new best friend in fighting glare.
The Battle with Blurred Inscriptions
Blurred inscriptions are a heartbreaker. You squint at the screen, trying to decipher a date, but instead, you get blurry hieroglyphics. Why does this happen? It’s usually a combination of poor focus and insufficient depth of field.
Here’s your rescue plan:
– Focus manually. Most cameras play tricks when dealing with intricate details like coin engravings. Manual control lets *you* decide what stays sharp.
– Boost your aperture (f/8 or higher), ensuring every detail from “E Pluribus Unum” to those micro-designs shines.
– Keep that tripod steady. Even the tiniest shake can blur all your hard work.
Remember, photographing coins is part science, part art. Fine-tune these tips, and you’ll go from amateur to edge-and-inscription maestro!
