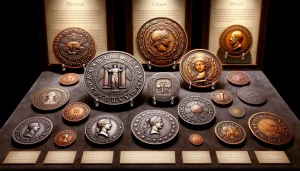
What quarters are worth money? This question is rather popular among coin collectors. What if you could answer by pictures? What if you could freeze coins’ beauty in a photograph?
Coin photography is not just snapping a picture – it is an art form. But how do you truly make your collection amazing and shining through the lens? Today we are going to give you 20 useful tips to make your coin photography as perfect as possible.
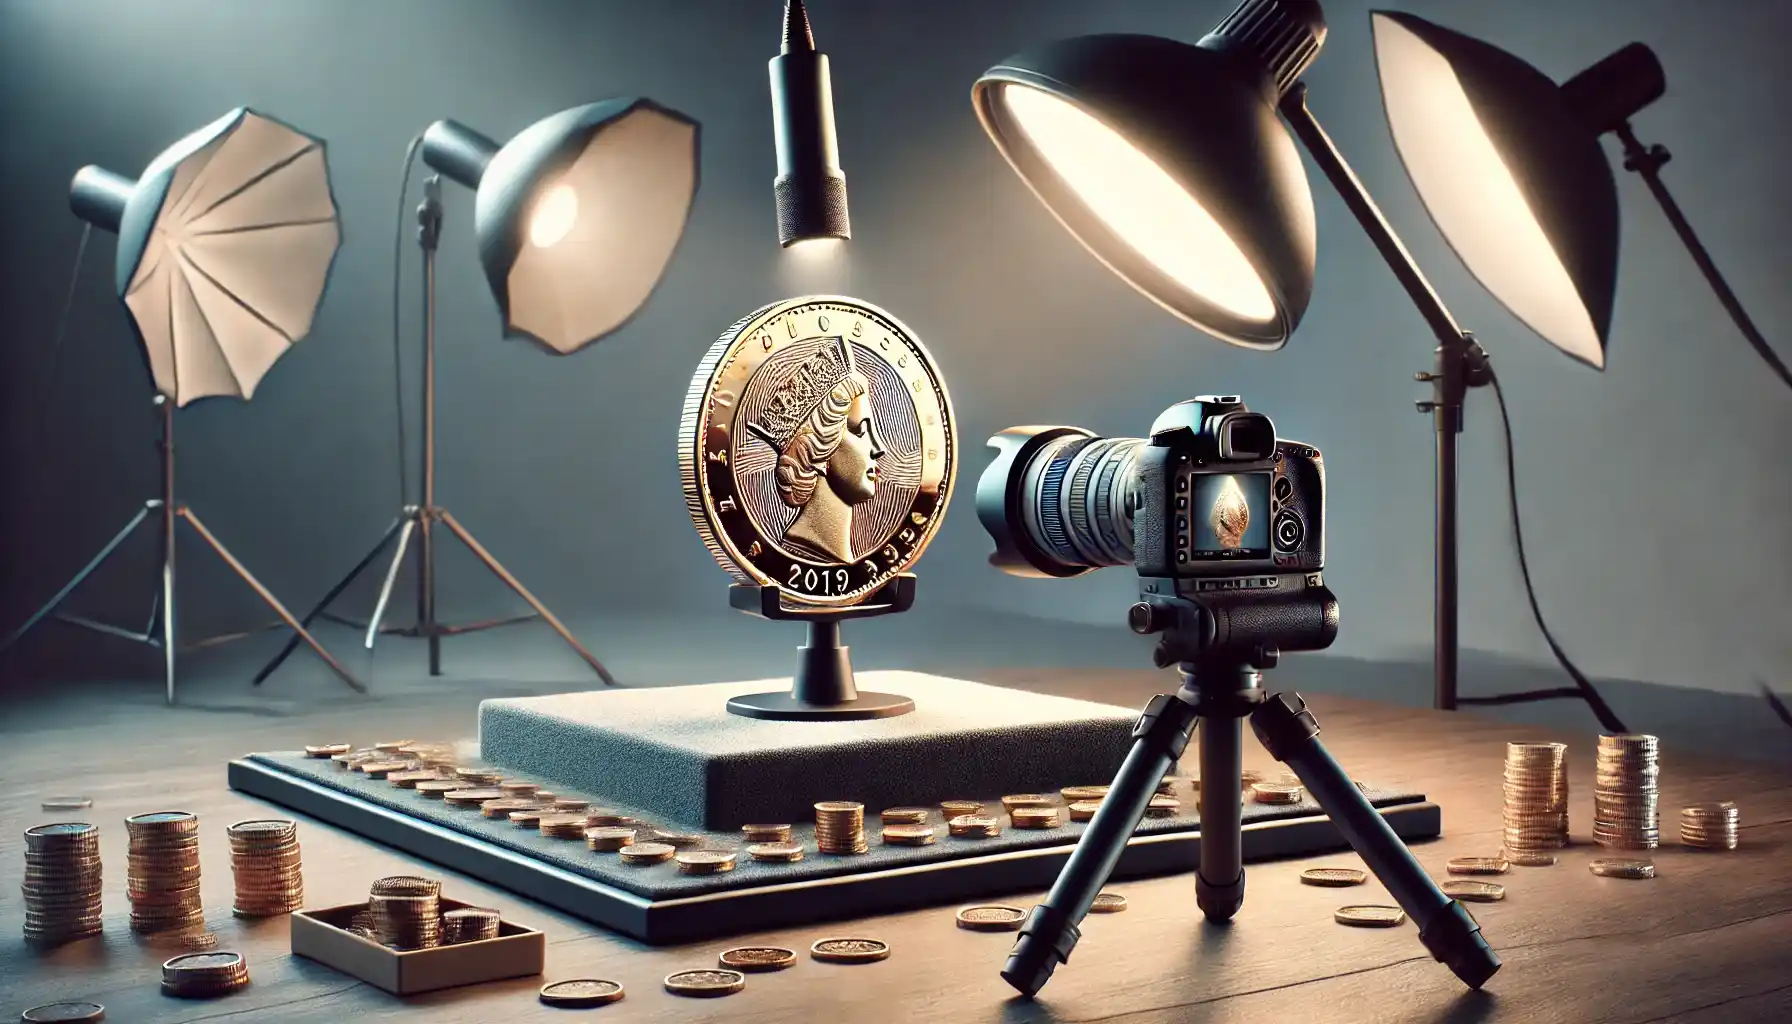
1. Why Is Lighting Everything?
Proper lighting can make or break your photo. Coins often have reflective surfaces. So, uneven lighting can obscure details or create distracting shadows.
Position your coin near a window for diffused natural light, but avoid direct sunlight, which can cause glare. For indoor setups, use two softbox lights on either side of the coin to minimize shadows.
When photographing a silver dollar, for example, placing it under direct sunlight may produce harsh reflections that mask its engravings. A diffused light source will illuminate the coin evenly. This will highlight the design without overpowering glare.
2. What Background Makes Your Coins Pop?
The right background makes your coin stand out without distractions. A neutral background is your best friend.
Use black velvet for a classic look or white paper for a clean, minimalist vibe. Avoid patterned or busy backgrounds that draw attention away from the coin.
Just Think: A gold sovereign photographed on black velvet emphasizes its lustrous finish, while the same coin on a colorful tablecloth might lose its visual impact.
3. Do You Know Your Angles?
Straight-on photos can sometimes appear flat. Experimenting with angles can show depth and relief.
Tilt the coin slightly and adjust your camera angle to capture shadows that highlight the coin’s texture. A 10-15 degree tilt often works wonders.
Example: A tilted shot of a 1909 Lincoln penny reveals the details of Lincoln’s profile and the texture of the coin’s surface.
4. Are Your Hands Still?
Blurry photos are the bane of coin photography. Stability is a must for clear images.
Use a tripod and a remote shutter release to eliminate hand shake. If you do not have these tools, rest your elbows on a sturdy surface and hold your breath while shooting.
Using a tripod to photograph any coin ensures sharpness, even when capturing the engravings around the edge.
5. Macro or Micro?
Details like mint marks are what make coins special. Capturing these requires the right lens or settings.
Invest in a macro lens for DSLR cameras, or use the macro mode on your smartphone. Position the camera close to the coin without sacrificing focus.
A macro shot of a Morgan silver dollar, for example, reveals the lines in Lady Liberty’s hair, details that are invisible in standard photos.
6. Is Your Coin Clean Enough?
Dirt and dust can distract from a coin’s beauty, but overcleaning can damage its value.
Use a soft brush or air blower to remove particles. Never use harsh chemicals or abrasive cloths, as these can scratch or tarnish the coin.
A quick brush with a camel-hair brush removed lint from a commemorative quarter, making its embossed design stand out.
7. Can Editing Save the Day?
Post-processing can improve your photos, but it should never misrepresent the coin.
Adjust brightness, contrast, and sharpness using software like Adobe Lightroom. Avoid over-editing, as it may alter the coin’s appearance.
A photo of a bronze medallion was slightly underexposed. Increasing the brightness and contrast in editing brought out its rich, earthy tones without distorting the original color.
8. What Is Your Color Balance?
Accurate colors are very important when showcasing coins, especially for collectors.
Set your camera’s white balance manually or use an 18% gray card for reference. This ensures the coin’s true colors are captured.
Example for You: Adjusting the white balance for a copper penny avoided a yellowish tint, showing its authentic reddish-brown hue.
9. Are You Avoiding Glare?
Glare can obscure important details on shiny or polished coins. Use a polarizing filter to minimize reflections. Alternatively, adjust the angle of your light source or camera to redirect glare.
Example: A polarizing filter reduces the shine on a proof coin’s mirrored surface.
10. Should You Go Digital?
Digital tools can be more useful than traditional methods. Experiment with focus stacking, which combines multiple images focused on different parts of the coin for a sharp, detailed result.
Example: Focus stacking brought out both the rim and central design of a Buffalo nickel in a single image.
11. Do Props Help or Hurt?
While props can enhance context, they can also detract from the coin’s prominence. Choose props sparingly, e.g., placing an ancient coin on a piece of parchment. Ensure the coin remains the focal point.
A Roman denarius, for instance, that is photographed on a faded map added historical context without overshadowing the coin.
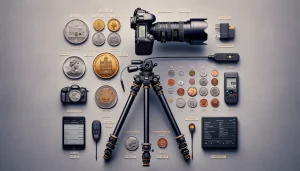
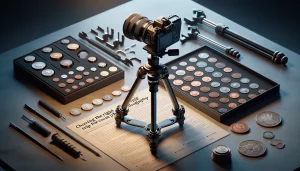
12. Is Your Camera Up to the Task?
You do not need the latest equipment, but your camera should meet certain standards. Use a camera with a high resolution (10MP or more) to photograph all the details. Smartphones with macro lenses can also deliver excellent results.
A modern iPhone captures all details of any coin when paired with a clip-on macro lens.
13. How Close Is Too Close?
Filling the frame is important, but cutting off edges can diminish the coin’s impact. We recommend that you leave a small margin around the coin to create balance and prevent cropping during editing.
One of the examples is a photo of a Canadian maple leaf coin with just enough background to frame the piece without distractions.
14. Should You Shoot Obverse, Reverse, or Both?
A coin’s story is only fully told when both sides are in detail. Always photograph the obverse (front) and reverse (back) of your coin. If your coin has unique edge details, e.g., lettering or reeding, include those as well in your shots for a more comprehensive view.
For example, when photographing a commemorative half dollar, capturing both the obverse with President Kennedy’s engraving and the reverse showcasing the Great Seal of the United States created a complete and visually compelling portrayal.
15. Are Your Coins Center Stage?
The composition of your photograph determines the focus and impact of your coin. For clean and straightforward shots, place your coin in the exact center of the frame.
This makes it possible that it remains the primary subject. You can also experiment with the rule of thirds by positioning the coin slightly off-center.

16. What About Composition Rules?
While there are established rules for composition, creative deviations can enhance a coin’s story. Centering is a reliable option, but do not hesitate to add complementary elements around the coin.
Slightly off-center placements paired with certificates, artifacts, or props can make the result more beautiful.
17. Are You Shooting in RAW?
The RAW format preserves the most image detail and allows for extensive post-processing flexibility.
If your camera supports RAW, always shoot in this format. RAW files capture far more information than JPEG, especially in areas like tonality, texture and luster. This is a must for showing the nuances of a coin’s condition.
18. Do You Need Specialized Software?
Editing software is very important for refining coin photography, even if you are on a budget.
Adobe Lightroom is ideal for professional-grade photo adjustments, while Snapseed provides quick and user-friendly editing options. Use tools like sharpening, dehaze, and clarity with care to maintain the coin’s authenticity.
19. Is Patience the Secret Ingredient?
Taking your time to experiment and perfect your shots leads to better results.
Dedicate uninterrupted time for your photography sessions. Explore different lighting setups, backgrounds and angles. Revisit coins that present challenges and do not hesitate to reshoot if necessary.
20. Are You Telling a Story?
A nice photograph goes beyond the coin itself by weaving in historical or thematic elements. Pair your coin with artifacts, documents, or settings that provide historical or personal context. This will enrich your images and become an interesting point in your collection.
For example, if a World War II-era coin was photographed alongside a vintage map and a soldier’s medal, it would reflect more historical significance for a collector.
The Final Takeaway
So, if you are preparing for an exhibition, posting your coins on websites and online markets, or just want to show off your portfolio, you need to be able to photograph your coins correctly. Why? It is simple – if people like the visuals, they will value your exhibits much higher. This is how human psychology works.
So do not hesitate. Even if you do not have photography skills, you can always develop them. Start today, and in a week you will see progress.