Materials and Tools Needed
Creating your own lightbox for coin photography is like concocting the perfect recipe—you need the right ingredients (materials) and the right utensils (tools). Without them, it’s like trying to bake a cake without flour or a whisk! Don’t worry—you’re in for an easy DIY project that doesn’t require a carpenter’s toolbox or a magical budget.
What You’ll Need to Get Started
To set up your lightbox, gather simple, affordable items—many of which might already be lounging around your home:
- A cardboard box: Medium-sized works best. Think something sturdy but flexible enough to cut easily.
- White tissue paper or tracing paper: This will diffuse the light evenly, creating that soft, professional glow.
- White poster board or foam board: Acts as your seamless background, eliminating distracting creases or shadows.
- Double-sided tape or glue: Keeps everything in its designated spot without slipping or shifting.
- Scissors and a box cutter: These are your tools of transformation—precision is key!
- Desk lamps or LED lights: Bright. Adjustable. A coin’s best friend when revealing those tiny details.
Optional Add-ons for the Perfectionist
If you’re someone who loves going the extra mile, add these to your list:
- Colored backdrops: Swap out white for black, grey, or even velvet finishes for dramatic flair.
- Reflectors or mirrors: These can bounce light onto hard-to-reach spots for an added sparkle on your coins.
- Clamps: Ensure your box and lights stay steady while you work your magic.
With these materials by your side, you’ll be ready to turn a plain cardboard box into a studio-worthy setup. Time to roll up those sleeves and let creativity lead the way!
Step-by-Step Guide to Building the Lightbox
Setting the Foundation: Crafting the Perfect Base
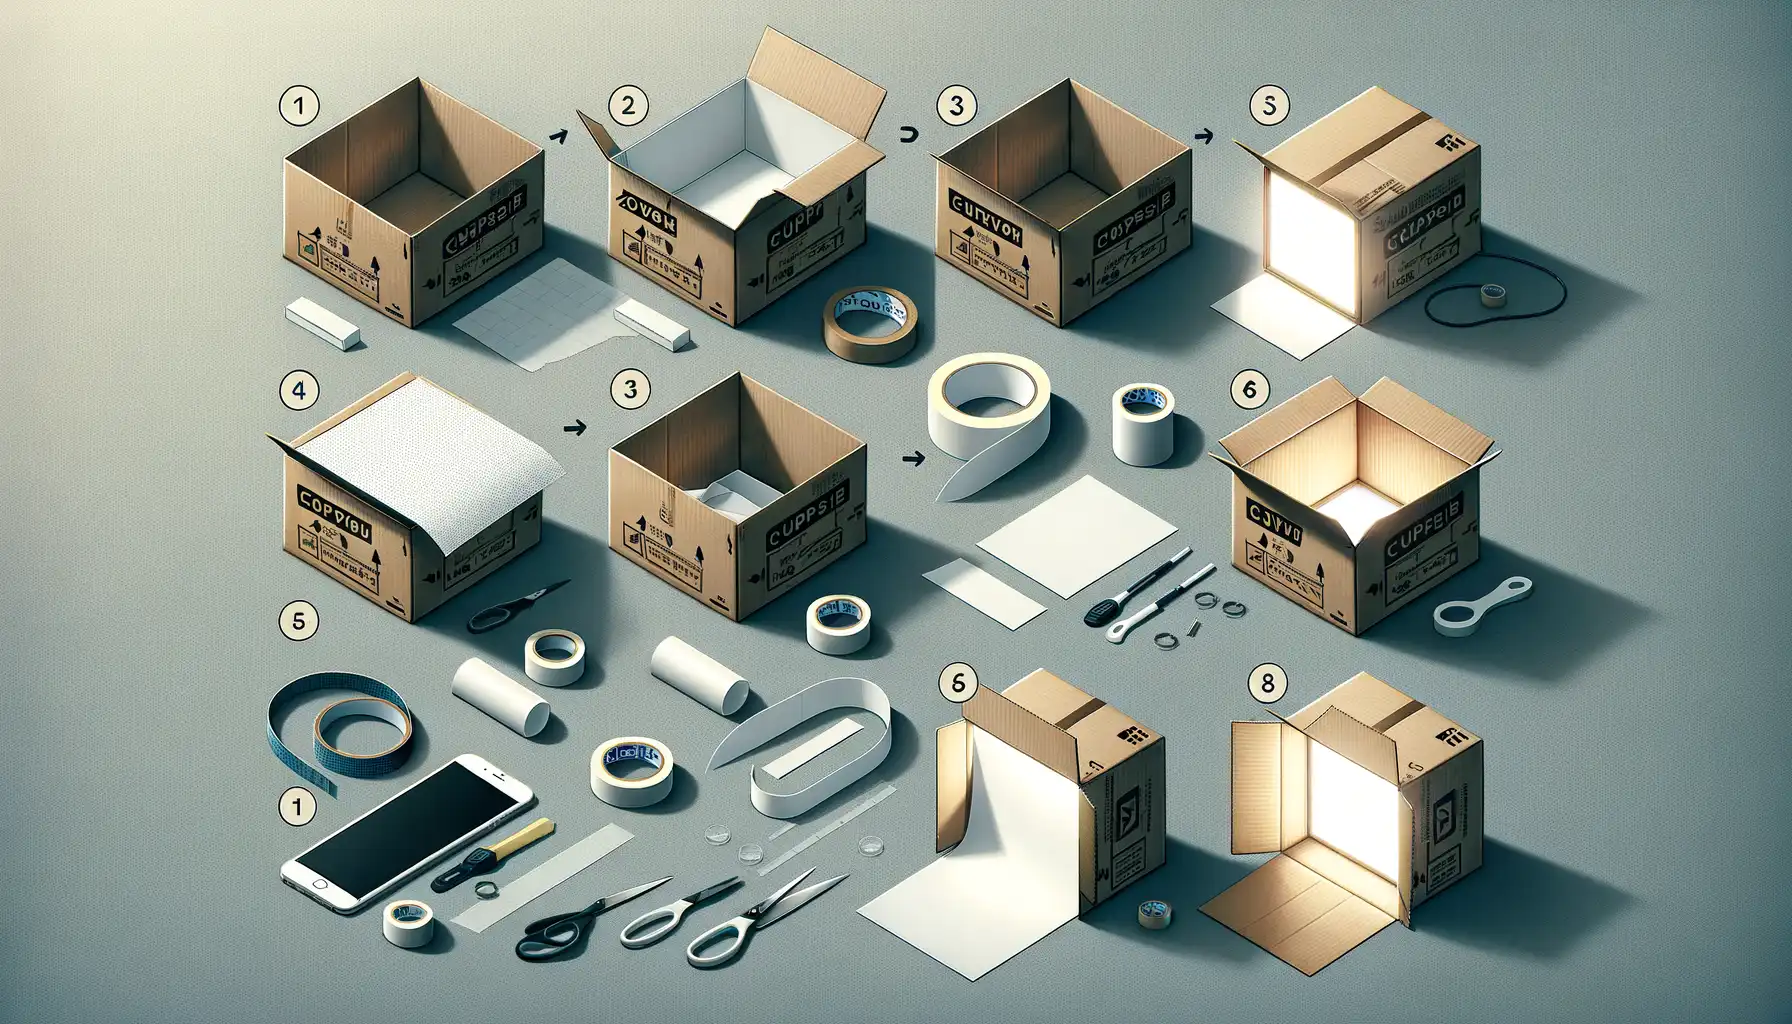
Ready to roll up your sleeves? Let’s start building your lightbox masterpiece! First, grab your chosen box—whether it’s a sturdy cardboard box or an old shipping container waiting to shine again. Lay it on its side with the open end facing you. Now, imagine this as your lightbox’s stage for coins to dazzle.
Next, mark out large windows on three sides of the box (the left, right, and top). These will act as your light sources, allowing soft, diffused light to envelop your coin. Use a sharp blade or box cutter to carefully cut the openings. Take your time—precision now will reward you later.
Once the windows are cut, tape sheets of white tissue paper over each one. This step is crucial; it transforms harsh, direct light into soft, even illumination. Think of it like adding frosted glass to your lightbox—hello, dreamy coin photos!
Adding the Finishing Touches
The interior matters too! Line the inside of the box with plain white poster board, creating a seamless, curve-free background. Why? That smooth backdrop eliminates distractions and makes your coin take center stage.
Here’s a quick checklist to finish strong:
- Secure the poster board without wrinkles—clean corners make all the difference.
- Test your light placement before snapping pictures. Adjust angles to avoid shadows or glare.
Your lightbox is now ready to turn your coin photography into an art form.
Lighting Tips for Coin Photography
Mastering the Dance of Light and Shadow
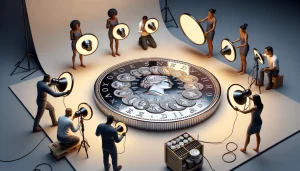
When it comes to showcasing your coins’ intricate details, lighting isn’t just important—it’s your best friend. The wrong light can make a rare coin look dull, while the right one turns it into a dazzling masterpiece. But how do you get that perfect glow? Here’s a little secret: It’s all about controlling shadows and reflections.
First, avoid direct lighting at all costs—think harsh sunlight or unfiltered bulbs. These create glare and overexpose the coin’s delicate textures. Instead, opt for diffused light. A simple trick? Cut up a white plastic shopping bag or use parchment paper to soften the beam of any lamp you’ve got lying around.
Position matters too. Think of light as a painter’s brush. Place your light source slightly angled (not straight overhead!) to reveal those tiny ridges and inscriptions. Want even more drama? Use two lights at opposing angles to add depth without washing out details.
And when you’re working with reflective coins—proofs, I’m looking at you—try experimenting with black velvet backgrounds and strategically blocking light sources to avoid mirrored distractions. It’s all trial and error, but trust me, when the light clicks, so will your photos!
Tinker with DIY Lighting Hacks
Let’s get scrappy! Who needs fancy studio rigs when you’ve got creativity, right? Here are some budget-friendly hacks:
- Wrap aluminum foil around cardboard pieces to create homemade reflectors. Bounce light exactly where it’s needed without extra equipment.
- If you’re stuck with warm household bulbs, balance the color by draping pale blue tissue paper over them to mimic natural daylight.
- Need more soft lighting? Grab an old white T-shirt and stretch it tight over a desk lamp—instant DIY diffuser!
Experiment boldly, because here’s the thing: every coin is unique, and so is its perfect lighting setup. Keep tweaking until you find that jaw-dropping shimmer.
Tips for Capturing High-Quality Coin Photos
Bring Your Coins into the Spotlight
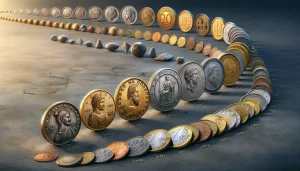
The secret to snapping jaw-dropping coin photos isn’t just about fancy equipment—it’s about coaxing out the personality of each coin. Yes, coins have character! Whether it’s the weathered patina of an ancient Greek drachma or the pristine polish of a modern proof coin, you’re telling their story.
Start by handling your coins with care. Use cotton gloves to avoid smudging their surfaces—those microscopic fingerprints can be heartbreakers on close-ups. Then, settle them comfortably in your DIY lightbox. Keep the surface dust-free with a soft brush or compressed air before every shot. Trust me, that last-minute fluff can ruin an otherwise perfect photo.
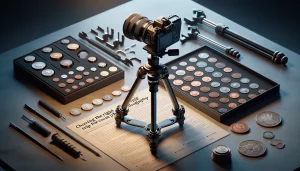
Master the Art of Angles and Details
Angles are everything. A small adjustment can mean the difference between a flat, lifeless image and one that showcases the dazzling luster of a coin. Here’s how to nail it:
- Experiment with tilting the coin relative to your light source to make engravings pop.
- Zoom in for those finer details—every swirl and symbol deserves attention.
- Watch for reflections (your face or camera shouldn’t steal the spotlight!) and reposition if necessary.
Above all, give yourself time to explore. When you hit that “perfect shot,” it feels like striking gold!
Conclusion and Final Thoughts

Why Your DIY Lightbox is More Than Just a Box
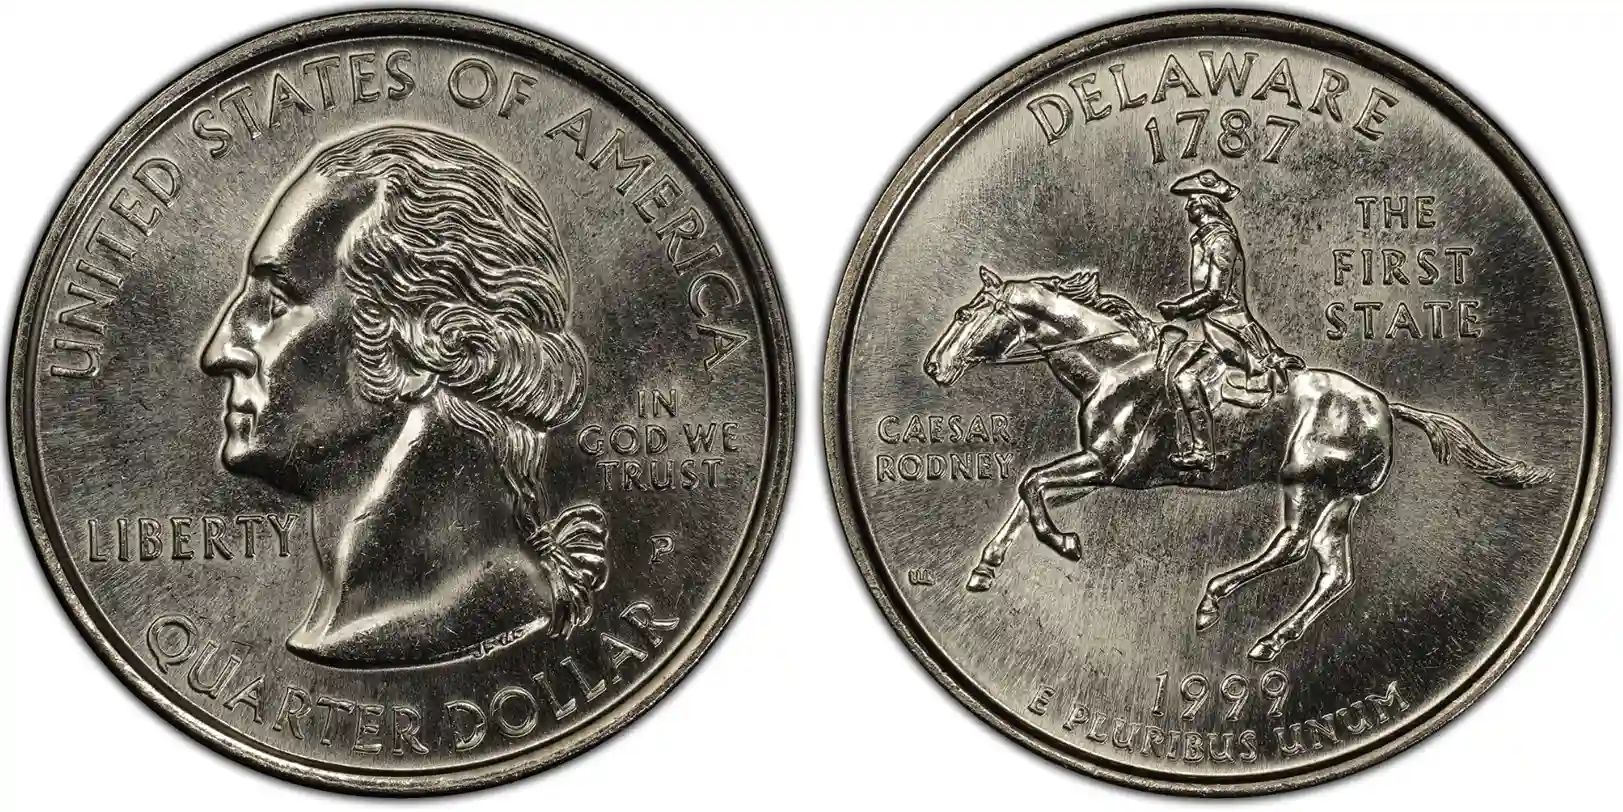
Building your own lightbox isn’t just about saving a few bucks—it’s about crafting something truly tailored for your passion. Whether you’re capturing the fine detail of an ancient Roman coin or the shimmer on a freshly minted quarter, your custom lightbox gives you control that no off-the-shelf option can match. Think of it as your secret weapon, designed by you, for you.
With the soft diffusion from your handmade setup, you’ll notice details popping out that you might have missed before—the intricate carvings, that subtle oxidation, or even fingerprints from centuries past (imagine holding history in such sharp focus!). Plus, the process of building it feels like a creative project, not a chore. You’re not just photographing coins anymore; you’re creating art.
A Few Quick Wins to Keep in Mind
To squeeze the most out of your DIY creation:
- Keep a small notebook of lighting settings for different coins—trust me, this is your goldmine later!
- Experiment with angles. A slight tilt can turn a dull shot into a showstopper.
- Regularly clean your LED lights and diffusers. Dust tends to sneak in, dimming that perfect glow.
Every detail matters when you’re building something that makes your subject shine brighter than ever! So, take pride in what you’ve built—you’re now ready to bring those coins to life.