Understanding the Basics of Natural Light
What Makes Natural Light So Magical?
Natural light isn’t just light—it’s a storyteller. It paints your portraits with emotion, depth, and authenticity that studio lighting can rarely replicate. Think of it as the difference between a quiet symphony and a loud pop song: one whispers subtle beauty, while the other screams perfection.
The way natural light behaves is mesmerizing: soft shadows, warm highlights, and ever-changing tones. Morning light, for example, caresses your subject with a dreamy glow. Midday sun? That’s your drama queen—strong, bold, and unapologetic. And don’t even get me started on golden hour! It’s like Mother Nature saying, “Here’s your free portrait filter.”
But remember: natural light isn’t always kind. It’s dynamic, unpredictable, and loves to play hide-and-seek (hello, cloudy days!). Still, learning how to work *with* it, instead of against it, will give your photos incredible personality.
The 4 Key “Ingredients” of Beautiful Natural Light
Understanding light means paying attention to its qualities:
- Direction: Where does the light come from? Front light softens features; side light brings drama.
- Intensity: How strong is it? Harsh midday light creates sharp shadows; diffused light is gentler.
- Color temperature: Warm golden tones vs. cooler blues—choose your mood!
- Movement: The sun doesn’t wait—track it before you lose those magical moments.
Once you start noticing these, the mystery of natural light begins to unlock itself, one beam at a time.
Best Times and Locations for Shooting
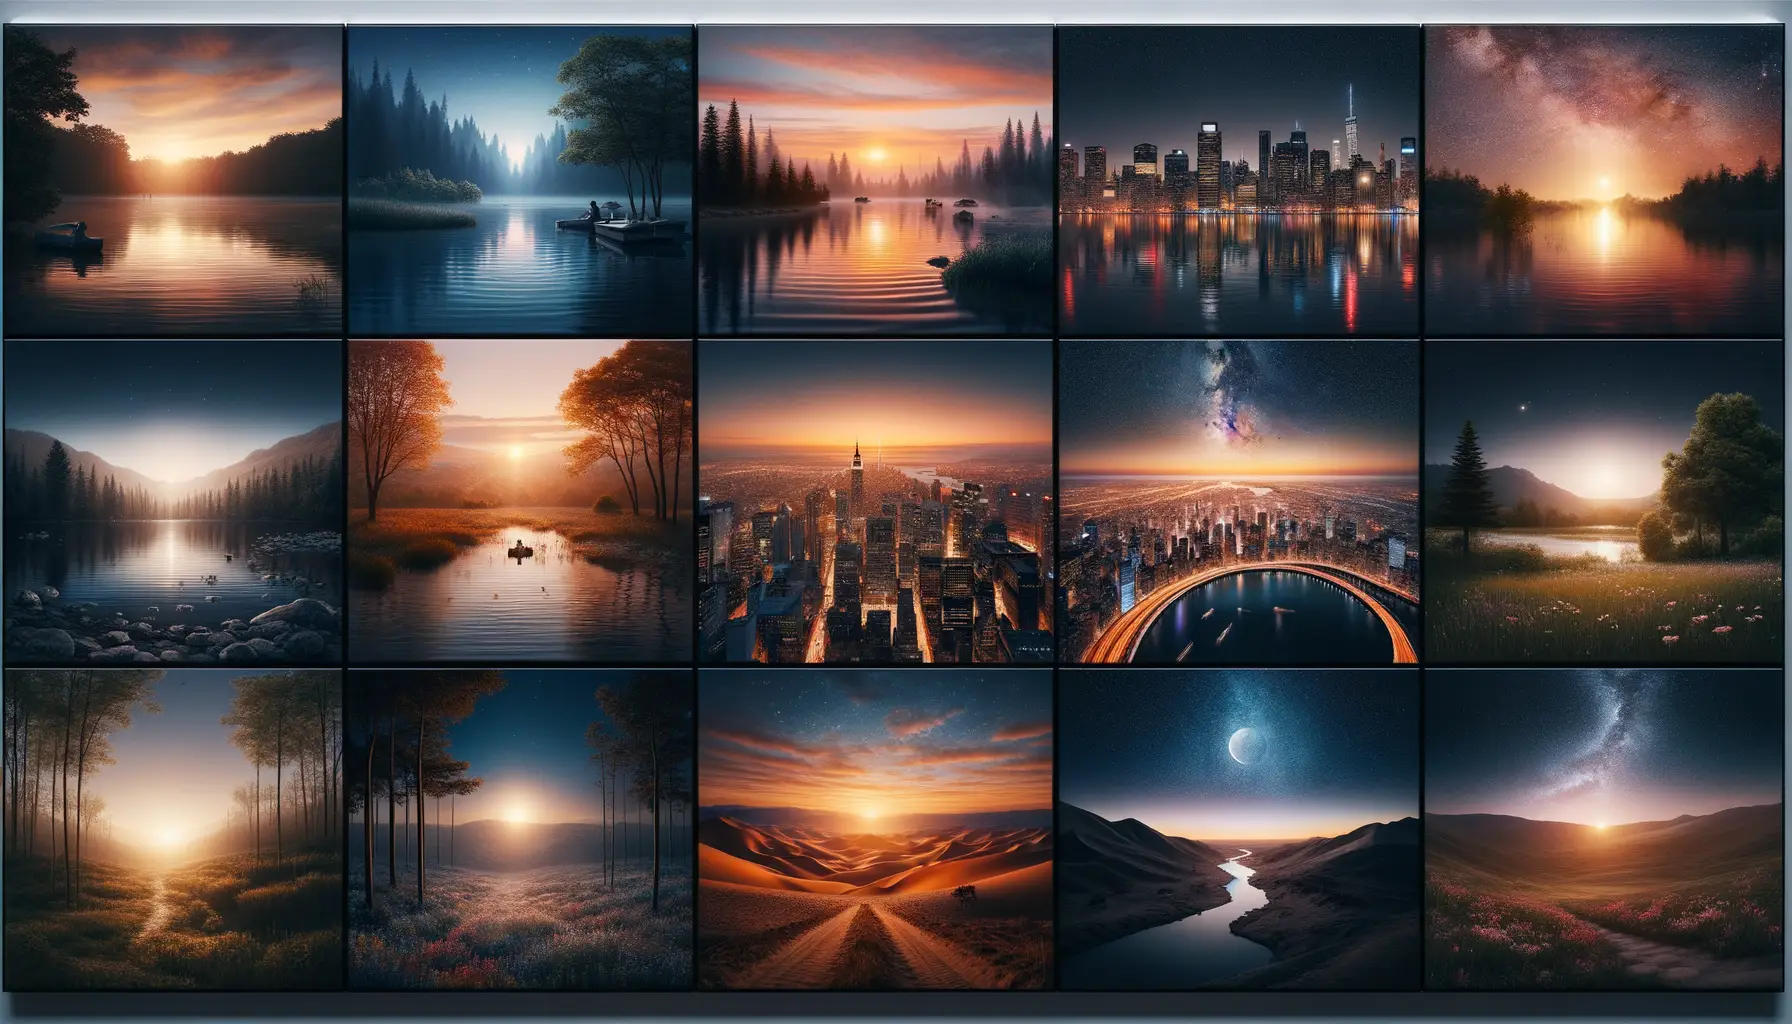
Chasing the Golden Glow
Imagine your subject bathed in a dreamy, golden light that looks like it’s been hand-painted by the sun. That’s the magic of shooting during the Golden Hour. This precious window happens twice a day—shortly after sunrise and just before sunset. The light at these times is soft, warm, and forgiving, almost as if nature itself is holding up a giant diffuser for you. No harsh shadows, no unflattering highlights—just pure, flattering brilliance.
If you’re an early bird, catch the morning glow. There’s something so serene about dew-kissed grass and a world that’s barely awake. Not much of a morning person? Sunset is your time to shine. The waning sun brings out rich, vibrant hues perfect for portraits with depth and warmth.
Location, Location, Location!
The right setting can amplify the magic of natural light. Here are some of my favorites:
- An open field or park: Endless natural light and space to let your creativity flow.
- A shady forest: Soft, dappled light streaming through leaves can create stunning depth.
- Urban hideaways: Look for alleys with reflective surfaces or wide-open rooftops for dynamic light play.
For truly mesmerizing shots, position your subject with their back to the light. A rim of golden rays will outline them like they’re starring in their own cinematic masterpiece.
Camera Settings for Natural Light Portraits
Dialing in the Magic: Key Settings to Nail the Shot
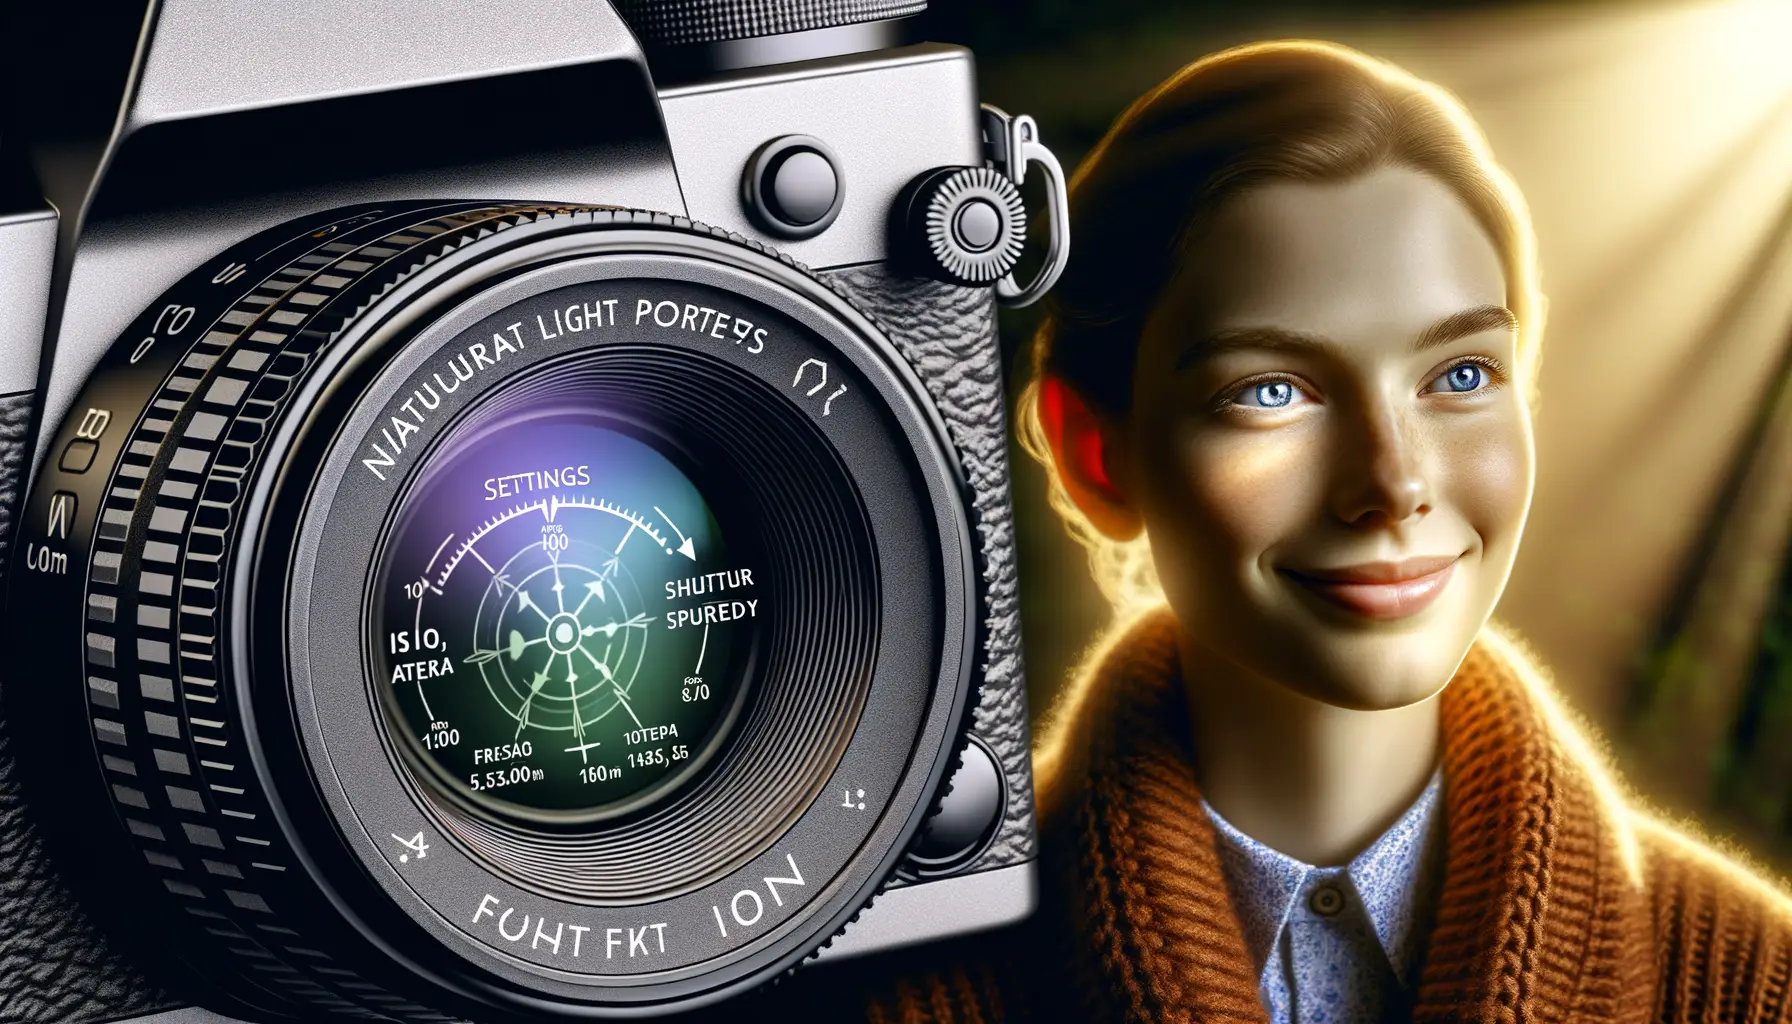
The secret to capturing stunning natural light portraits lies in your camera’s settings—your toolkit for sculpting light like an artist with a paintbrush. First up, always shoot in manual mode. Sure, auto settings might feel like a safety net, but they dilute your creative control. Manual allows you to orchestrate every facet of the frame.
Let’s talk aperture. Want that dreamy background blur that makes your subject pop? Go for a wide aperture like f/1.8 or f/2.8. It creates that shallow depth of field that whispers elegance. Pair this with a low ISO, ideally 100 or 200, to keep noise at bay and let the natural light speak for itself.
Shutter speed is where precision kicks in—too slow, and you risk motion blur; too fast, and you lose crucial details. A safe starting point? 1/125 for portraits unless there’s faster movement involved.
- For golden hour: balance with aperture priority mode and watch the light wrap around your subject.
- In bright midday light: use a higher shutter speed or an ND filter to tame harsh highlights.
Experiment endlessly; every adjustment tells a story. And remember—your camera sees what you envision.
Techniques to Enhance Your Portraits
Master the Art of Framing Your Subject
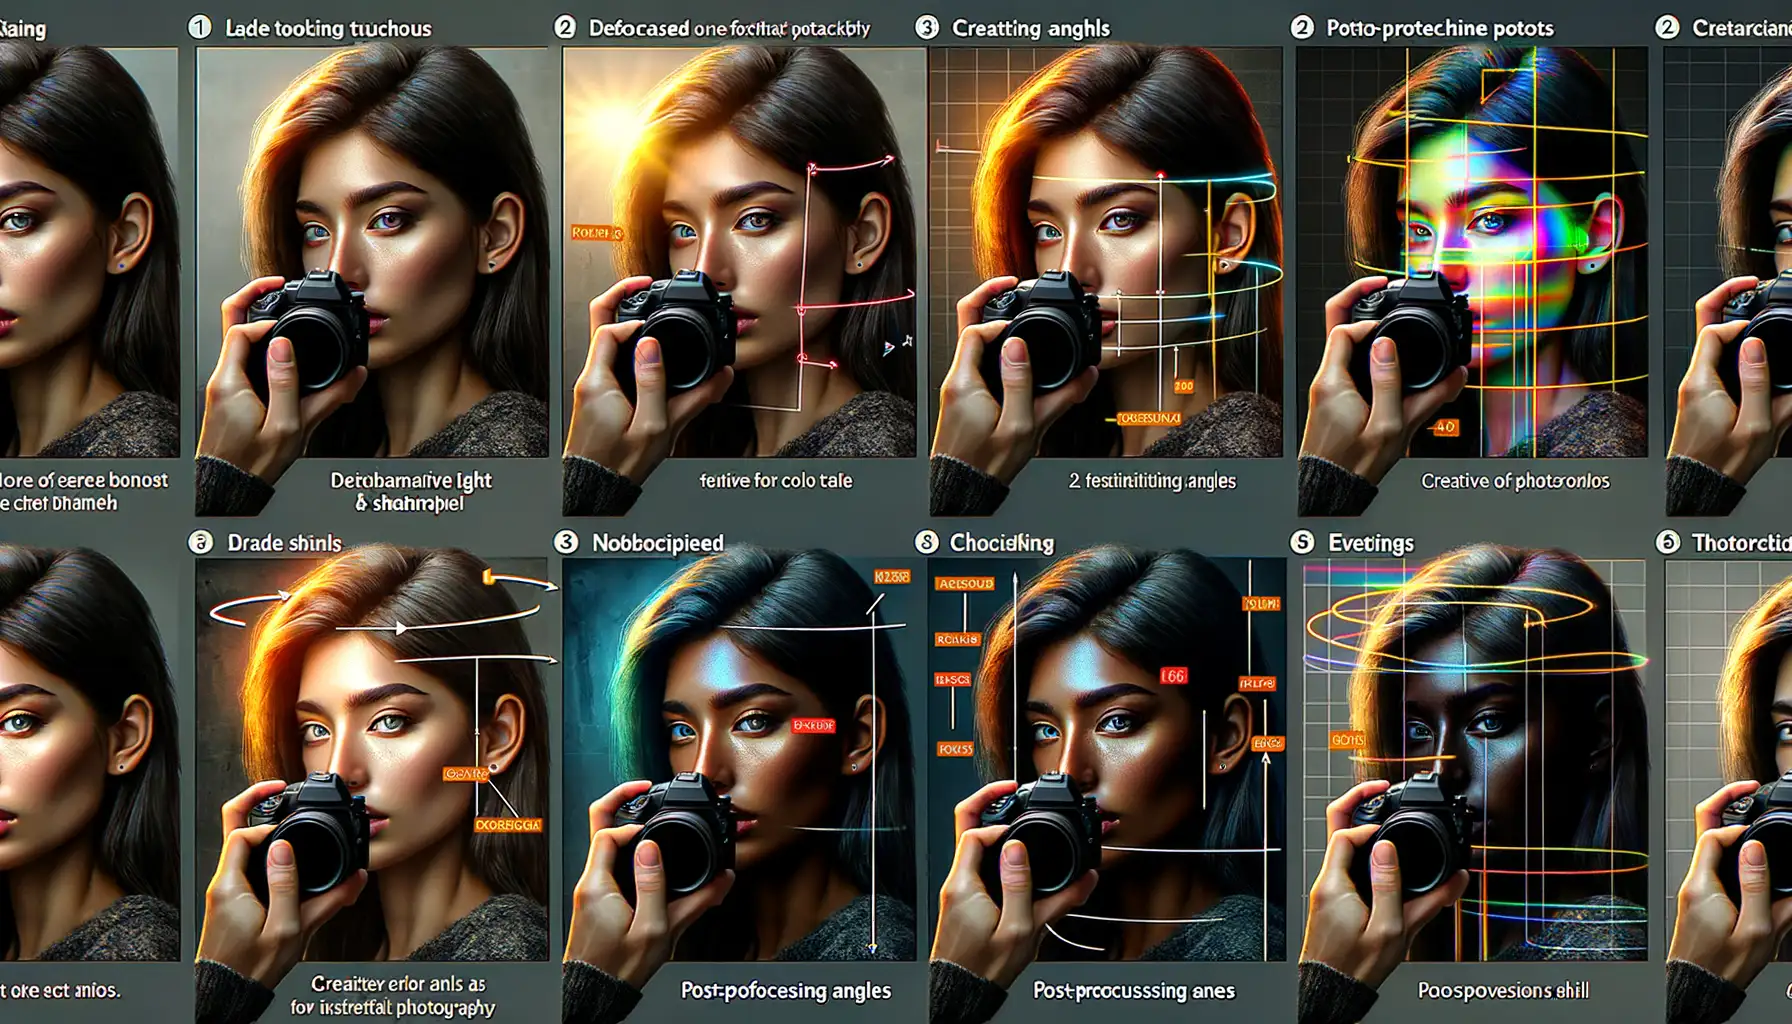
If the eyes are the windows to the soul, then framing is the key to unlocking it in a portrait. Think of your camera as a storyteller—where and how you position your subject is how the story unfolds. For an intimate vibe, try the “rule of thirds.” Imagine dividing your frame into a tic-tac-toe grid. Place your subject’s eyes along one of the upper lines—it’s subtle, but it creates visual magic.
Want to add drama? Experiment with negative space. Leave some room around your subject—it could be an expansive sky or a patterned wall. This isn’t just empty space; it’s the breath that makes the image feel alive.
And don’t forget the foreground! A blurry branch, a soft curtain—these elements create layers, pulling viewers into your frame like a well-crafted plot twist.
Pay Attention to Details That Speak Loudly
It’s the little things that make a portrait unforgettable. Before snapping away, notice:
- That stray hair catching the light—tame it or celebrate its quirkiness.
- The way sunlight dances off a freckle—angle your subject to catch it just right.
- A hand tucked into a pocket—a gesture that whispers personality.
Remember, portraits aren’t just pictures; they’re captured moments of essence. Every detail tells a story—let them shine as brightly as your subject’s natural glow.
Common Mistakes and How to Avoid Them

Lighting Pitfalls That Can Ruin Your Shot
Natural light can be your best friend—or your sneakiest saboteur. It’s tempting to think all sunlight is good sunlight, but trust me, it’s not. Shooting under the blazing midday sun? That’s a fast track to harsh shadows and squinty eyes—your subject deserves better! Instead, prioritize softer light like what you’ll get during the gentle glow of golden hour.
And here’s a sneaky tip: watch out for dappled light under trees. Those patchy light spots might look artistic in theory, but in reality? They’ll leave your subject looking like a cheetah. Not cute. Move them a step to the side or adjust angles until you find a properly even light source.
Composition Chaos: The Overlooked Details
Composition can trip up even seasoned photographers. Have you ever snapped a stunning portrait only to spot a rogue lamp post “growing” out of someone’s head later? Classic mistake. Keep an eye on your background—it should complement your subject, not compete with it.
Here’s a quick fix: follow the rule of thirds. Line your subject’s eyes along the top third of the frame instead of smack-dab in the middle. It creates depth and drama—everyone loves a bit of drama in their portraits.