Getting Started with Coin Photo Editing
Why Coin Photos Deserve Special Attention
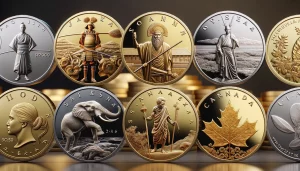
Editing coin photos isn’t just about enhancing an image; it’s like unlocking the full personality of your coin. Each coin—whether it’s a shimmering silver dollar or a weathered ancient relic—tells a story through its texture, shine, and markings. Without thoughtful editing, these intricate details might fade into the background.
Getting started with coin photo editing is an adventure, but don’t worry—you don’t need to be a Photoshop wizard from day one. It’s all about zooming in, literally and figuratively, to bring every ridge and glimmer to life. Think of it like polishing a rough gem; you already hold something valuable, but now you’re giving it brilliance.
Simple Steps to Begin Your Editing Adventure
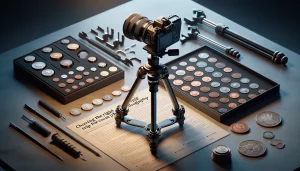
When working on coin photos, make sure your setup inspires you to do your best work. Here’s how to prepare:
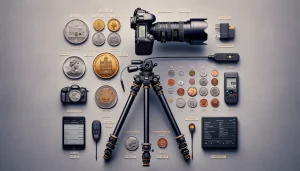
- Lighting and Capture: Start with high-quality, well-lit photographs. Try using natural light to capture the true tones.
- Organize Your Tools: Have Photoshop downloaded (of course!) and a comfortable workspace ready—both for creativity and focus.
- Reference the Coin: Keep the actual coin nearby so you can compare its authentic beauty as you edit.
By setting the right tone from the beginning, you’ll dive into this process with confidence and excitement!
Essential Tools and Features in Photoshop for Coin Editing
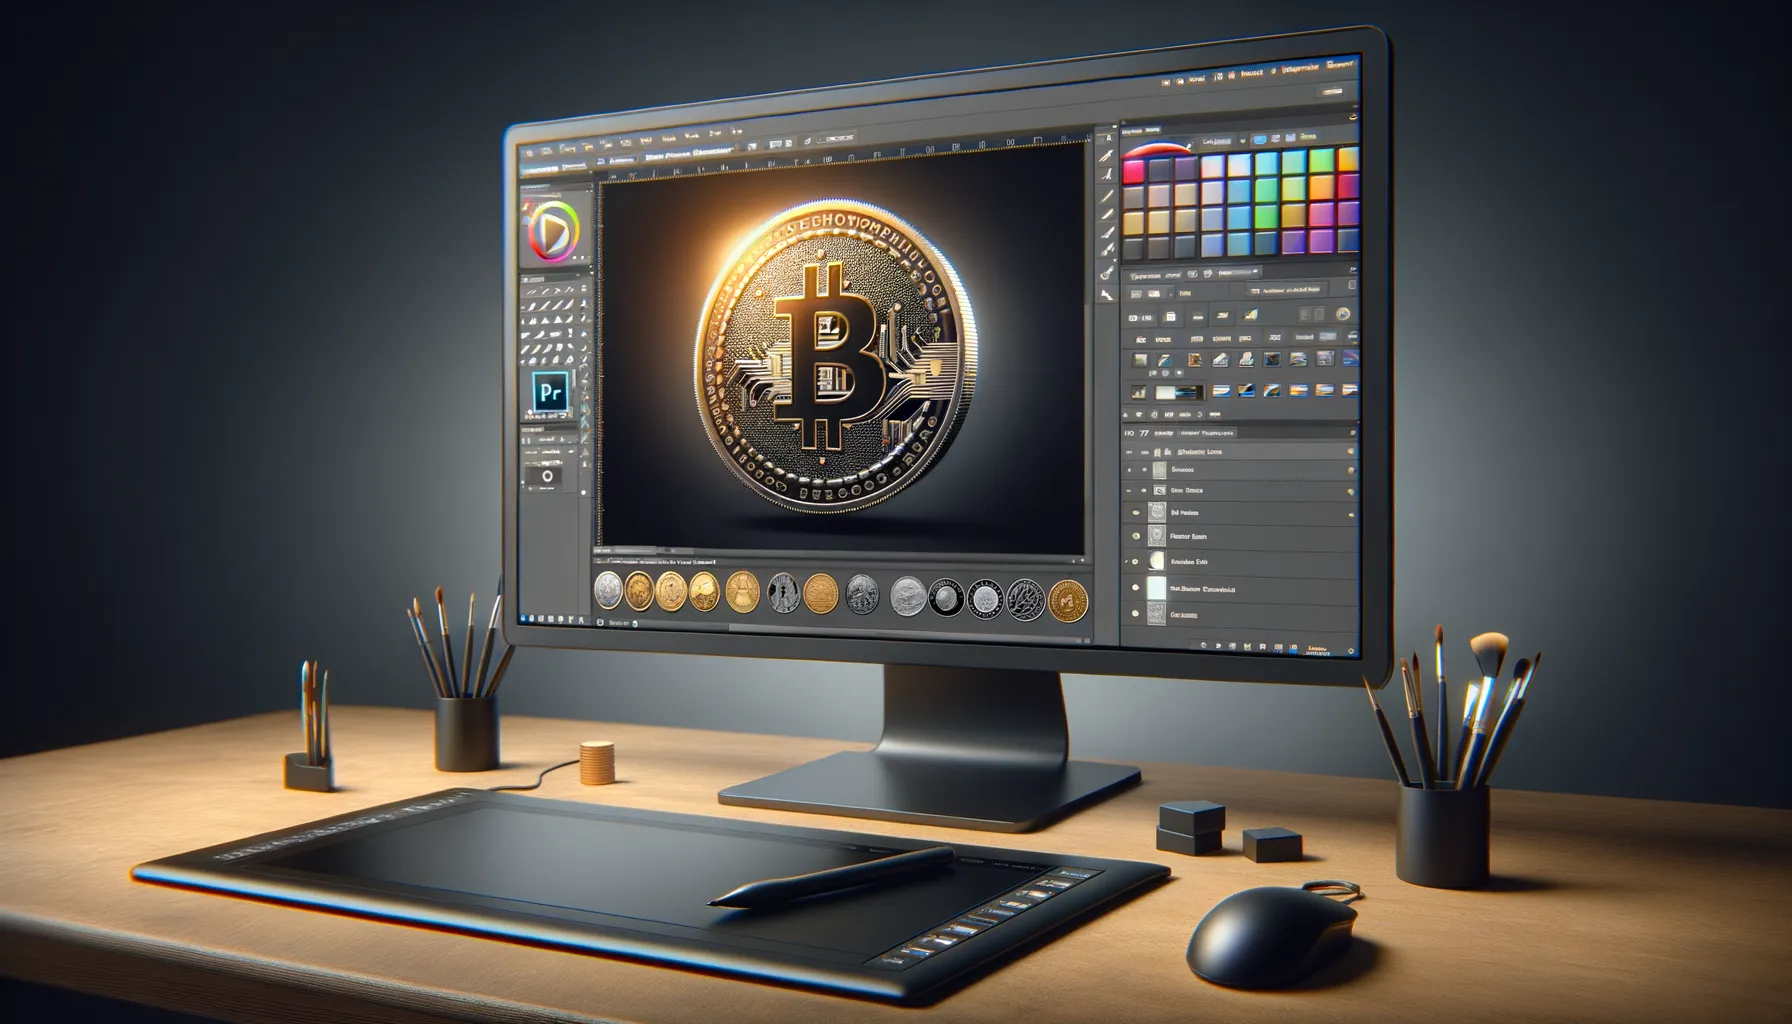
Unleashing the Power of Photoshop’s Selection Tools
When you’re editing coin photos, precision is everything. Coins are intricate, with details that demand a sharp focus and clean isolation. That’s where the magic of Photoshop’s selection tools comes in. The “Lasso Tool” feels like a painter’s brush—freehand, fluid, letting you trace around the coin as if sketching its silhouette. But for razor-sharp edges? Enter the “Quick Selection Tool”, a wizard that intuitively grabs the coin from its background with an almost eerie accuracy.
For those extra tricky corners (think the subtle grooves on a minted edge), the “Refine Edge” feature is your secret weapon, allowing you to smooth, feather, and perfect until every detail shines. Learning to wield these tools is like unlocking a treasure chest of possibilities, offering you control that feels both empowering and oddly satisfying.
Lighting Magic: Adjustment Layers That Transform
Coins live and breathe through their texture—the shimmer of silver, the warmth of copper. This is where adjustment layers work their spell. You’ll love the flexibility of experimenting without committing. Play with tools like:
- Brightness/Contrast: Make those faded engravings pop.
- Hue/Saturation: Perfect for correcting tarnish or enhancing natural hues.
- Curves: A precision tool to balance highlights and shadows, sculpting the coin’s dimensionality.
Think of adjustment layers as Photoshop’s “redo button,” letting you tweak freely. Seriously, it’s the kind of safety net you want when working on photos that matter. Don’t forget—layer masks let you apply changes selectively, keeping full creative reign.
Step-by-Step Process for Editing Coin Photos
Kickstart Your Coin Photo Editing Journey
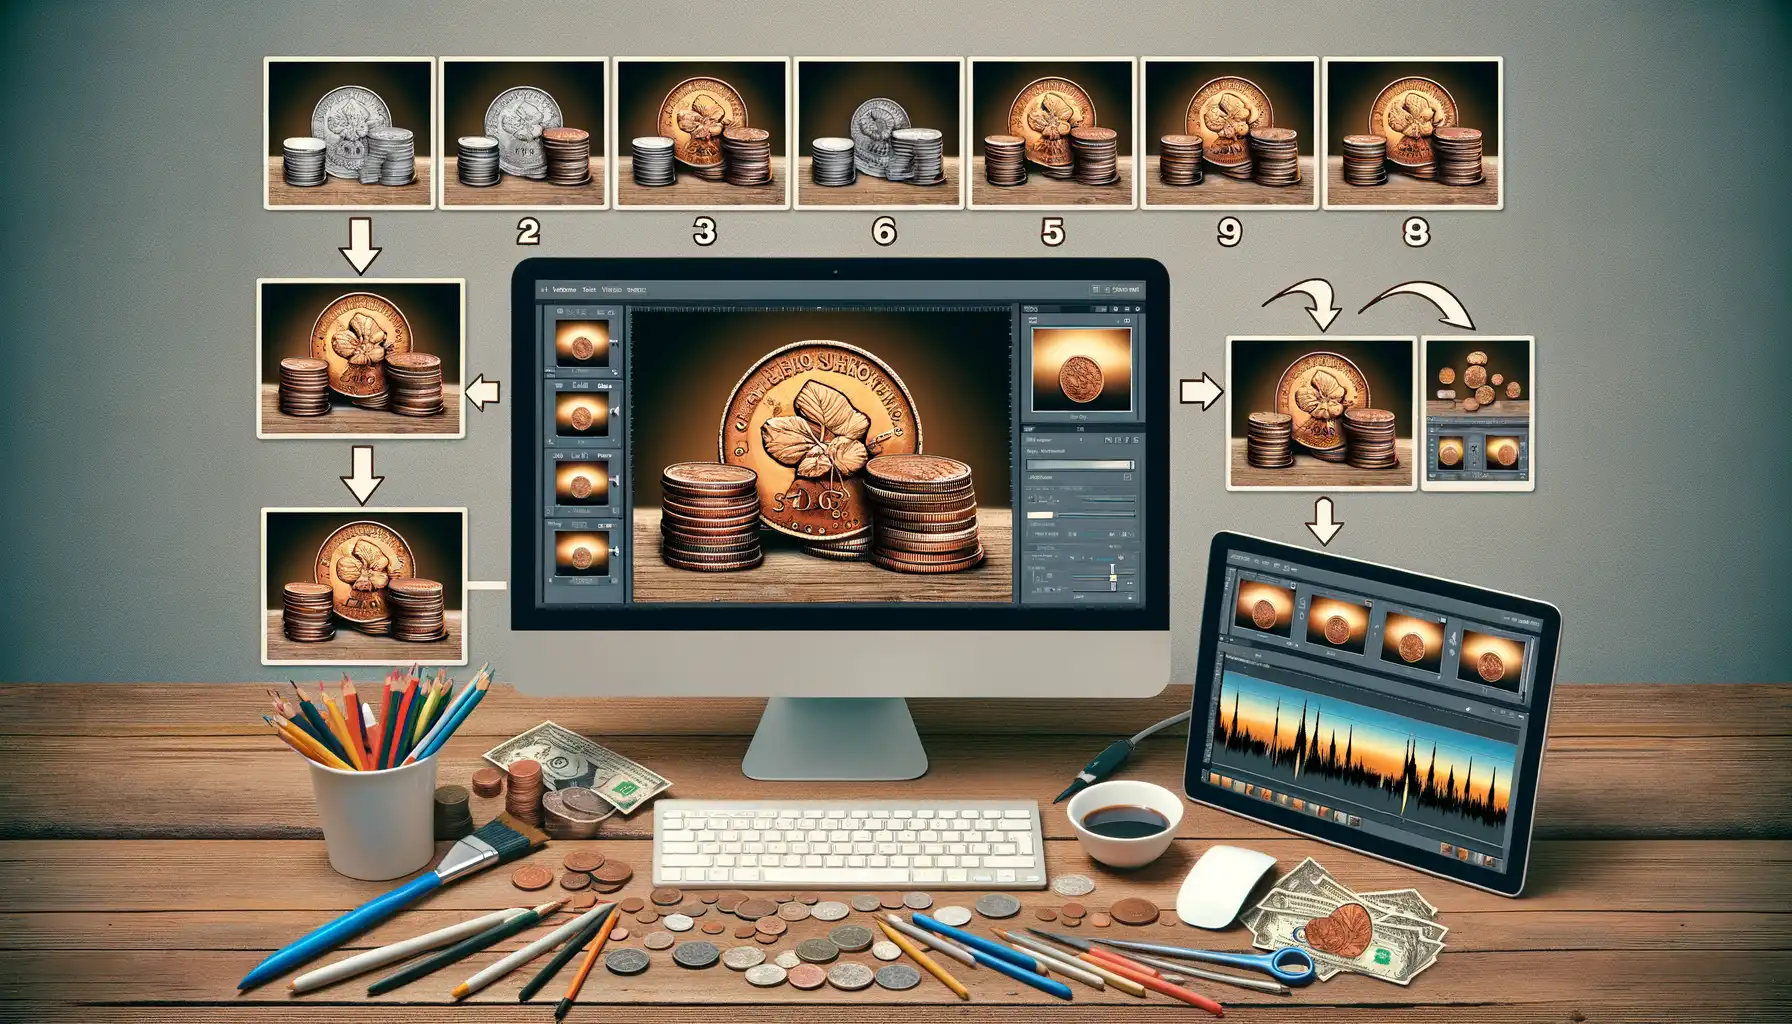
Editing coin photos might seem like deciphering a secret treasure map at first, but trust me—it’s not as daunting once you break it down step by step. First, open your image in Photoshop and let the fun begin. Start by cropping the photo to remove any distracting background clutter. Want that coin to *pop*? Adjust the brightness and contrast levels just enough to highlight its intricate details—think of it as polishing the coin with a digital cloth!
Now, zoom in close. Like, really close. You’re about to clean up imperfections. Use the Spot Healing Brush or the Clone Stamp Tool to eliminate specks of dust or unwanted scratches. This is where patience pays off. Don’t rush—coins have history, and every detail matters!
- Background Blur: Does the surrounding distract from the coin’s beauty? Add a subtle blur using the Gaussian Blur filter.
- Color Tweaks: Coins can shine better with slight saturation adjustments or hue corrections.
One last tip? Trust your eye. If it looks authentic and polished, you’re on the right track. Keep going; you’re curating a masterpiece of miniature art!
Tips for Enhancing Coin Photo Quality

Lighting: Your Secret Weapon
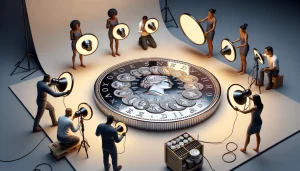
When it comes to capturing breathtaking coin photos, lighting is your best friend—or your worst enemy. Forget about harsh flashlight vibes; think soft, diffused light that wraps around your coin like a cozy blanket. Natural light near a window during the golden hour? Chef’s kiss. But for more control, invest in a lightbox or LED ring light.
Aim for even illumination to avoid those pesky reflections that steal the spotlight from your coin’s intricate details. A polarizing filter on your camera can also perform magic, reducing glare and keeping metallic surfaces crisp and clean.
Editing Magic: Bring Details to Life
A raw coin photo is like a diamond in the rough—it needs polish to shine. Here’s how to let your coins sparkle:
- Sharpen strategically: Too much sharpening makes the coin look jagged. Use Photoshop’s Unsharp Mask tool but keep it subtle to highlight patterns without overdoing it.
- Play with contrast: Increase contrast slightly to emphasize the fine details etched into the surface. Adjust shadows and highlights until your coin sings.
Don’t forget to inspect every pixel. Dust spots can sneak by and ruin the perfection you’re going for.
The goal? To make viewers feel like they’re holding that coin in their hands. Each tiny detail should tell its story.
Final Touches and Exporting the Edited Image

Adding That Extra Sparkle
You’ve polished, enhanced, and brought your coin photo to life—now it’s time for those magical *final touches* that truly make it shine. Imagine this stage as adding the frame to a prized painting; it’s all about perfect presentation.
Zoom into your image once more: Are there any tiny imperfections—dust specks, faint shadows, or unintended glare—that could steal attention? Use tools like the Spot Healing Brush or Clone Stamp for surgical precision. Adjustments here aren’t just technical—they’re emotional. You want the viewer to feel the coin’s history and craftsmanship.
Next, fine-tune the image settings:
- Brightness & Contrast: Ensure every detail pops without overexposing the highlights.
- Sharpening: Crank it up delicately so inscriptions are crisp but not overly harsh.
- Hue & Saturation: Subtle tweaks can transform dull metallic tones into vibrant golds or silvers.
Exporting Like a Pro
Here’s where you lock in your masterpiece. Head to File > Export > Export As for total control. Choose a format: JPEG for simplicity, PNG for preserving details, or TIFF for archival quality. Don’t forget to check resolution—300 DPI is the sweet spot for print perfection. Name your file thoughtfully! “Coin_rare1943_silver” beats “IMG1234” every time. Remember, this is more than exporting—it’s presenting your hard work to the world.