Essential Equipment for Coin Photography
Must-Have Tools for Stunning Coin Shots
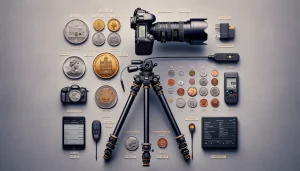
Want to make your rare coins shine online? The right gear can mean the difference between a dull, lifeless image and one that stops a collector in their tracks. Let’s talk essentials!
First up, you’ll need a good camera. While smartphones might tempt you with their convenience, a DSLR or mirrorless camera delivers unparalleled sharpness, especially when paired with a macro lens. This lens is like your treasure map, capturing every fine detail—those tiny inscriptions, delicate mint marks, or intricate designs that tell your coin’s story.
Lighting can make or break your shot. Avoid harsh overhead lights that create glare. Instead, grab a couple of softbox diffusers or LED ring lights. These tools cast a gentle glow over your coin, letting its textures and precious luster take center stage.
Looking for stability? A sturdy tripod is your MVP. No shaky hands allowed here! Pair it with a remote shutter release to avoid even the tiniest vibration.
Finally, keep some microfiber cloths and an air blower nearby—they’re lifesavers for dust and smudges that sneak onto your camera lens mid-session.
Preparing Rare Coins for Photography
Give Your Rare Coins the VIP Treatment
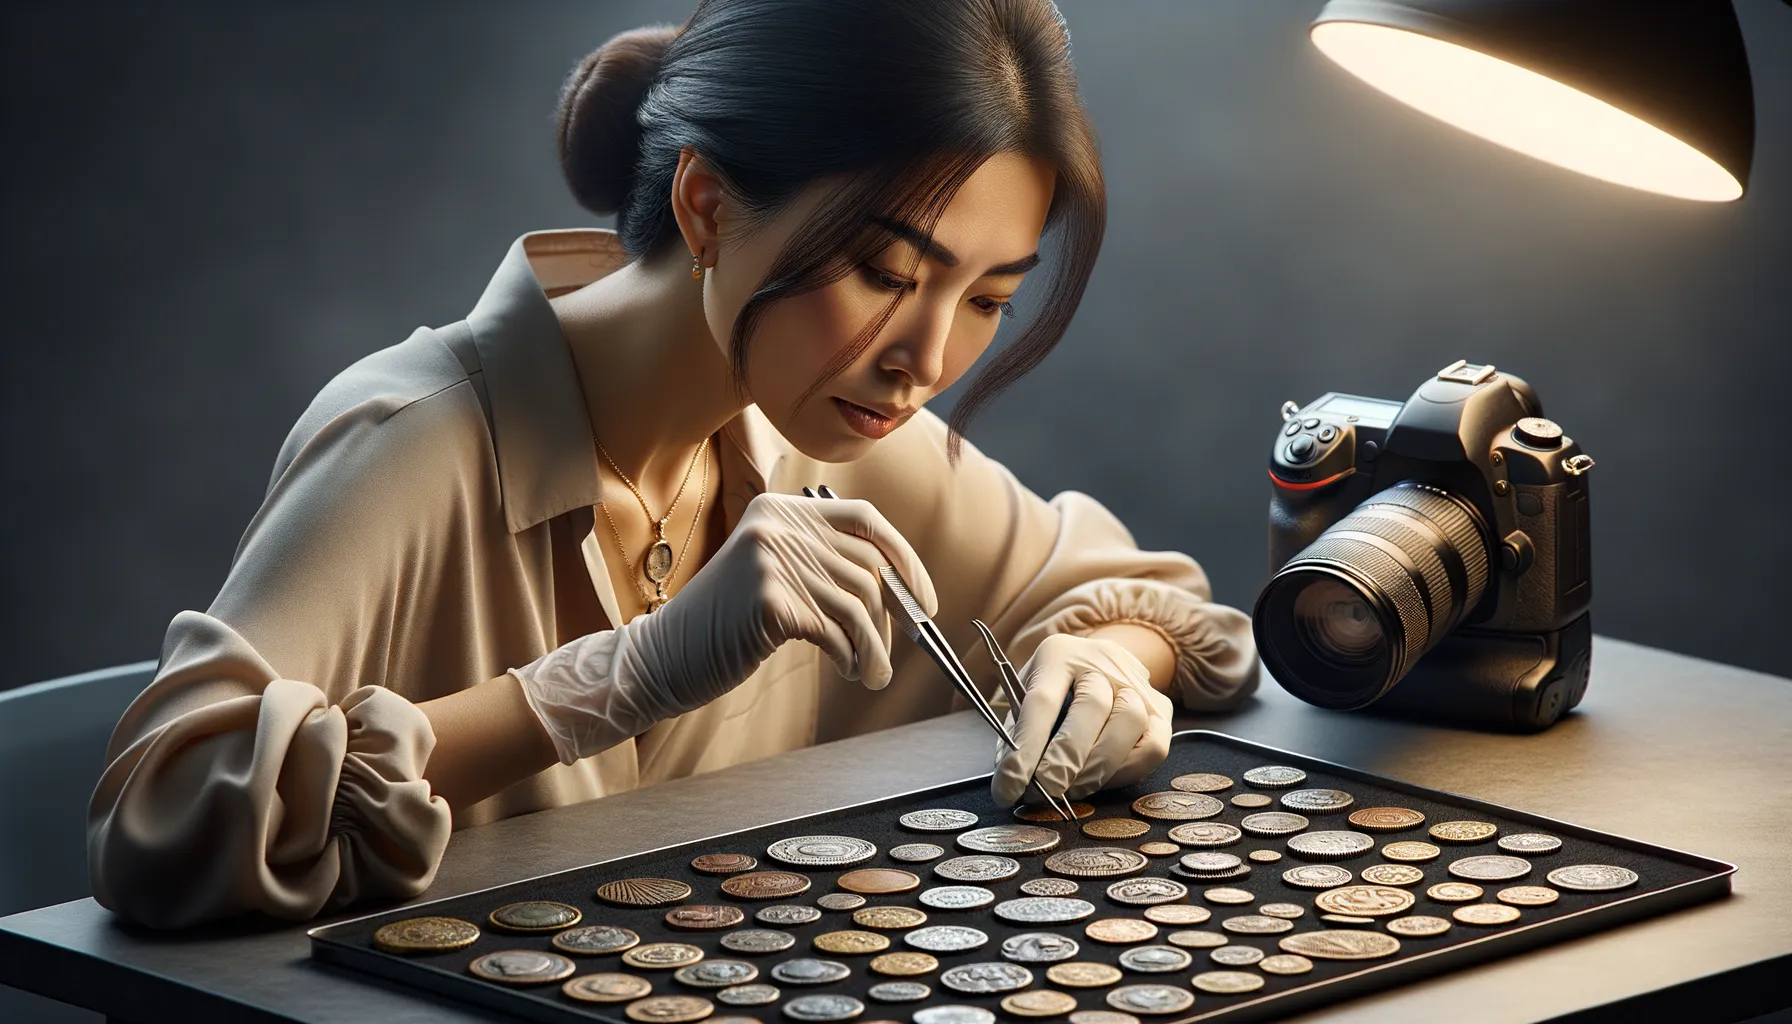
Preparing your rare coins for photography is like dressing a celebrity for their red-carpet moment—it requires attention to detail and a gentle hand. Before you even think about picking up your camera, your coins need to shine, but not artificially so. Let their natural beauty take the stage!
Start by handling your coins with gloves or soft-tipped tweezers. Your skin’s natural oils can leave unsightly smudges that no filter or post-processing magic can fully erase. If there’s dust or fingerprints, don’t panic—clean gently. A soft microfiber cloth works wonders; for stubborn grime, compressed air or a camel-hair brush are safer options than wiping too hard.
Create the Perfect Backdrop for Brilliance
Your coin deserves a background that makes it pop. Contrast is key:
- For bright gold or silver coins, choose darker shades like deep gray or navy.
- Copper coins look radiant against lighter tones such as cream or soft beige.
Beware of busy patterns or reflective surfaces, which can compete with the coin for attention. Imagine a stunning diamond buried in a pile of glitter—confusing, right? Keep backgrounds simple and let your rare find be the undeniable star.
Lighting Techniques for Capturing Coin Details
Sculpting Shadows: The Magic of Light and Angle
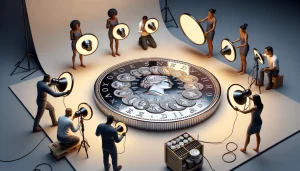
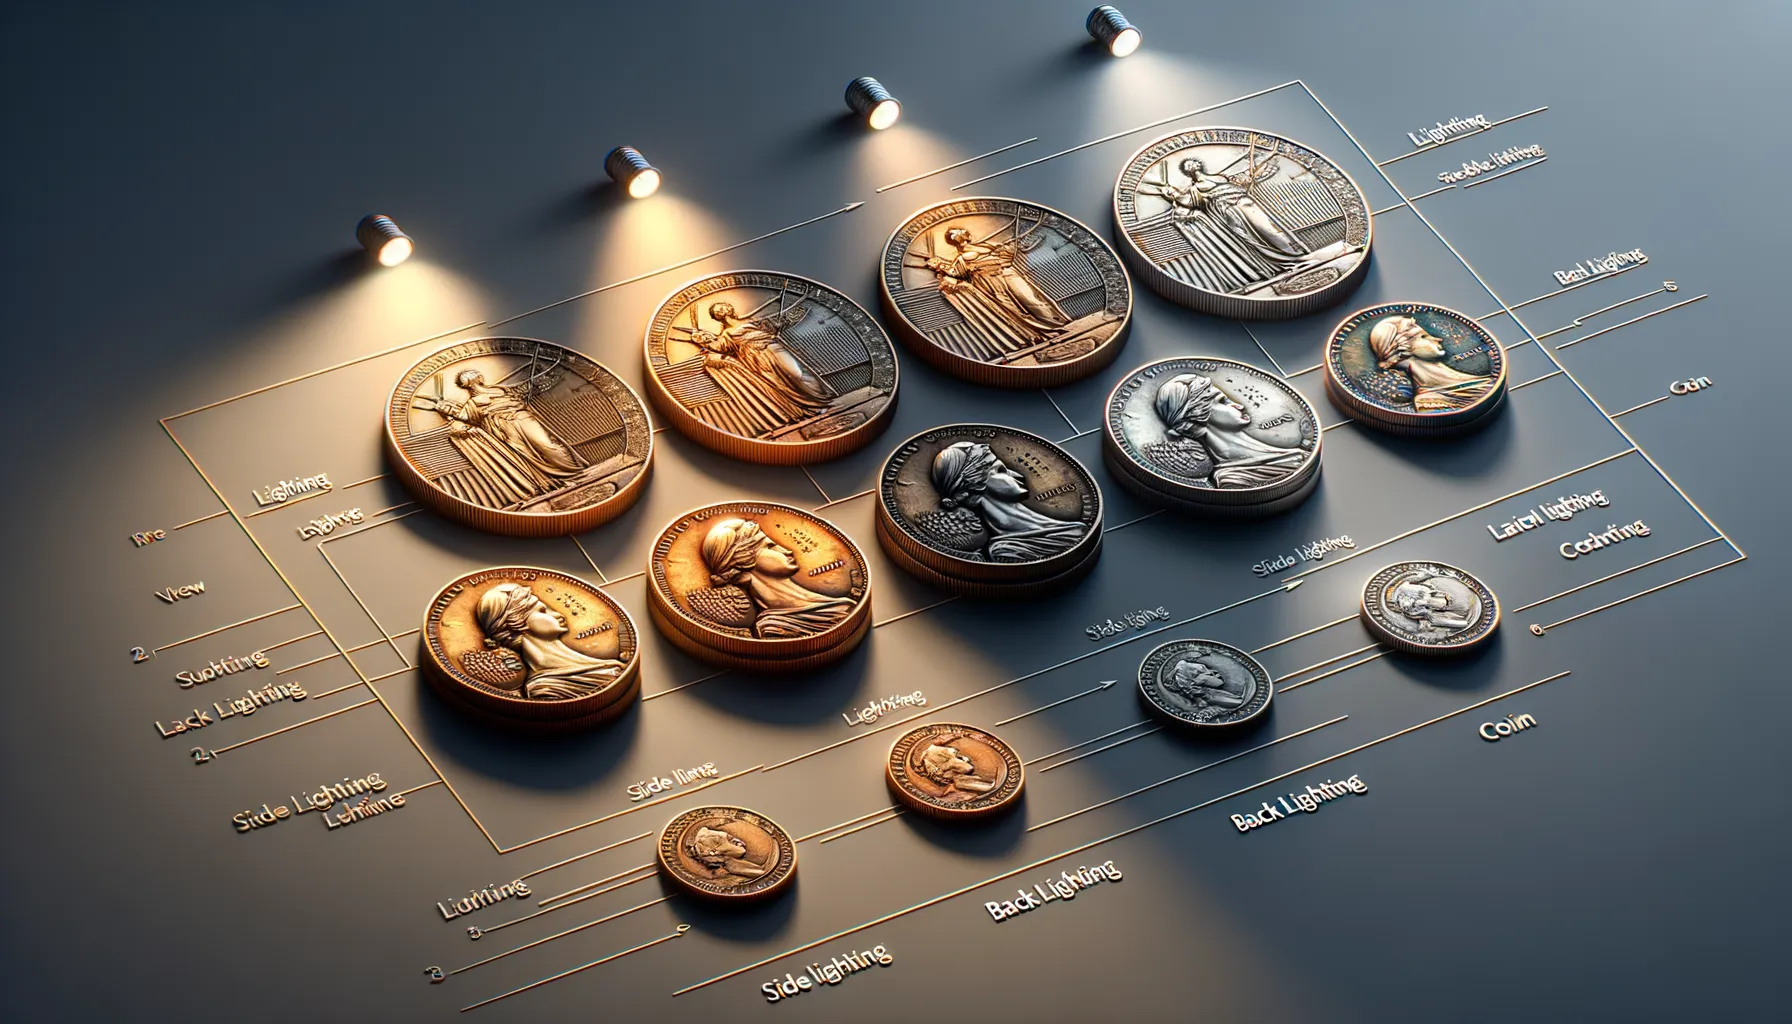
When it comes to coin photography, lighting is the unsung hero. Without the right light, those intricate engravings and shimmering finishes lose their magic. Think of light as your paintbrush—bold when it needs to make details pop and soft to whisper elegance.
First off, avoid direct overhead lighting. Why? It flattens the coin, erasing depth and turning its textures into a dull blur. Instead, position your light source at an angle—roughly 10-2 o’clock on an imaginary clock. This creates shadows that dance across the surface, making fine details like mint marks and ridges jump out.
Lights That Work Wonders
Not all lights are created equal. For coins, natural white LED lights are pure gold (pun intended). They bring out metallic tones without adding pesky color casts. Experiment with these setups:
- Single Light Source: Perfect for crisp, dramatic contrast. Start at 45 degrees and adjust for desired shadowing.
- Diffused Lighting: Use a softbox or even a DIY solution like tracing paper over a desk lamp. This minimizes glare while highlighting subtle textures.
Remember, the right lighting isn’t just technical; it’s emotional. You’re telling the coin’s story—and how you light it shapes the narrative.
Camera Settings and Shooting Tips

Dial in the Perfect Settings
Think of your camera as the translator between your coin’s story and a potential buyer’s excitement. The settings you choose can make the difference between a photo that whispers and one that sings. Start by setting your camera to manual mode. It gives you complete control—no surprises from the auto settings deciding things for you.
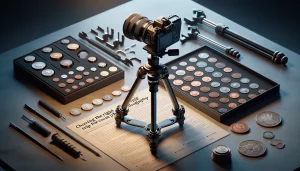
Set the ISO low, ideally around 100-200. Why? A lower ISO reduces noise, ensuring every intricate detail—be it a faint mint mark or an elegant patina—is razor-sharp. Pair this with an aperture around f/8 to f/11. This sweet spot brings your coin into full focus while subtly softening any busy backgrounds. For shutter speed, let the light guide you. Too bright? Slow it down. Too dark? Speed it up a notch.
And don’t forget your trusty tripod. Even the steadiest hands can’t compete with its precision. No tripod? Balance your camera on a stack of books—it’s surprisingly effective!
Shooting Secrets for Stellar Coin Shots
Angles are everything. Avoid shooting coins straight-on unless you’re cataloging; instead, tilt them slightly to catch how the light kisses their surface. Metallic surfaces love to reflect, so move around and find that magic angle where imperfections vanish and texture pops.
If your coin has glossy finishes or mirrored fields (looking at you, proof coins), glare can be a villain. Use a polarizing filter to tame reflections or experiment with diffused lighting to soften stubborn shines.
For enhanced control:
- Activate spot metering—your coin is the star, not the background.
- Use a remote shutter release to avoid even a whisper of camera shake.
- Preview with your camera’s live-view mode to double-check focus and composition.
Now, step back and marvel—you’re not just documenting a coin; you’re turning it into art that demands attention!
Post-Processing and Enhancing Images
Unveiling the Hidden Beauty of Coin Images
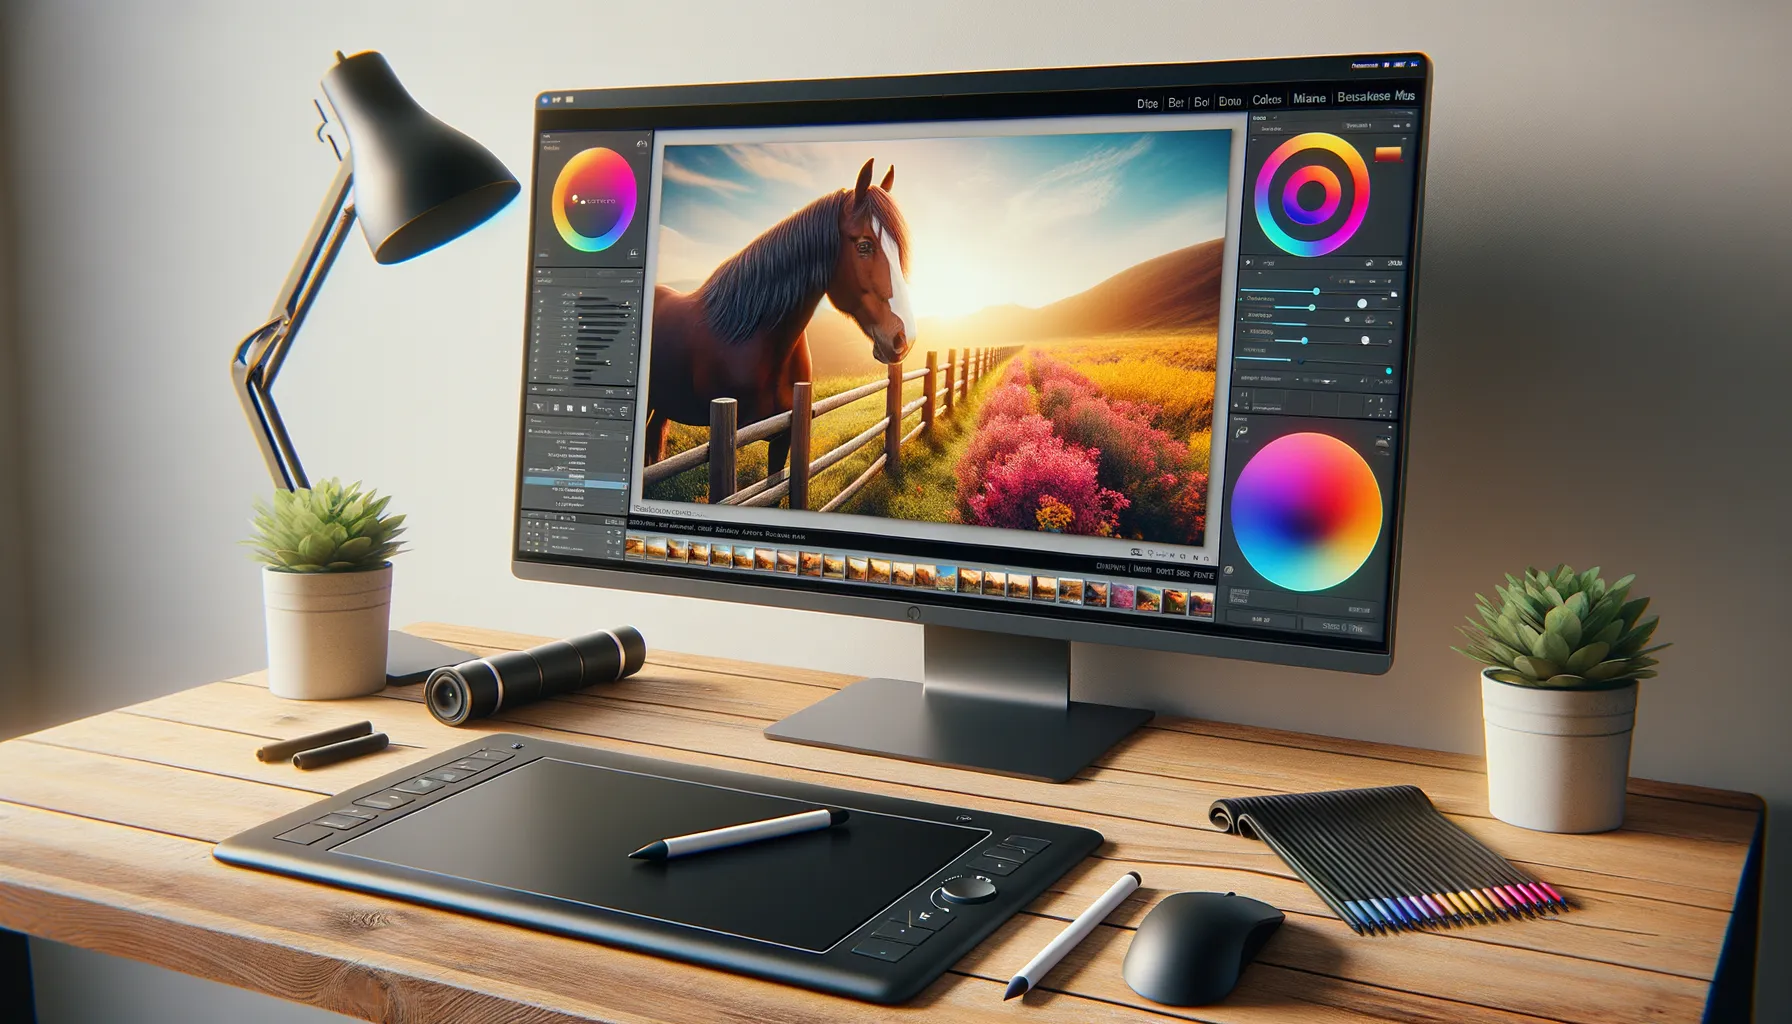
Your shot is just the beginning—post-processing is where the magic truly happens. Imagine your image as raw gemstone: post-production is the precise cutting and polishing that turns it into a glittering diamond. To make your rare coin images irresistible, you’ll need some digital finesse.
Start by adjusting the basics. Boost the brightness carefully to bring out fine details, but don’t blind your audience! Next, tweak the contrast to make the metal textures pop—whether it’s the soft glimmer of silver or the bold gleam of gold. Don’t forget color correction. Ever noticed how some photos feel “off”? Proper white balance gives your coins their true-to-life hues, making your buyers feel confident in what they see.
Quick Fixes That Pack a Punch
Post-processing tools can easily fix distracting imperfections:
- Use noise reduction to erase grainy shadows lurking in your backgrounds.
- Crop out unnecessary space so all eyes stay fixed on the coin.
Finally, sharpen those edges! A light touch will highlight intricate details like mint marks and engravings without overdoing it. Your buyers want to admire every line, flourish, and imperfection.