Understanding HDR Photography for Coins
Why Coins and HDR Are a Perfect Match
Capturing the intricate beauty of coins is no small feat. Think about it: every coin tells a story, not just through its design but also through the subtle interplay of light and shadow on its surface. That’s where HDR (High Dynamic Range) photography shines—literally. By layering multiple exposures, HDR helps you showcase what your naked eye can’t catch in just one shot: the perfect balance between bright highlights and delicate details buried in shadows.
Imagine photographing an antique silver coin with elaborate engravings. In a single exposure, you either blow out the shiny glare or lose the finer designs in the dimmer areas. But with HDR, you’re capturing both worlds, bringing out the true depth and texture that make the coin special.
Unveiling Details Hidden in Plain Sight
The magic of HDR isn’t just about lighting; it’s about revealing every artistic detail, no matter how subtle. Whether it’s the sheen of a proof coin or the aged patina on a historic piece, HDR preserves:
- Micro-details like mint marks and delicate ridges.
- Color accuracy, even under tricky lighting conditions.
With HDR, coins transform from flat collectibles into shimmering treasures bursting with life.
Essential Equipment for HDR Coin Photography
The Tools That Make Coin Details Pop
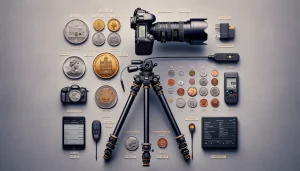
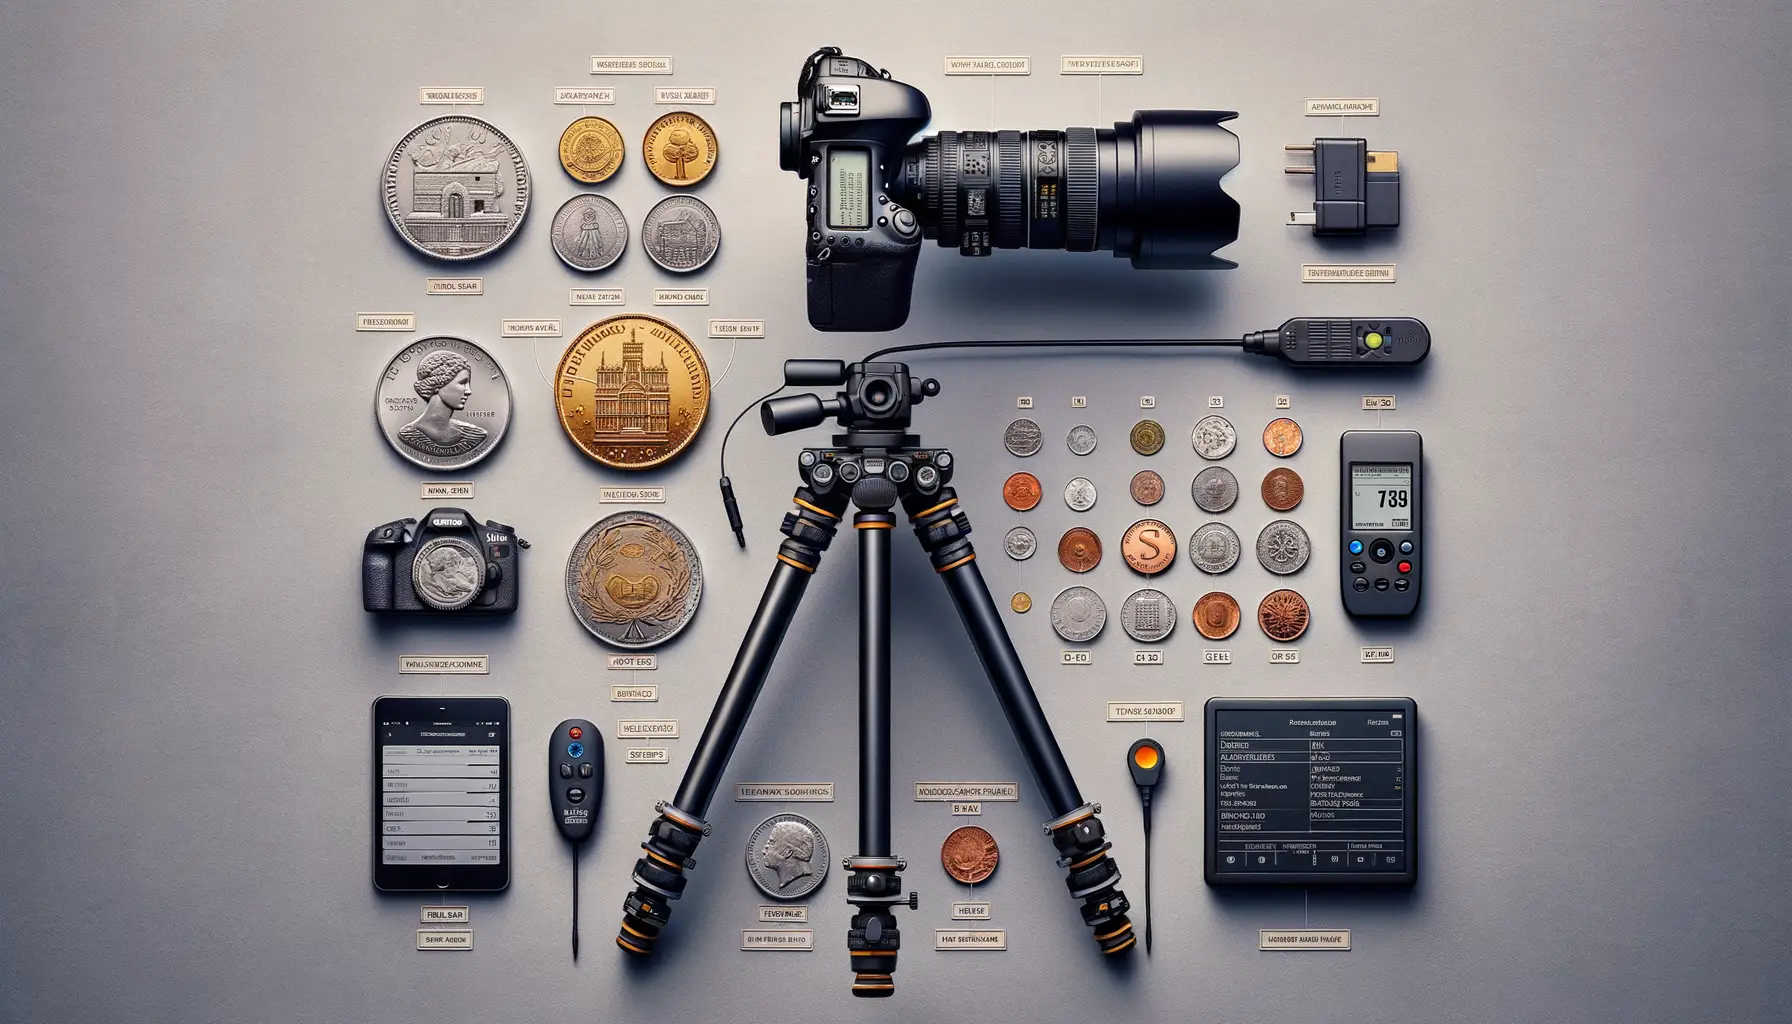
Capturing the intricate beauty of a coin through HDR photography isn’t just about skill—it’s about having the right gear. Think of it like being a chef: even the best recipes will fall flat without quality ingredients. Here’s your HDR coin photography “grocery list.”
- Camera: While a DSLR or mirrorless camera is ideal, what matters most is manual control over exposure settings. This allows you to capture the same shot at multiple exposure levels, which is essential for HDR magic.
- Sturdy Tripod: A wobbly tripod? The enemy of crisp HDR shots. Opt for one with solid legs and a reliable head—your coins deserve stability worthy of their shine.
- Lighting Setup: Coins love the spotlight! A combination of continuous lights or desk lamps with diffusers (hello, soft shadows) works wonders.
- Macro Lens: Coins are all about details—the texture, inscriptions, that gleaming relief. Invest in a macro lens to magnify every nuance.
- Remote Shutter Release: Avoid camera shake when shooting multiple exposures. A simple remote (even a smartphone app) keeps things steady.
Optional But Game-Changing Gear
If you’re ready to nerd out, consider adding these extras to your arsenal. A copy stand can mimic a lab setup, offering consistent angles and lighting. Love precision? Use focus rails for sharpness adjustments that would make your local jeweler jealous. And don’t forget microfiber cloths—dust on a coin is like a scratch on an old vinyl record.
Step-by-Step Process to Capture HDR Images of Coins
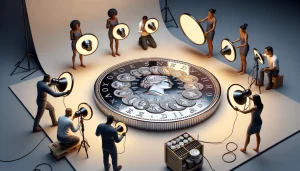
Setting the Stage: Preparing for HDR Coin Photography
Ready to embark on your HDR journey? First, ensure your workspace is a sanctuary of stability and consistency. Use a sturdy tripod to anchor your camera—any wobble and you’re risking detail loss. Coins might be tiny, but their texture tells grand tales. Keep ambient light under control. Curtains or shades can help block harsh sunlight, while an adjustable desk lamp acts as your lighting maestro. Clean your coin gently beforehand; every smudge or speck could stick out like a sore thumb in your final image.
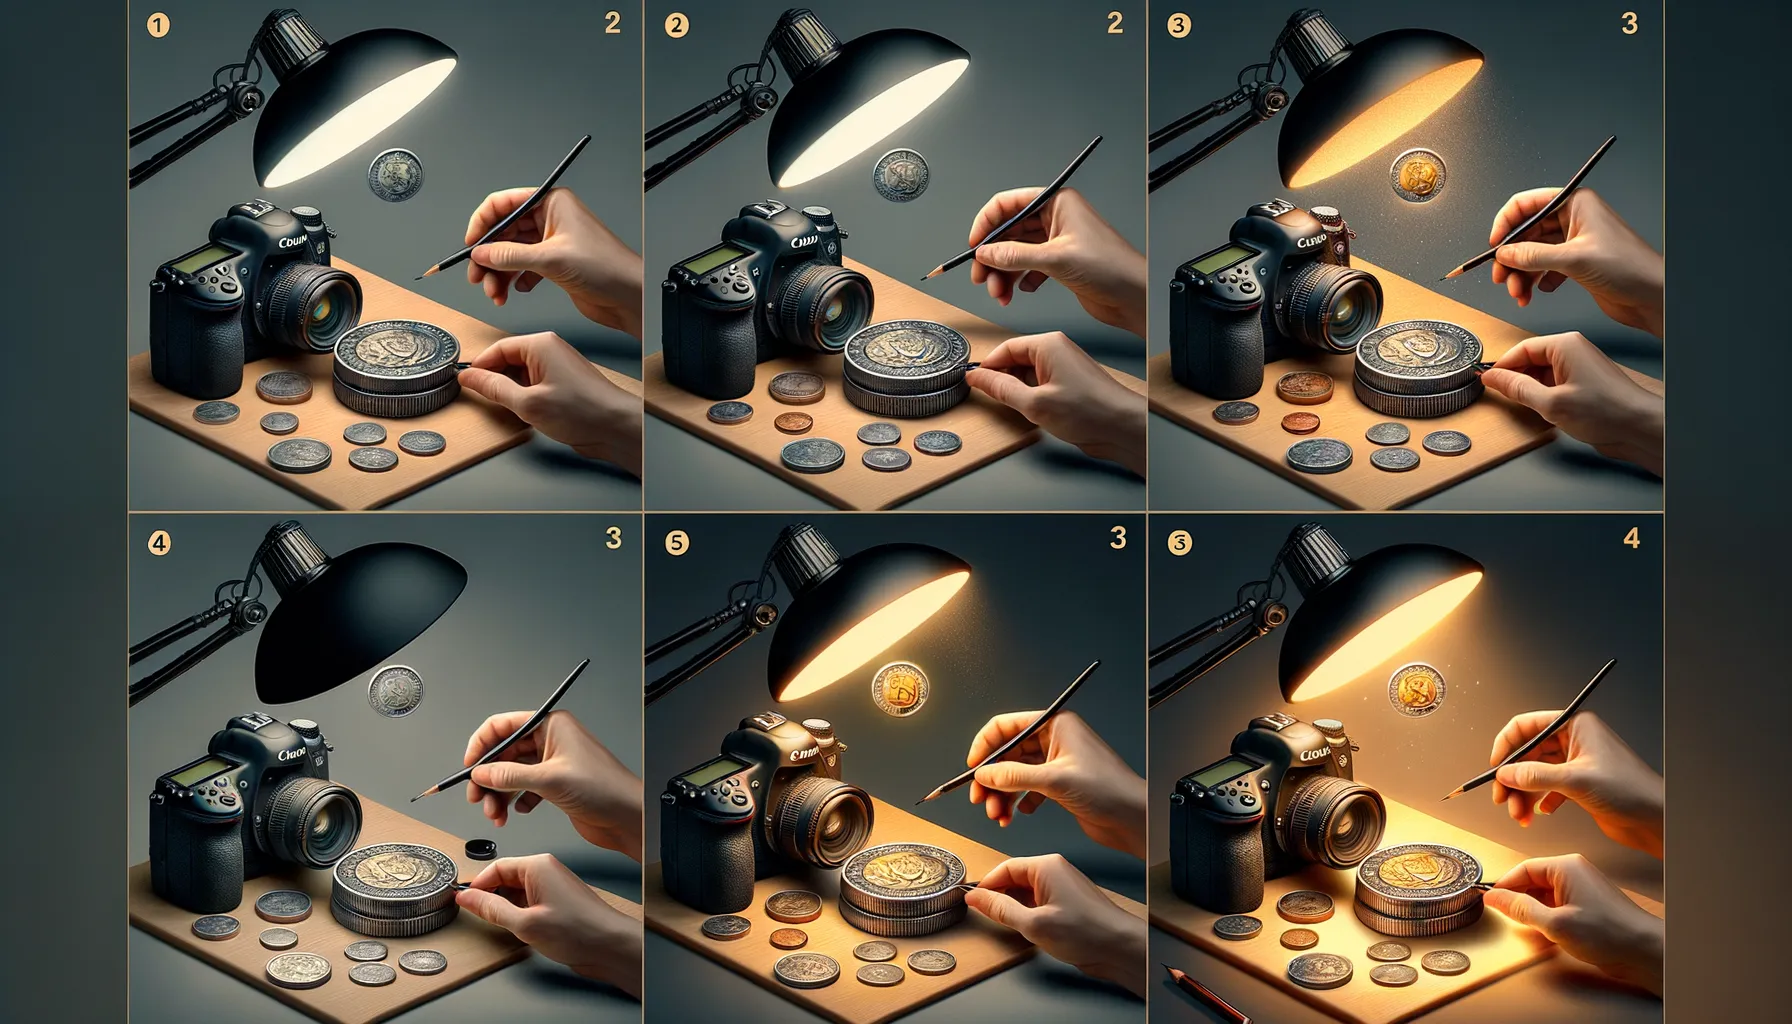
The Magic Formula: Adjusting Camera and Bracketing Settings
This is where the magic begins! Switch your camera to manual mode—it’s time to take full creative control. Set your ISO low (think 100 or 200) to avoid graininess, and don’t be afraid to experiment with aperture settings—around f/8 or f/11 works like a charm for sharpness.
Then comes bracketing, the secret sauce of HDR! Set up your camera to take multiple shots:
- A slightly underexposed image to capture bright details.
- A balanced exposure for the mid-tones.
- And an overexposed photo to illuminate the shadows.
Perfect symmetry between these shots will give you that polished, vibrant final look you’ll love.
Editing and Post-Processing HDR Coin Photos
Transforming Your HDR Coin Photos into Visual Masterpieces
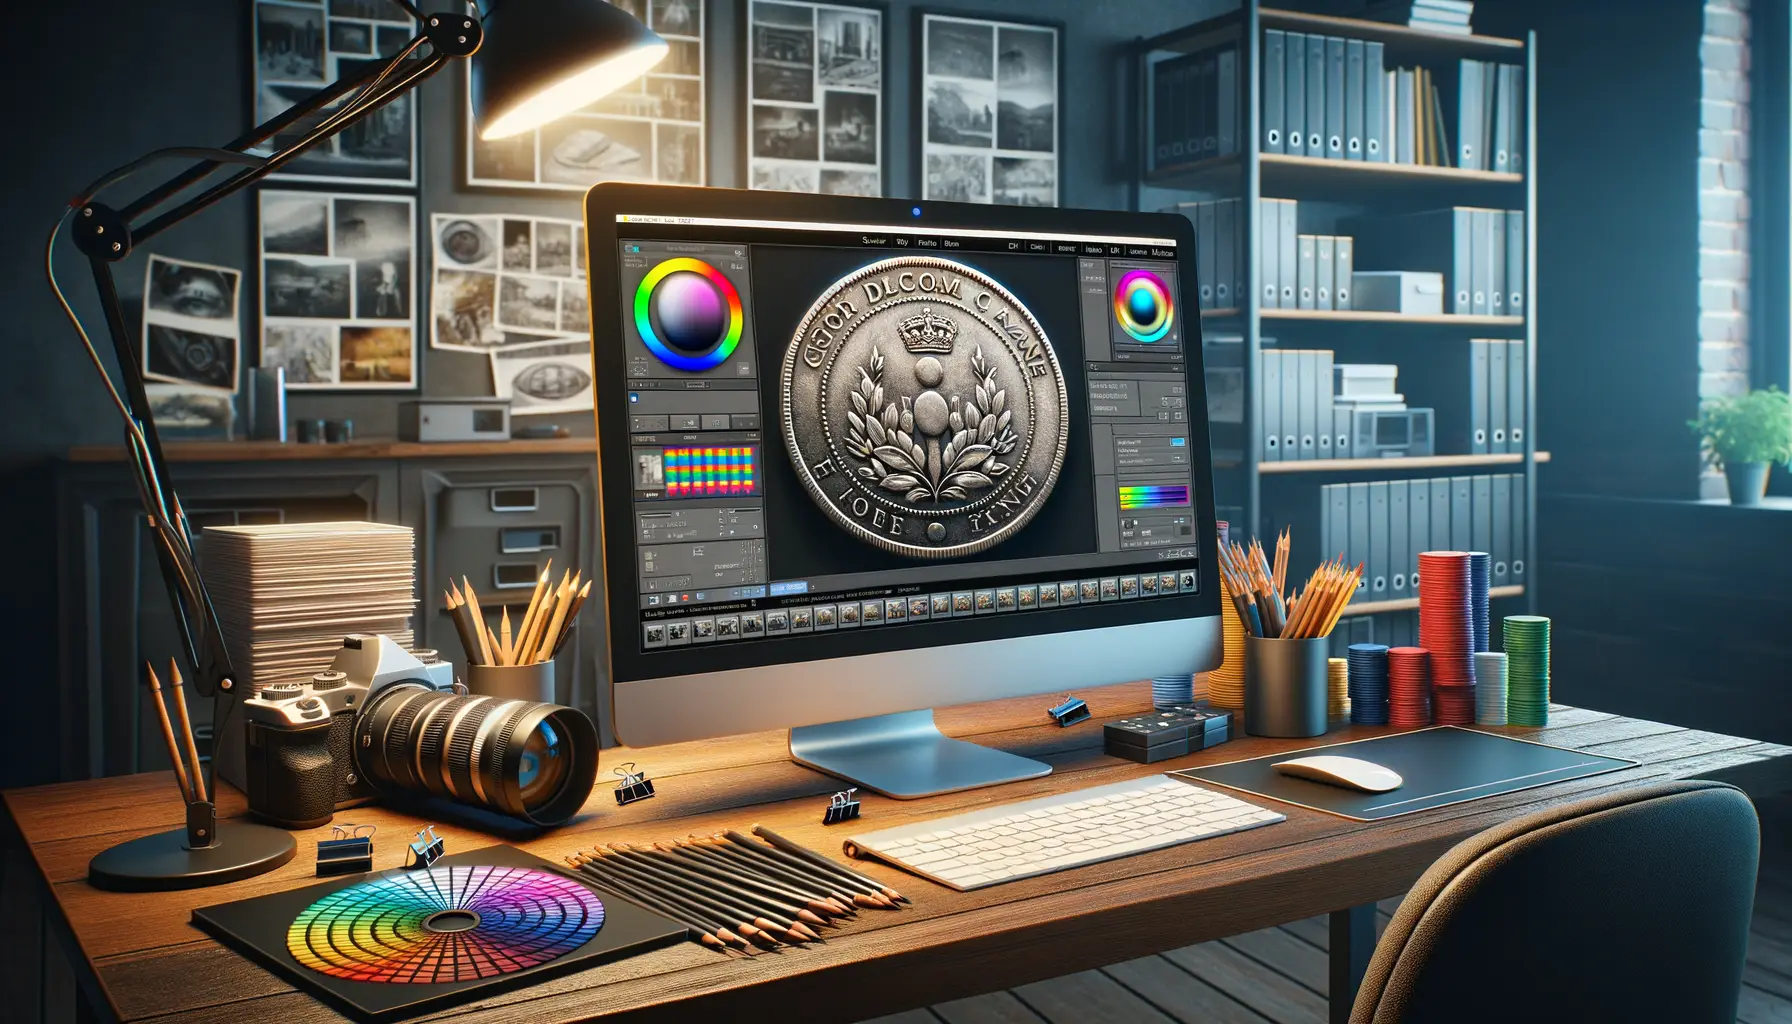
Editing HDR coin photographs is where the magic truly happens. After capturing those intricate coin details and lustrous tones, it’s time to finesse them into perfection. Think of it like polishing an ancient silver coin—every touch brings out something extraordinary.
The first step? Load your images into software like Adobe Lightroom or Photomatix Pro. These tools are your artistic playgrounds! Begin by merging your bracketed shots into one balanced HDR image. Experiment with tone mapping to highlight the subtle glimmer of metal textures without overcooking the photo (nobody likes a coin that looks radioactive).
Here’s where perfection hides in the details:
- Contrast: Enhance the difference between shiny highlights and deep shadows for dramatic effect.
- Clarity: Sharpen those fine engravings so each letter pops like a work of art.
- White Balance: Correct any odd color casts (because gold should look golden, not greenish!).
Don’t be afraid to zoom in. That slight scratch on a vintage penny or the engraved eagle on a silver dollar deserves attention. Editing coins is about restraint mixed with precision—like holding a delicate treasure at your fingertips.
Common Mistakes and Tips for Better Results

Watch Out for These HDR Coin Photography Pitfalls
HDR photography is like walking a tightrope—it’s all about balance, and one misstep can send your results tumbling. One common mistake? Over-processing your images. Yes, we know the temptation to crank up the saturation and contrast is real, but too much can turn your coin into something that looks more like a neon sign than a treasured collectible. Keep it subtle. Let the coin’s natural beauty do the talking.
Another trap is improper lighting. Coins are tricky because they reflect light in all kinds of unpredictable ways. Setting up your light source at odd angles or overpowering the scene can drown out fine details like mint marks or patinas. Remember, soft, even light is your best friend.
Oh, and here’s a must-avoid: skipping proper stabilization. Shooting handheld might seem convenient, but even the slightest movement can ruin your shot. Use that tripod—it’s a lifesaver!
Keep experimenting, but tread carefully. Your coins will thank you with their dazzling close-ups.
Tips for That Next-Level Glow
Want your coins to practically whisper, “I’m special”? Start with a meticulous setup. Think of this as staging a photoshoot for a star. Clean your coins gently with a microfiber cloth (but avoid harsh chemicals!) to remove distracting dust without damaging the surface.
Also, take a moment to assess your background. A simple black velvet backdrop works wonders, creating a dramatic contrast that makes gold and silver hues pop. But if you’re feeling adventurous, try a muted gradient for a more artistic vibe.
Here’s a hidden gem of advice: work on your highlights and shadows during post-processing. Coins are all about detail, from delicate engravings to tiny scratches that tell a story. Adjust those sliders with care so that every ripple and ridge gets its spotlight.
Above all else, listen to the coin. Yes, really. Is it bold and shiny? Soft and weathered? Each piece has its own mood—your job is to translate that personality into a compelling image. Give yourself permission to experiment; sometimes, the magic lies outside the rules.