Understanding the Basics of Coin Photography
Why Coin Photography Is a Unique Challenge
Coin photography isn’t as simple as snapping a picture of your morning coffee or a sunset. Capturing the fine details of those intricate designs, the shimmer of a coin’s metallic surface, or even its historical wear requires more than just pointing and shooting. Coins are small, reflective, and sometimes unevenly shaped—essentially, the perfect storm for tricky photography.
Think about it: Have you ever tried to photograph a shiny object only to find your reflection staring back at you? Or struggled to get the lighting right, only to end up with harsh glares? That’s why understanding some basics can make all the difference. A well-shot coin photo feels like holding it in your hand—every scratch, engraving, and texture brought to life.
Coin photography is an art form, but guess what? It’s one anyone can master with a little practice and the right know-how.
Details That Bring Your Coins to Life
Coins tell stories through their details—the gleam of precious metals, the curves of engraved lettering, the patina whispering of centuries gone by. To show these elements, you need to think like an observer, not just a photographer.
Start with the basics: What stands out? Is it the bold design on one side, or maybe the subtle imperfections that make this particular coin unique? Honing in on these details before you even take the photo will sharpen your vision as much as your final image.
When photographing coins, remember this golden rule: The little things aren’t little. Focus too broadly, and the magic of the coin gets lost in the noise.
Necessary Equipment and Smartphone Settings

Gear Up: Must-Have Tools for Stunning Coin Photos
Your smartphone is about to become your miniature photography studio, but first, let’s prep it for action! Don’t worry—you don’t need a Hollywood-sized budget. All you need are a few essentials and smart tweaks to your settings.
Here’s the scoop on must-have equipment:
- Smartphone with a quality camera: Many modern phones already rival professional cameras. Models like the iPhone 14 or Samsung Galaxy S22 have incredible detail-capturing power.
- Tripod or phone stand: A shaky hand can make your coin details look like a blurred mystery. Stabilize your phone with an affordable tripod—your photos will thank you!
- Macro lens attachment: For those intricate designs and tiny inscriptions, a clip-on macro lens transforms your smartphone into a treasure-revealing microscope.
- Neutral background: Coins love attention, but not competition. A plain white or black sheet or foam board highlights their brilliance.
Setting Up Your Smartphone for Success
Before you start snapping, adjust your settings like a pro. Activate your phone’s gridlines to nail perfect alignment. Switch off your built-in flash (it can create harsh glares) and use a natural light source instead. Set your focus manually by tapping the screen where the coin is displayed. Lastly, bump up the resolution to ensure every fine detail shines in full glory.
Trust me, these small adjustments pack a serious punch!
Step-by-Step Guide to Capturing Quality Coin Photos

Setting the Stage for That Perfect Coin Shot
Ready to turn your smartphone into a coin photography powerhouse? Let’s dive in! First, lay your groundwork – literally. Use a clean, neutral surface like a matte black or white sheet. Why? Because your coin deserves center stage, not a distracting backdrop.
Hold your phone steady; shaky hands are the arch-nemesis of sharp photos. If possible, use a tripod or balance your elbows on a table while shooting. And don’t just snap wildly! Frame the coin neatly, filling most of the screen without cutting it off. This gives you the crispest details.
Now, let’s talk angles. The trick? Slightly tilt your phone (around 10-15 degrees). A straight-down shot can flatten the coin’s beauty, while just the right tilt captures intricate engravings and textures. Play around; the magic often lies in experimentation.
- Clean your coin gently with a microfiber cloth. Dust is the enemy of detail!
- Set your smartphone’s focus manually by tapping on the coin image on-screen.
- Choose natural lighting whenever possible — it’s softer and more flattering.
Mastering Close-Ups Without Losing Clarity
You’ve got to love the zoom function, right? Wrong! Avoid digital zoom like it’s molten lava. Instead, physically move your phone closer to the coin. This keeps details razor-sharp.
If you’re struggling to capture the tiniest inscriptions, here’s a pro tip: invest in an inexpensive clip-on macro lens. These small gadgets give your smartphone superpowers, enabling you to capture even the finest scratches or mint marks.
Remember, patience pays. Spend time tweaking, adjusting, and snapping multiple attempts. Coins each have their own “good side,” just like people—find it!
Lighting Techniques for Better Coin Photography

How Light Shapes the Story of Your Coin
Lighting in coin photography is not just about avoiding shadows; it’s the secret ingredient that can bring your coin to life. Imagine your coin as a tiny work of art—a historical heirloom whose every detail carries a story. The right light can make those stories leap off the screen, while the wrong light can bury them entirely.
Natural light, for instance, is a gentle storyteller—it reveals the coin’s surface without overwhelming it. A cloudy day? Perfect! Clouds act like nature’s own softbox, spreading light evenly and eliminating harsh reflections.
For indoor setups, think of directional lighting as your sculpting tool. Use lamps at a 45-degree angle to highlight reliefs and inscriptions without casting long, unwanted shadows. Playing around with one light source rather than many often delivers cleaner results.
- Need drama? Try raking light from the side—it accentuates texture, but be cautious of glare on shiny coins.
- Want balance? Invest in a ring light or LED panels with adjustable settings to create even illumination.
Don’t forget: coins love diffusers! Tape a piece of white paper over your light source for instant soft light magic. And remember—coins reflect, so avoid wearing bright colors near your setup!
Tips for Editing and Presenting Coin Images
Transforming Coin Photos with a Few Simple Edits
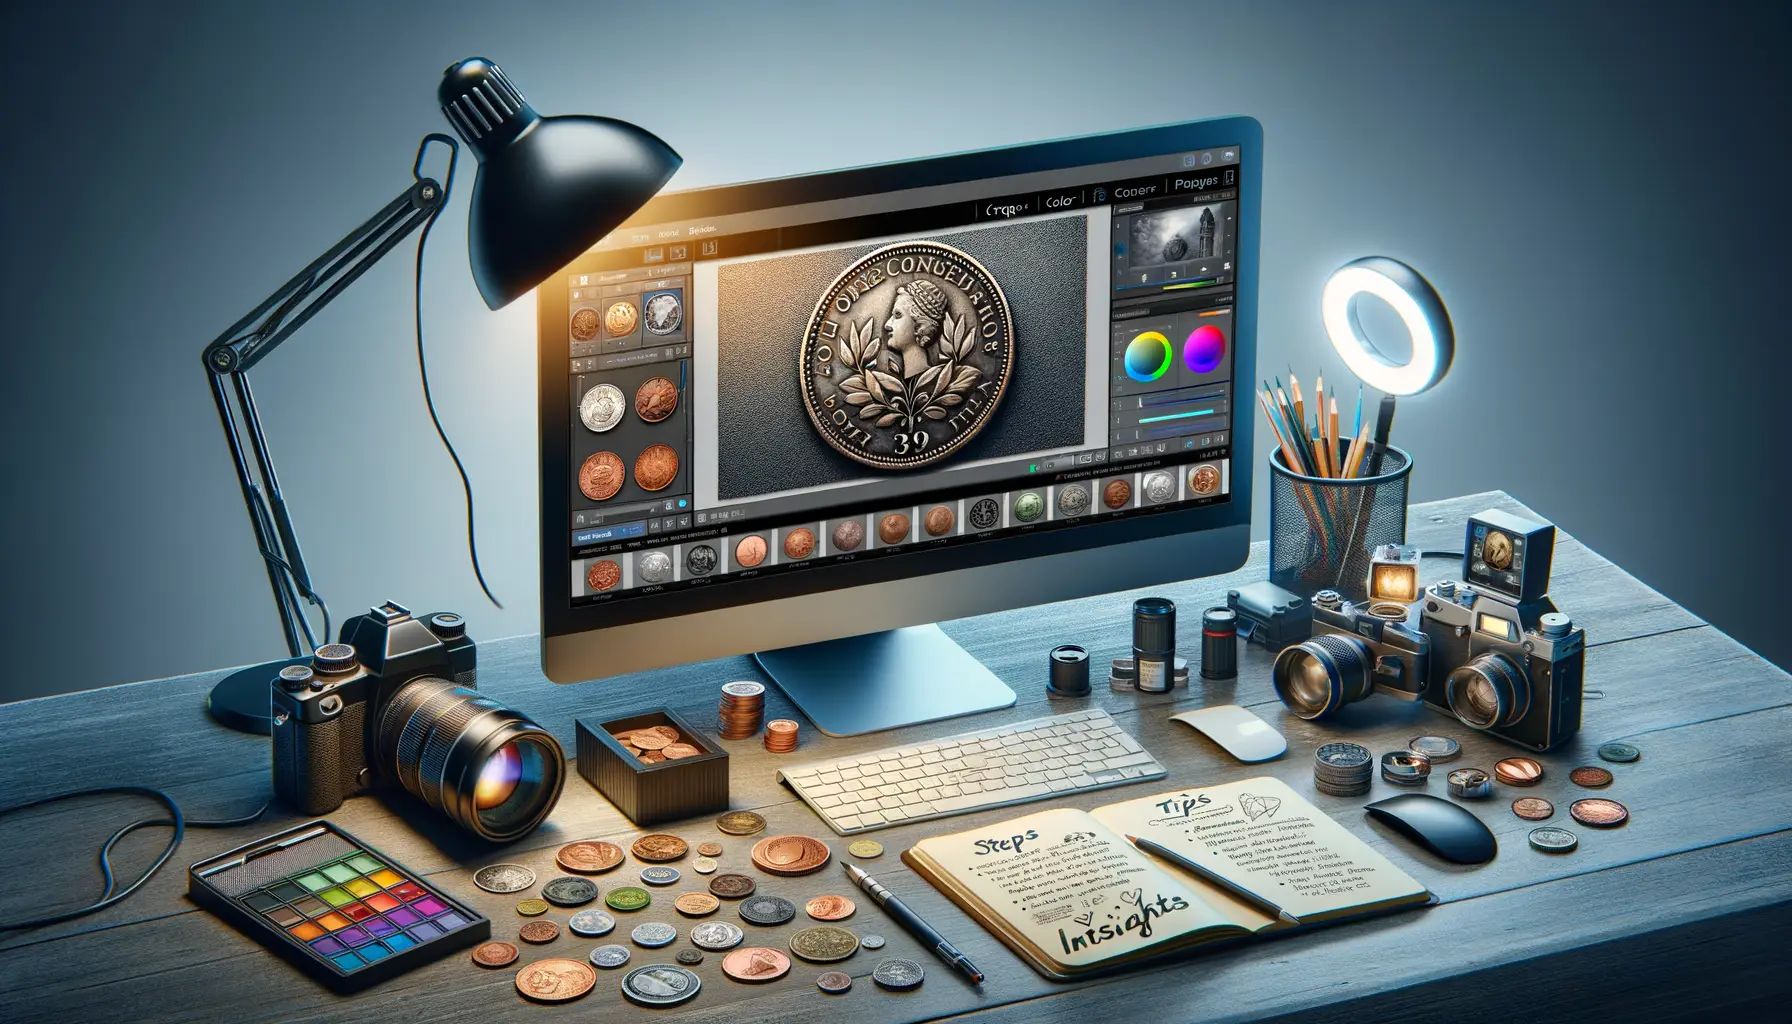
Once you’ve snapped that perfect shot, the real magic happens in the editing process. Think of it as polishing a rare coin—bringing its unique details to life! Start by using a photo editing app like Snapseed or Adobe Lightroom Mobile. These tools allow you to refine brightness, contrast, and sharpness with expert precision, all from your smartphone.
Highlight the coin’s texture by slightly increasing clarity but tread lightly—overediting can make the image look artificial. Got distracting backgrounds? Crop tightly to keep the focus on the star of the show: your coin! For silver coins, cooler tones enhance their gleam, while warmer tones can bring golden coins to life. Play around with the color temperature slider to find the sweet spot.
Presenting Coin Images Like a Pro
Presentation is everything. Imagine your coin image displayed on forums or sales platforms—it should turn heads! Follow these tips for creating an irresistible showcase:
- Consistent backgrounds: Use plain, neutral colors for a clean, professional look.
- Watermark wisely: Add small, subtle watermarks to protect your images without overwhelming them.
- High resolution: Export at the highest quality possible to preserve every intricate detail.
Your goal? To make others feel like they’re holding the coin in their hands!
