Essential Equipment for Macro Coin Photography
The Lenses That Bring Coins to Life
For macro coin photography, let’s talk lenses—it’s where the magic begins. A standard camera lens just won’t cut it here; you’ll need a dedicated macro lens with 1:1 magnification. Why? Because coins are like miniature works of art. To capture every groove, date, and symbol, you need precision so sharp it feels like your camera is whispering secrets from centuries ago.
But wait—don’t overlook the budget-friendly alternative: extension tubes. These little lifesavers attach between your camera and regular lens, letting you get way closer to the coin without breaking the bank. Just imagine uncovering the almost-invisible mint marks on an old penny like you’re solving a treasure hunt!
Other Must-Haves for Crystal-Clear Coin Shots
Your lens is only the beginning. Add these essentials to your arsenal:
- Sturdy tripod: Any tiny hand movement can blur your shot. A tripod will hold your camera rock-steady while you focus on the tiniest details.
- Remote shutter release: No more finger fumbling causing vibration. It’s your ticket to shake-free images!
- Macro focusing rail: Adjustable perfection. Move your camera millimeter by millimeter for razor-sharp focus on those tricky recessed designs.
Think of these tools as your coin-photography dream team. Each piece plays its role in transforming a simple hobby into museum-grade artistry.
Mastering Lighting Techniques for Coins
Transforming Shadows Into Allies
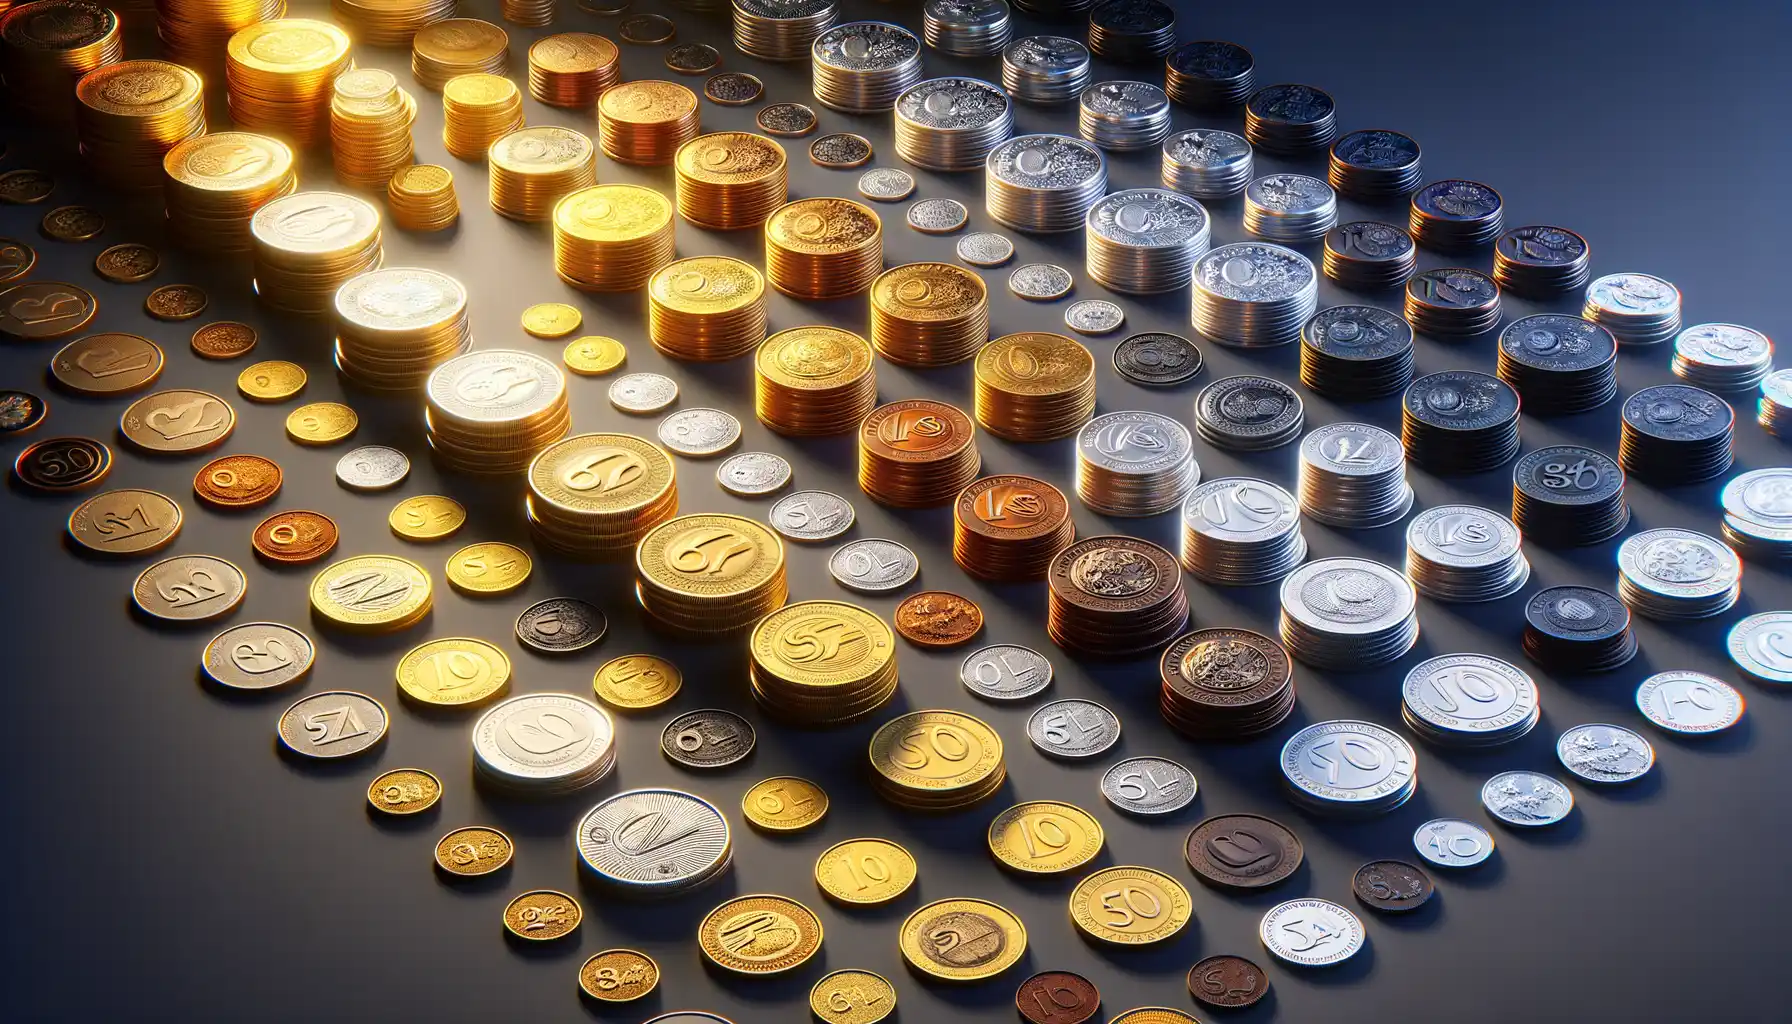
Lighting can make or break your coin photography. Light isn’t just about visibility—it’s about sculpting textures, revealing intricate inscriptions, and capturing every gleaming edge of a coin’s surface. The wrong lighting? It can drown your coin in shadows, wash out its natural beauty, or cast distracting glares.
Here’s the secret: coins are reflective divas with shiny surfaces that demand finesse. A direct flash? It’s like blinding them with paparazzi lights—not a good look. Instead, turn to diffused light. Think soft, like morning sunlight filtered through thin curtains. You can achieve this easily by placing a thin sheet of white paper or fabric over your lamp or LED panel.
Pro tip: Natural light is flattering but unpredictable. On cloudy days, it’s magic; on sunny ones, harsh. Master your setup indoors, and you’ll always be in control.
Composition and Framing Tips

Find the Story Within the Frame
When it comes to capturing coins, think of your lens as a storyteller. Each coin has its own tale etched into its surface—legends of history, artistry, even mystery. Your job? Frame that narrative with intention. To start, avoid centering the coin in every shot. Yes, symmetry is tempting, but playing with the rule of thirds can add drama and draw the viewer’s eye to intricate details, like the curve of ancient lettering or the subtle luster of patina.
Experiment with angles too. Shooting head-on might seem logical, but tilting your camera slightly can reveal unexpected textures and depth. Want a pro tip? Look for patterns—whether it’s a series of ridges on the edge of a coin or repeating motifs in its design. These become visual anchors, pulling viewers deeper into the frame.
Tips to Elevate Your Coin Composition
- Use a clean, neutral background to highlight the coin’s design without distractions.
- In tighter crops, aim to fill the frame while leaving just enough breathing space to avoid a cramped look.
- Flip the coin! Literally. The reverse side might surprise you with rare details or hidden beauty.
Remember, every coin has a silent voice—it’s up to you to let it sing.
Post-Processing for Enhanced Coin Details

Bring Out the Hidden Elegance in Your Coins
Post-processing is where the magic truly happens. After all, your camera captures the raw image, but it’s your editing tools that reveal the intricate beauty of every curve, grain, and shimmer on your coin’s surface. Think of it as polishing a gemstone—except you’re doing it digitally.
Start with the essentials: tweak the exposure and contrast. Sometimes, the gleam of silver or the patina of an antique coin gets lost in uneven lighting. Adjusting these sliders can bring back the balance and unveil details you didn’t even notice during the shoot!
And let’s talk about contrast—coins thrive on it. That slight adjustment can emphasize the raised lettering or highlight the delicate ridges of a Roman denarius. Voilà, historical drama in a single shot!
Pro Tips for Precision Edits
If you’re diving deeper:
- Use the clarity tool sparingly—it enhances textures but can exaggerate scratches.
- Zoom in while sharpening to avoid unnatural halos around the edges.
- Play with color grading! Gold coins pop with warm highlights, while silvers dazzle with cool tones.
One last thing: save multiple versions. Sometimes, your “bold edit” turns into tomorrow’s cringe-worthy overkill. You’ll thank yourself later!
Common Challenges and How to Overcome Them

Taming the Tiny Dust Devils
Dust and smudges might just be the archenemies of macro coin photography. Imagine spending hours setting up a perfect shot, only to find an unwanted speck stealing the spotlight on your coin’s shiny surface. Frustrating, right? Here’s your game plan:
- Use a soft microfiber cloth to gently wipe coins before shooting. Even the smallest fingerprint can ruin the magic.
- Invest in a rocket air blower to banish dust from both your coin and your camera lens without scratching anything.
- Keep your environment as clean as possible—no open windows or pets stirring up chaos nearby.
A pristine subject equals a stellar photo.
Overcoming the Blurry Blues
Blurred details can shatter the illusion of sharpness you’re striving for. If your shots aren’t crisp, ask yourself: is my tripod solid? Even the slightest jiggle will turn coin grooves into a fuzzy mess. Use a remote shutter release to avoid disturbing the setup when you click.
Another pro-tip? Nail the *focus*. Instead of trusting auto-focus, switch to manual mode. That liberty lets you zero in on precisely where the light dances across intricate engravings, bringing each ridge and letter to life.
