Understanding the Importance of Wear and Patina in Ancient Coins
The Stories Told by Timeworn Surfaces
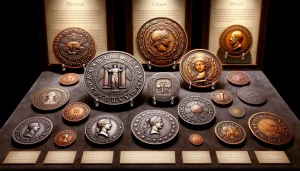
Ancient coins aren’t just relics; they’re time travelers. Each scratch, smooth edge, or subtle discoloration whispers tales of bustling marketplaces, clinking pouches, and hands that passed them down through generations. The wear on a coin isn’t damage—it’s a narrative. It tells us how cherished or widely used that coin might have been. A Roman denarius with smoothed edges could have jangled in the pockets of a merchant or soldier, while its patina—the layers of oxidation forming over centuries—acts like a painter’s touch, adding depth and character.
For instance, imagine a bronze drachma mottled with iridescent greens and deep browns. Does it not feel alive, like it’s weathered storms and centuries to reach your hands? These details are what make each coin a masterpiece.
Why Wear and Patina Deserve the Spotlight
When photographing ancient coins, understanding the importance of wear and patina is key to showcasing their uniqueness. Certain features may stand out in subtle ways:
- Light abrasions that reveal glimpses of original minting marks.
- Rich patinas that range from earthy tones to vibrant blues and reds.
- Areas where handling has smoothed fine details, adding an unmistakable human touch.
These elements don’t detract from the coin’s value—they enhance it. Embrace these imperfections! After all, perfection is overrated—especially when history looks this good.
Preparation Before Photographing Ancient Coins
Creating the Perfect Environment for Coin Photography
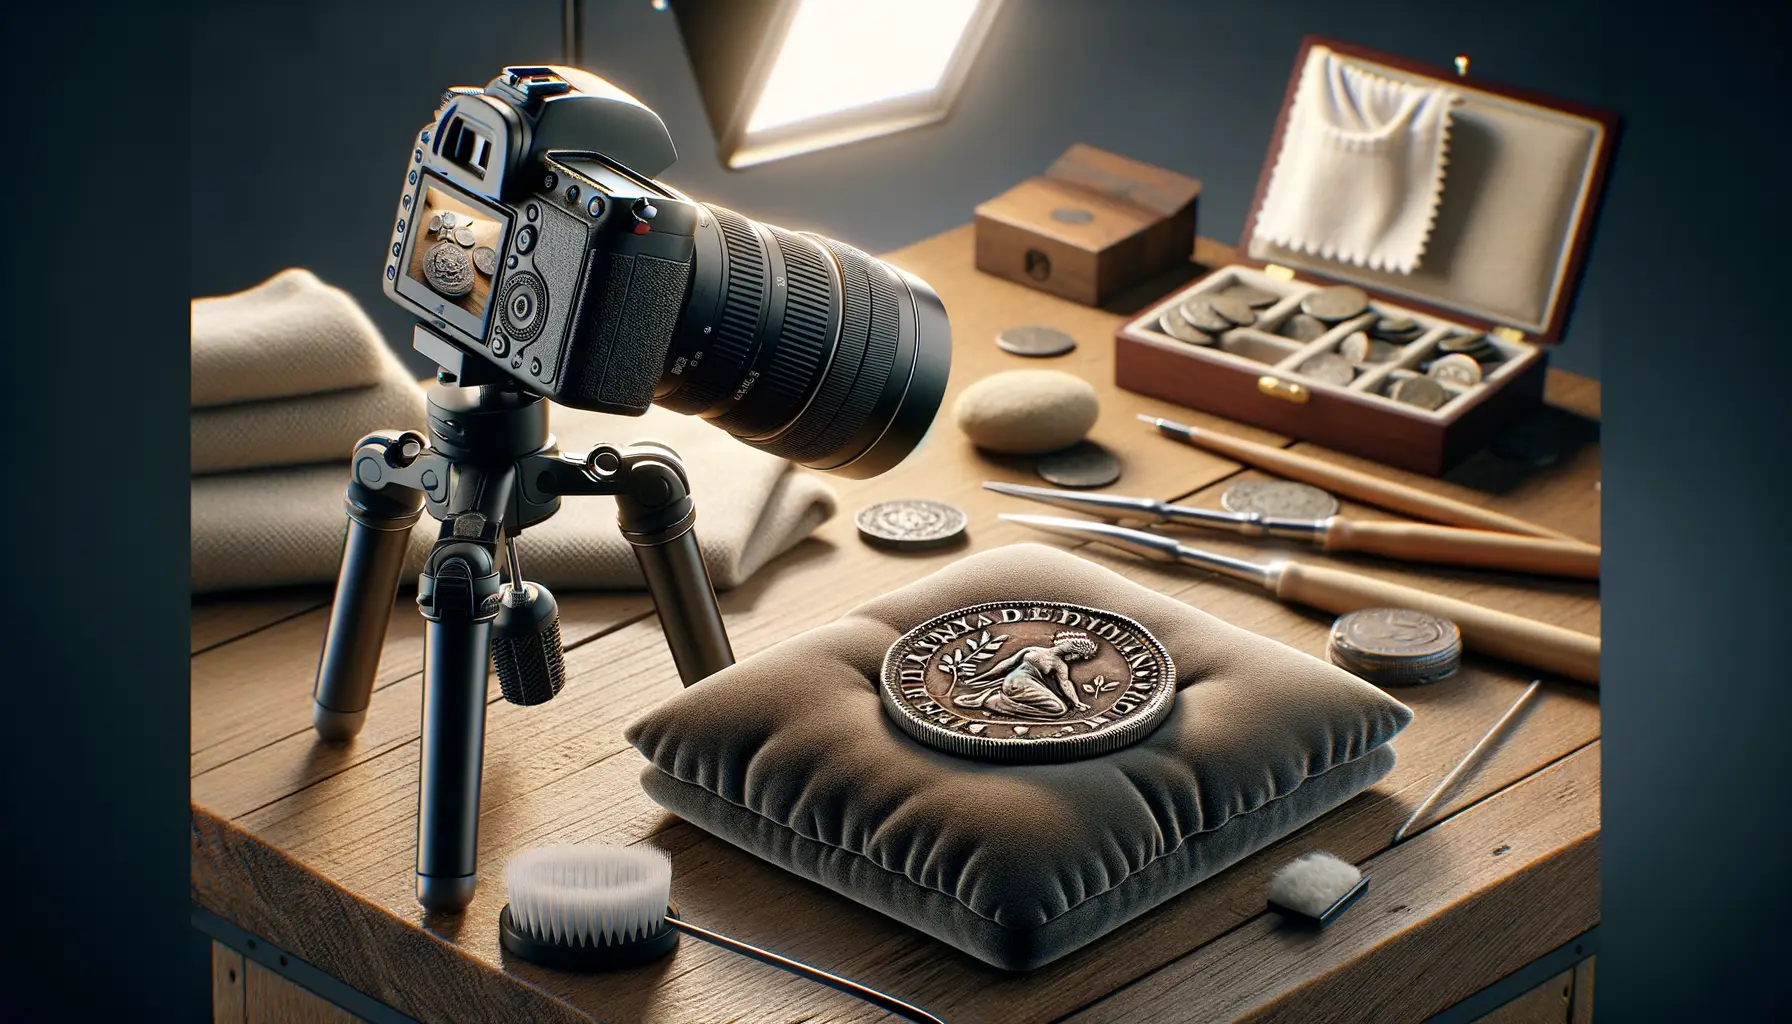
Photographing ancient coins is like stepping into a time capsule—you’re capturing not just an object, but centuries of history etched into its surface. To honor that heritage, preparation is key. Your workspace should feel like a haven for detail and precision. Start by choosing a clean, clutter-free area where no stray objects will distract from the coin’s intricate features.
Before anything else, handle your coins with care. Use a pair of soft cotton gloves to avoid smudges or oily fingerprints. Trust me—magnifying a fingerprint on a 2,000-year-old coin in your final shot isn’t the kind of “patina” anyone wants to see!
- Clean the surface around your setup—dust can sneak its way into every crevice.
- Prepare a non-reflective background such as black velvet or matte paper for the coin to rest on.
- Have a microfiber cloth and a soft brush ready for gently removing dust from the coin itself.
A Ritual for the Details: Coin Handling and Observation
Spend a moment observing your coin under good light before rushing to set up the shot. Notice the wear marks—those gentle fades on its edges or the polished center where hands once lingered. These aren’t flaws; they’re stories. Study the coin from different angles, not only to decide how to photograph it but also to connect with its character. Is there a hint of green oxidation whispering about its bronze past? Or a glint of silver tarnish hinting at its age? Let that guide your creative direction—this is your chance to channel the voices of distant centuries into a single frame.
Equipment and Techniques for Highlighting Patina
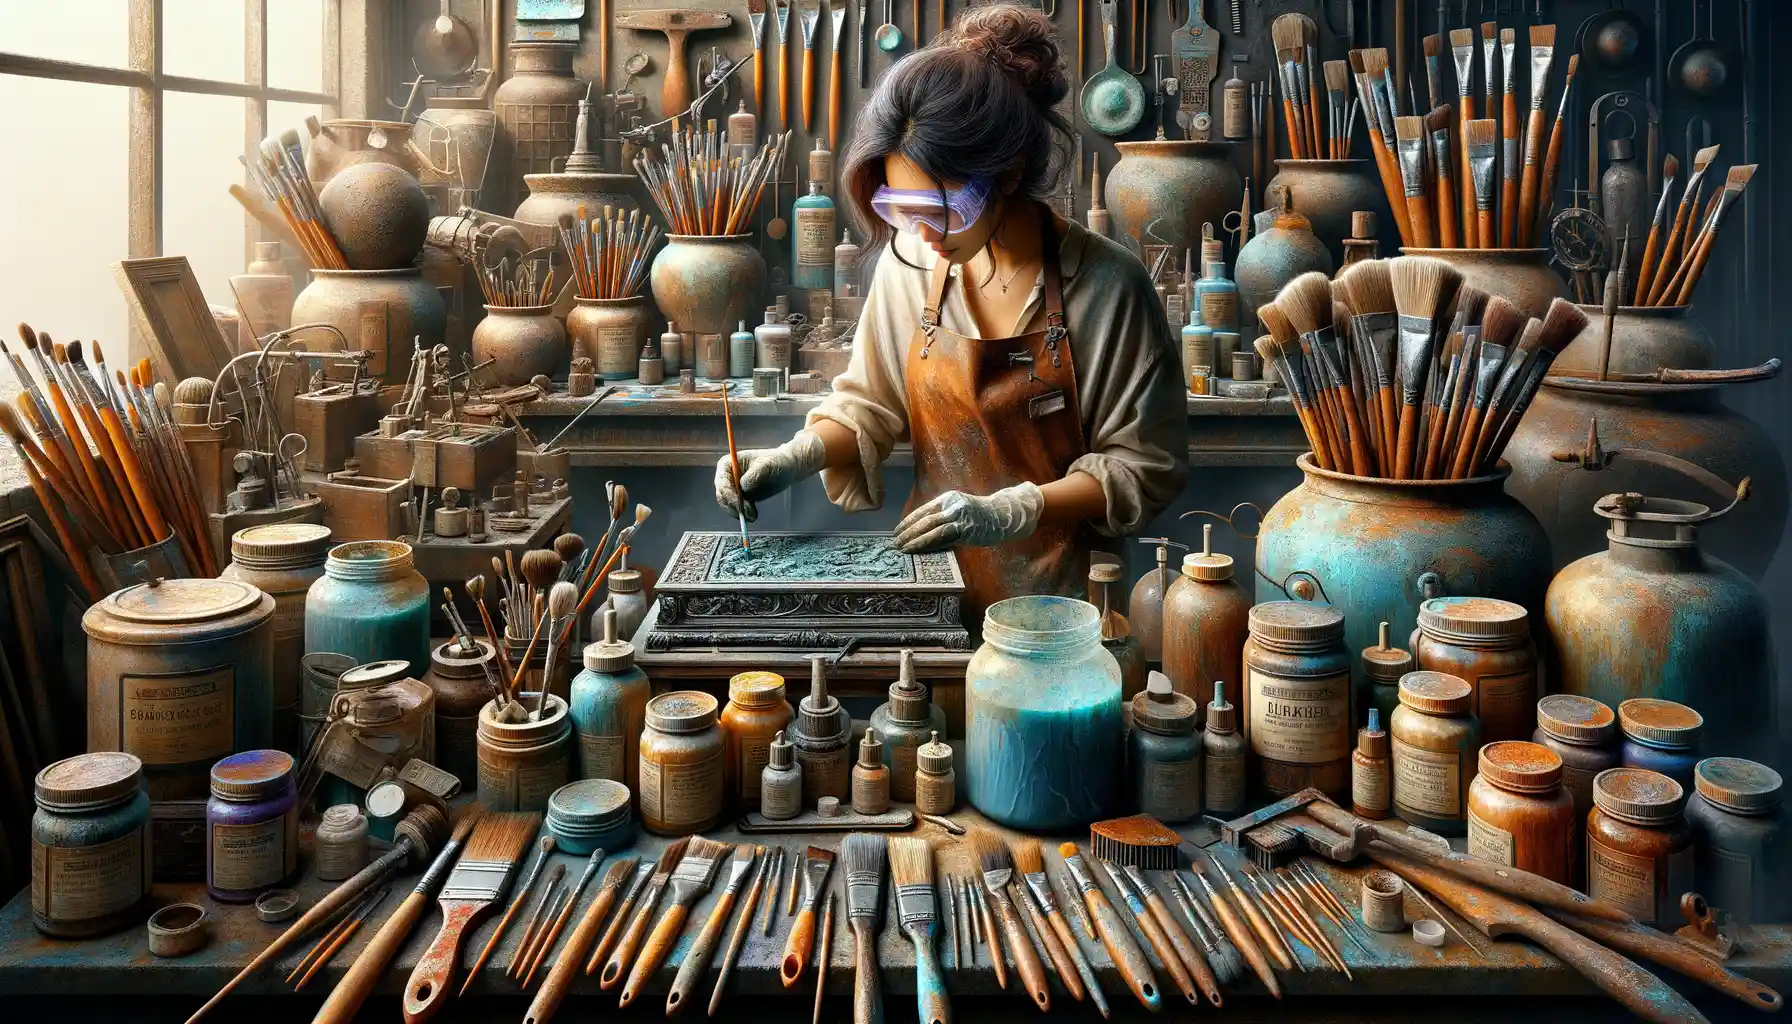
Tools That Bring Patina to Life
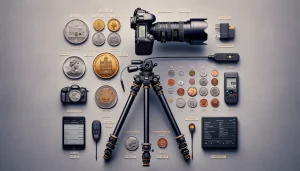
When it comes to showcasing the soul of an ancient coin, your choice of equipment matters more than you’d think. A humble coin deserves a setup that lets its rich history shine! Start with a macro lens—this is your golden ticket for capturing those microscopic details of wear and patina that make each coin unique. Pair it with a sturdy tripod, because trust me, even the slightest wobble can blur those intricate textures. Stability here is everything.
Oh, and let’s not forget lighting tools—your secret weapon. A ring light is fantastic for evenly distributing light, but if you want to get dramatic (and sometimes drama is exactly what a coin needs), experiment with LED panels or even a simple desk lamp. Play around; every coin has its own “best side.”
- Diffusers: Essential for softening harsh light and avoiding glare.
- Reflectors: Use foil or white cardboard to bounce light into shadowy areas.
It’s in these tools you’ll find the key to transforming a cold metal disc into a portal through time, revealing its aged beauty in full detail.
Lighting and Angles to Emphasize Coin Details
Unlocking the Magic of Coin Details With Proper Lighting
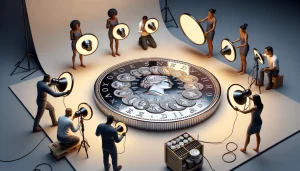
When it comes to ancient coins, lighting can either be your best ally or your worst enemy. The right setup doesn’t just reveal details—it breathes life into the coin’s story. Imagine showing off a delicate olive branch etched into a Roman denarius or the rugged contours of a Greek drachma; lighting holds the power to make these features leap out like a masterpiece under a gallery spotlight.
A simple rule? Side lighting is often your golden ticket. Positioning light at an angle—about 10-45 degrees—throws shadows that accentuate textures, whether it’s a worn emperor’s profile or the crusty patina that whispers centuries of history. And let’s not forget directional control: move the light around slowly, watching how inscriptions and fine carvings seem to play hide-and-seek with the glow.
- Use warm LED lights to bring out earthy tones in the patina.
- Diffuse harsh light with a softbox or even thin white fabric for smoother contrasts.
- Experiment with natural sunlight for a raw and authentic touch.
The Role of Angles: A Photographer’s Dance
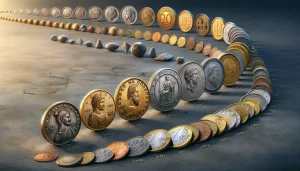
Angles are the unsung heroes of coin photography. A slight tilt of your camera—or even the coin itself—can unveil micro-details you didn’t know existed. Try shooting from a lower angle to emphasize inscriptions or bring out raised designs. If you’re working on a coin with heavy wear, this trick can give faint markings a new level of definition.
One trick I swear by? Using a rotating platform or lazy Susan to change angles without ever touching your coin. It’s like choreographing a graceful waltz between your lens and history itself. Whether you’re capturing a smooth Alexandrian tetradrachm or a jagged relic of war-torn Byzantium, the interplay of light, shadow, and angles turns a good photo into a breathtaking one.
Post-Processing Tips for Enhancing Wear and Patina
Breathing Life into Ancient Coins with Subtle Edits
Post-processing your ancient coin photos can be where the magic happens. Think of it as giving these historic treasures a stage-worthy spotlight. The goal? To enhance the natural beauty of their wear and patina, not to disguise or distort it.
Start with your contrast and brightness settings: a delicate balance is critical. Too much contrast might exaggerate scratches, while overly brightening could wash out those rich greens and bronzes of the patina. Aim for subtle tweaks that make details pop without looking artificial.
Color correction is your next ally. Ancient coins often carry earthy tones — deep grays, muted golds, or even rusty reds. Adjusting white balance can help stay true to the coin’s authentic hues. A patina should look like it’s aged naturally over centuries, not like it just stepped off a movie set!
- Sharpen edges lightly: You want inscriptions and designs to stand out without appearing harsh.
- Dodge shadows selectively: Lift areas obscured by lighting to reveal hidden wonders.
Pay attention to textures too. Fine-tuning can bring out every crackling detail of time’s artwork, but tread carefully — less is almost always more.