Understanding the Importance of Post-Processing in Coin Photography
When it comes to coin photography, post-processing is the unsung hero. It’s like polishing a rare coin after it’s been found in a dusty attic—it brings out the nuances, the shimmer, and the intricate details that were always there but hidden beneath distractions. Without it, even the most skillfully taken photograph can fall flat.
Why Your Coin Photos Deserve That Extra Touch
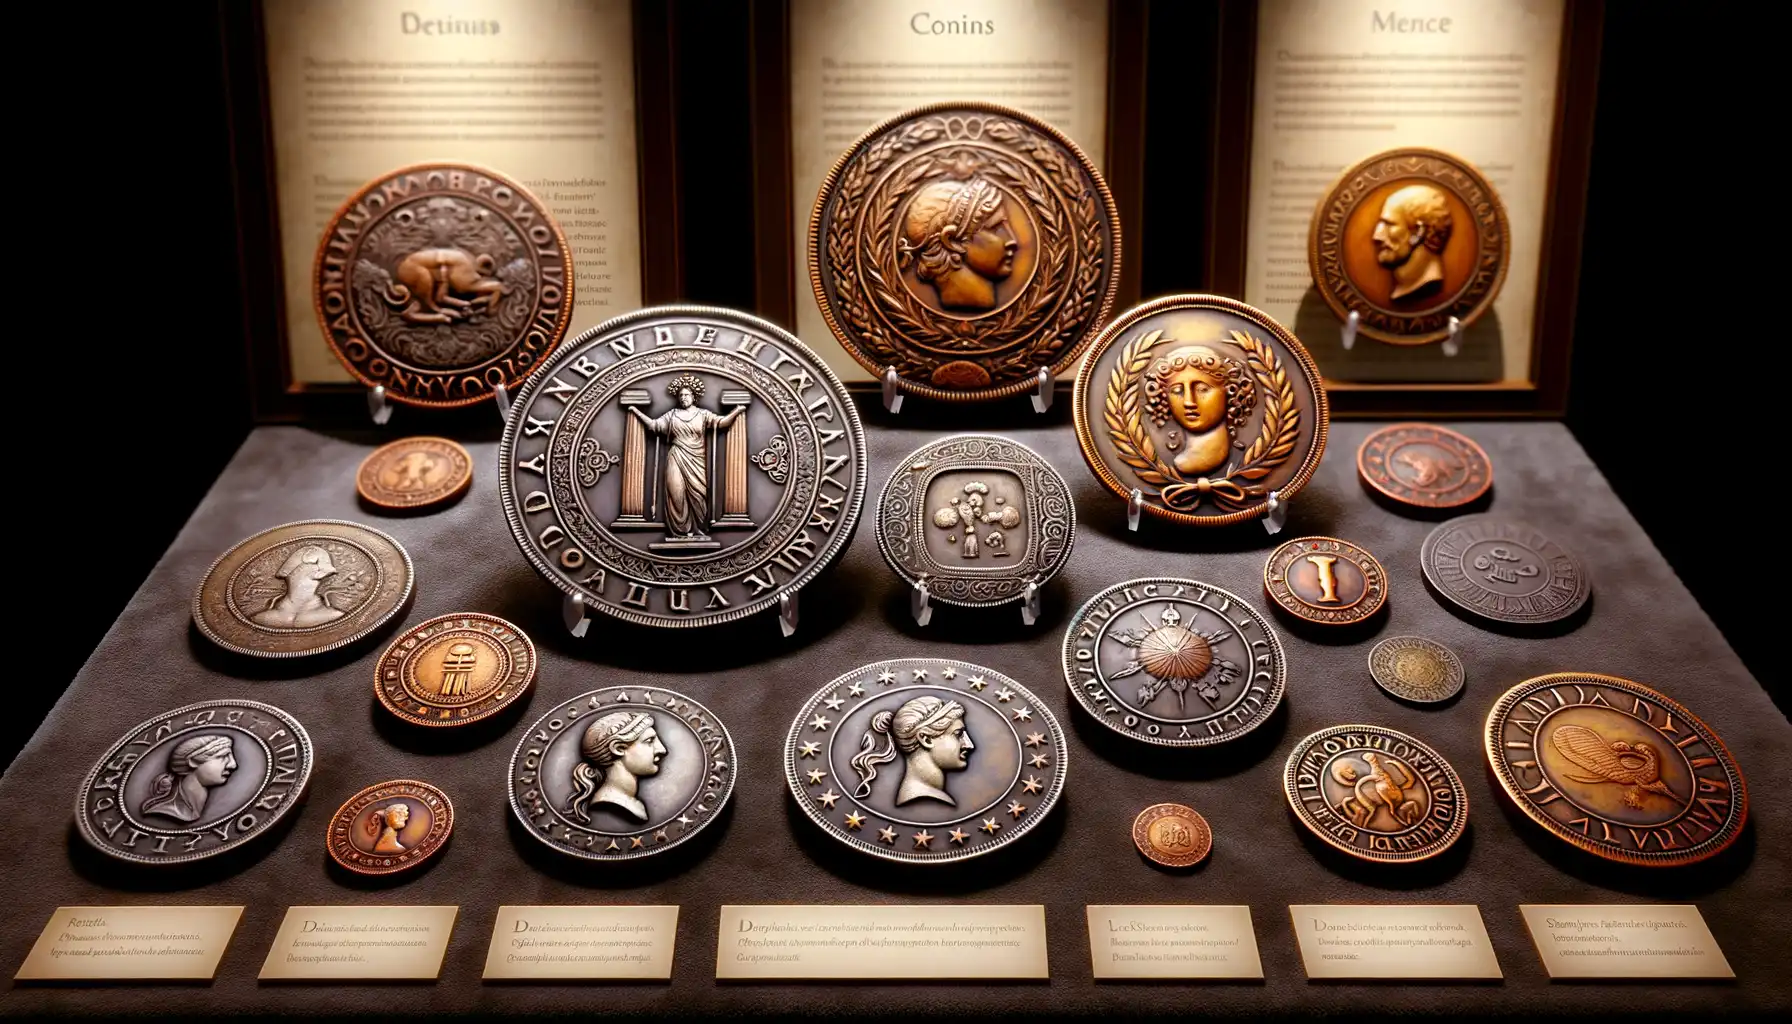
Coins are storytellers. Each scratch, gleam, and engraving holds history, artistry, and value. Yet, a camera lens doesn’t always translate what your eye sees. Post-processing helps bridge the gap between reality and the captured image. For example, a slight tweak to contrast can make those fine details pop, while removing shadows can help the coin step boldly into the spotlight.
Let’s not forget those background distractions! A beautiful bronze penny can lose its charm when surrounded by dust specks or a busy backdrop. With the power of photo editing, you can:
- Eliminate reflections that obscure key details
- Restore color accuracy so every tone is represented faithfully
- Highlight inscriptions without overexposing the gold or silver hues
Think of post-processing not as “fixing” an image but as giving it the respect it deserves. After all, coins have endured history’s storms—don’t they deserve to look their best?
Essential Tools and Software for Coin Photo Editing
Gear Up with the Right Tools
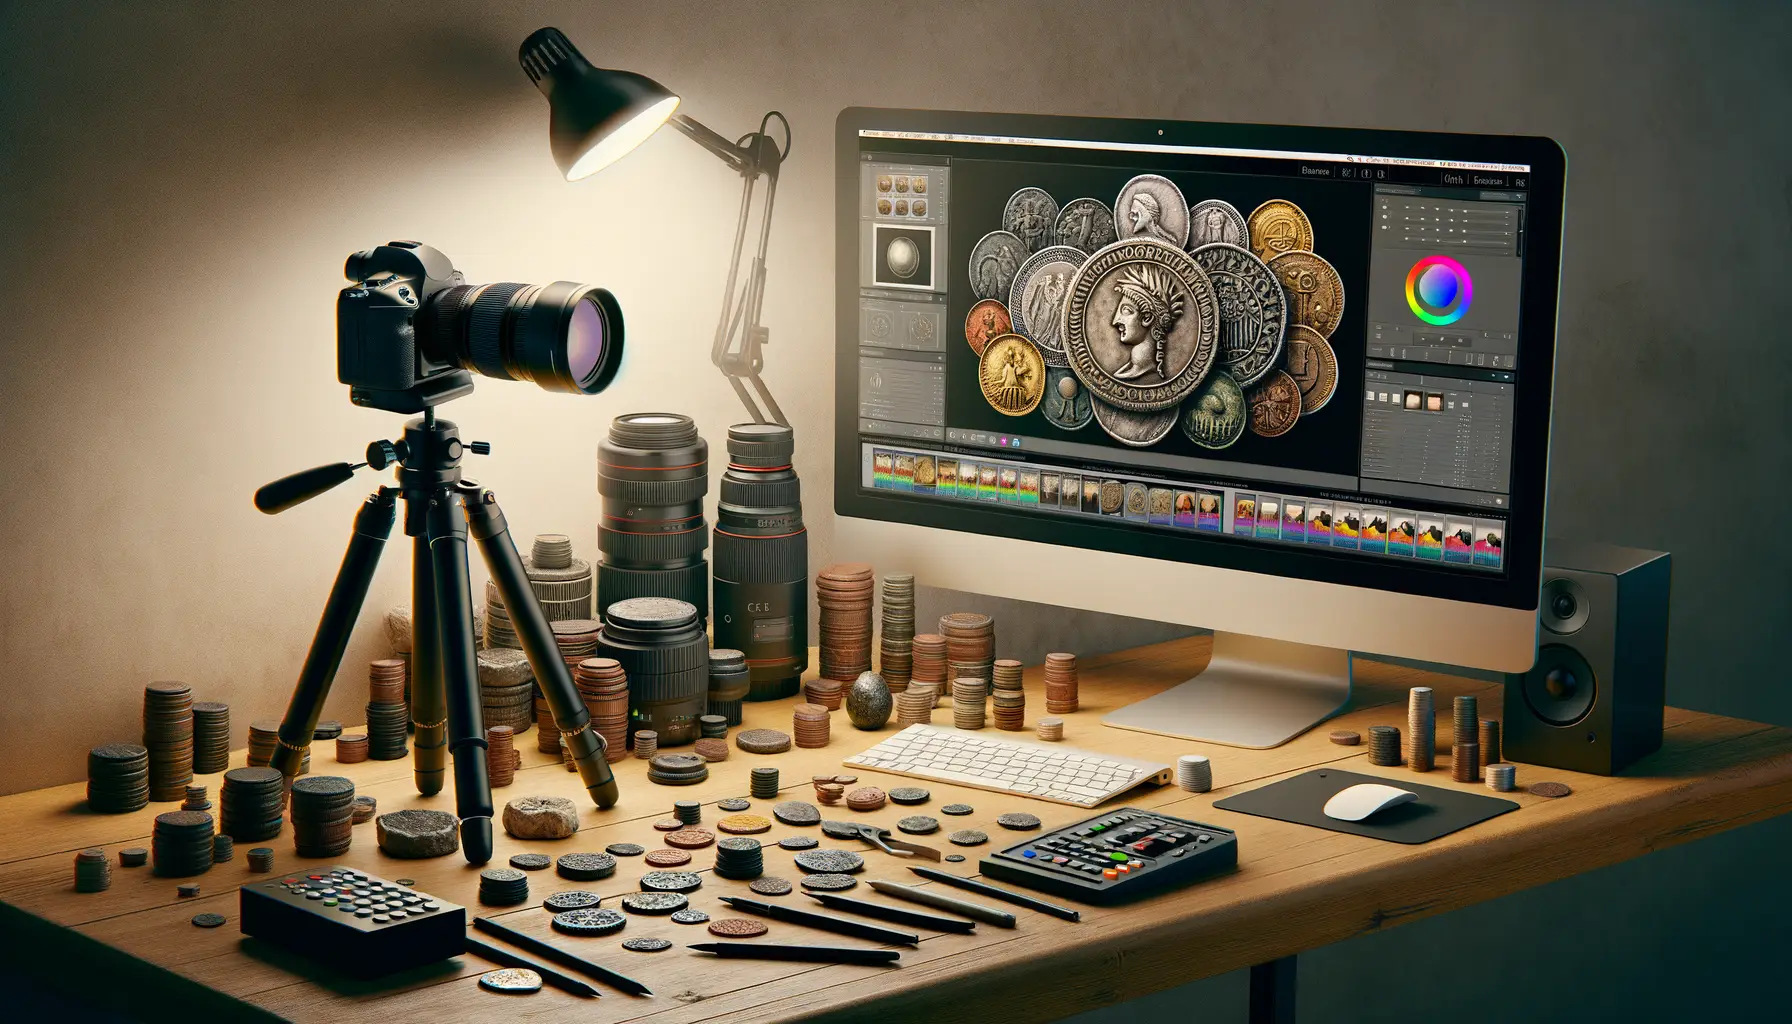
To breathe life into your coin photographs, you’ll need more than just skill—you’ll need a trusty toolkit. Think of this as your artist’s palette, where each tool adds its own magic to the masterpiece.
First and foremost, no photographer’s arsenal is complete without an image editing software that delivers precision. Adobe Photoshop is a gold standard, enabling you to fine-tune every detail of your coins. Its features like spot-healing brushes and curves adjustments let you highlight the tiniest engravings like a spotlight on stage.
For those who prefer something lightweight but powerful, Lightroom is a champion at batch editing and balancing exposure. And for tech-savvy hunters, tools like Affinity Photo or GIMP offer budget-friendly yet robust solutions.
- Noise Removal Tools: Say goodbye to grainy shadows with plugins like Topaz Denoise AI.
- Focus Stacking Software: Capture razor-sharp details with help from Helicon Focus or Zerene Stacker.
- Calibrated Monitors: A properly tuned display ensures your coins shine just right on any screen.
With these essentials, you’re not just working; you’re crafting tiny worlds of glittering metal perfection.
Step-by-Step Guide to Enhancing Coin Photographs
Setting the Stage for Stunning Coin Photos
Imagine your coin photographs as stories, each detail whispering tales of history and craftsmanship. But let’s be real—sometimes the raw image doesn’t do justice to their intricate beauty. This is where enhancing steps swoop in like a superhero cape for your images.
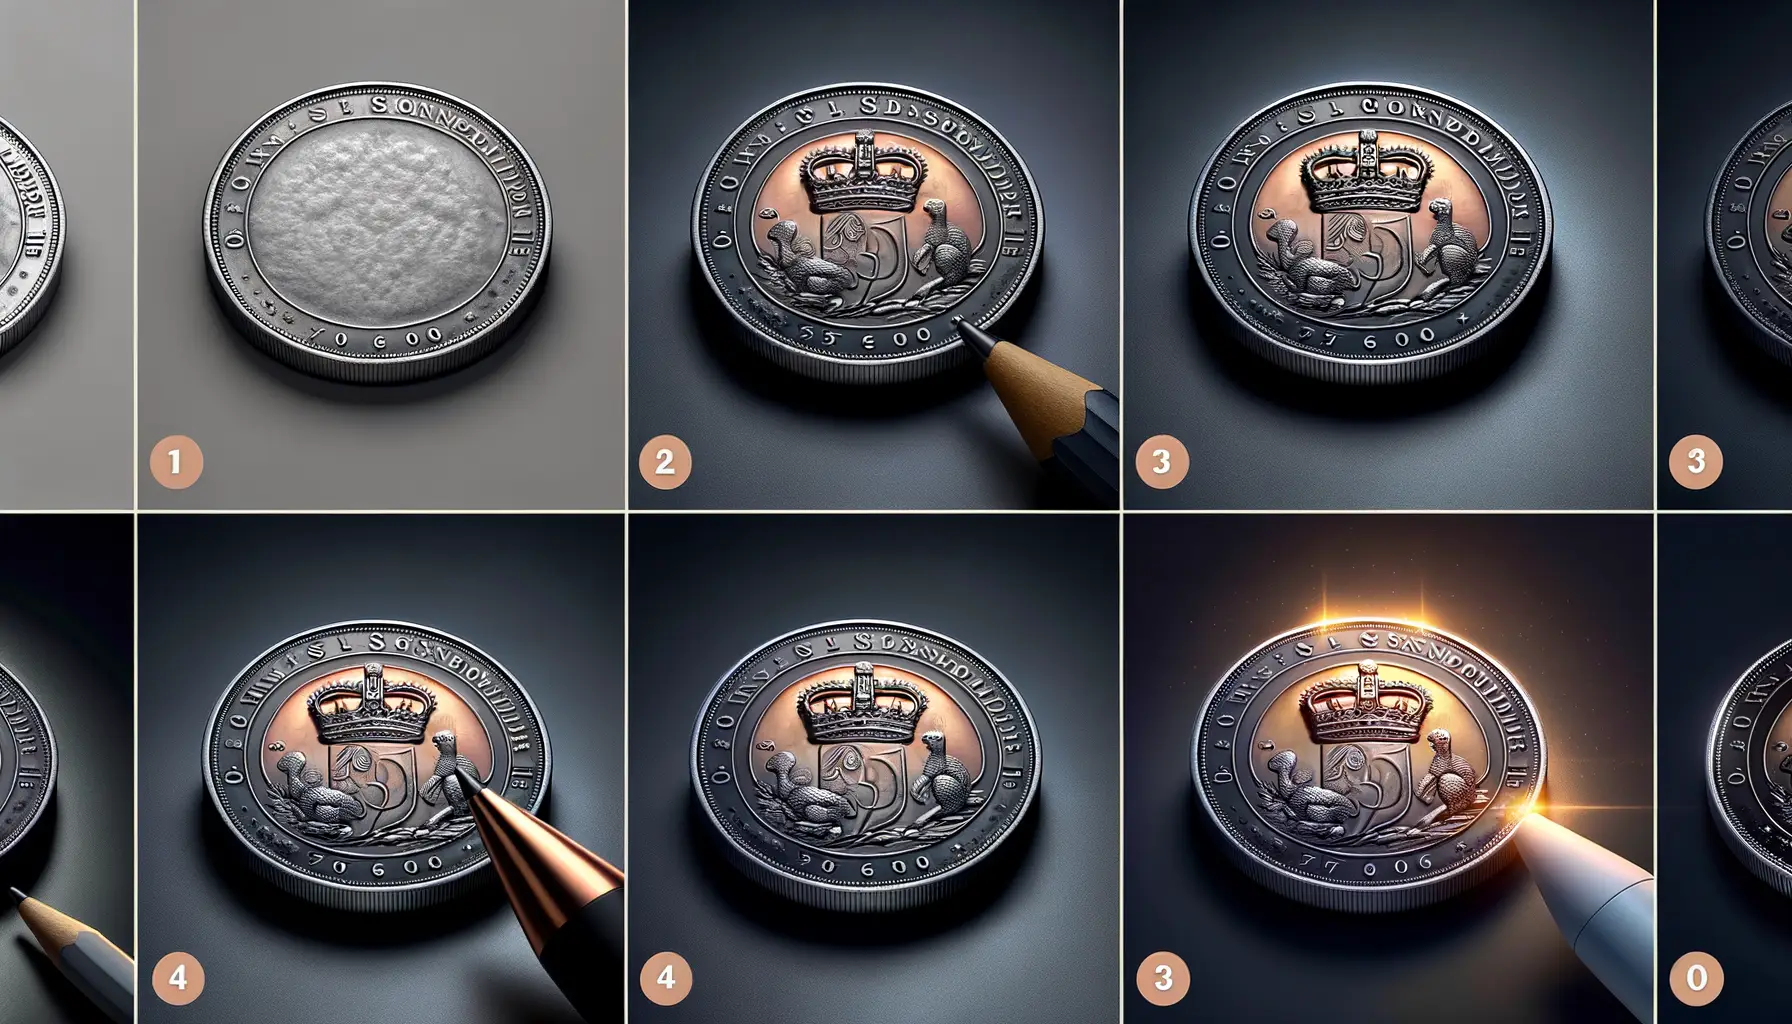
First, fire up your chosen editing software (hello, Photoshop or Lightroom). Start with the basics: adjust brightness and contrast to make the details pop. Coins often reflect light unevenly, creating tricky shadows. Fix this by tweaking the highlight and shadow sliders; it’s like giving the coin its perfect spotlight.
Now, on to sharpening. Use a gentle hand! Too much sharpening can turn those delicate engravings into a jagged mess. And for color correction? Look closely—does the gold seem a little too orange or the silver too dull? Aim for hues that mirror the coin’s real-life allure.
- Zoom in to eliminate distracting dust or fingerprints.
- Crop out unnecessary background noise for a clean, professional focus.
- Add subtle vignetting for an elegant finish, drawing attention straight to the coin.
Bringing Out the Personality of Your Coin
Coins aren’t just metal—they’re treasures. To make them shine, experiment with texture-enhancing tools like clarity adjustments. For example, crank up the clarity slider slightly in Lightroom to reveal every nook of that ancient coin’s patina.
Don’t forget, even modern coins have character! If you’re editing a vibrant copper penny, enhance its glow by balancing the white balance toward warm tones. If the coin features inscriptions, play detective—does the text need crisping up? A selective adjustment brush can work wonders.
In post-processing, think of yourself as not just an editor but a curator, unveiling tales through each polish and tweak.
Common Mistakes to Avoid During Post-Processing

Dodging Over-Editing Disasters
When editing coin photos, there’s a fine line between enhancing and overdoing it. Trust me, it’s easy to get carried away with all those sliders and filters, but going too far can leave your coins looking more like 3D illustrations than actual collectibles. One common pitfall? Cranking up the contrast until your coin looks like it’s ready for a rock concert poster. Subtly is your secret weapon—highlight details without erasing history.
Also, watch out for overly saturated colors. Sure, everyone loves vibrant imagery, but coins have natural hues that collectors cherish. Turning silver into neon blue isn’t just misleading—it’s a credibility killer. If you’re not sure, preview your edits side-by-side with the original image.
Poor Cropping and Cluttered Backgrounds
A well-cropped image focuses all attention on the coin—but sloppy cropping? That’s a no-go. Avoid leaving too much empty space around the coin, or cropping in so tight that part of its edge disappears. Respect the coin’s proportions!
And let’s talk backgrounds. A cluttered background might as well be photobombing your coin. Stick to plain, neutral tones—like soft gray or black—because distractions don’t sell authenticity.
- Skip heavy vignetting; it can feel old-fashioned or artificial.
- Don’t forget to double-check your edges for stray lint or dust—it’s the little things that matter!
Expert Tips for Professional Results in Coin Photography Post-Processing
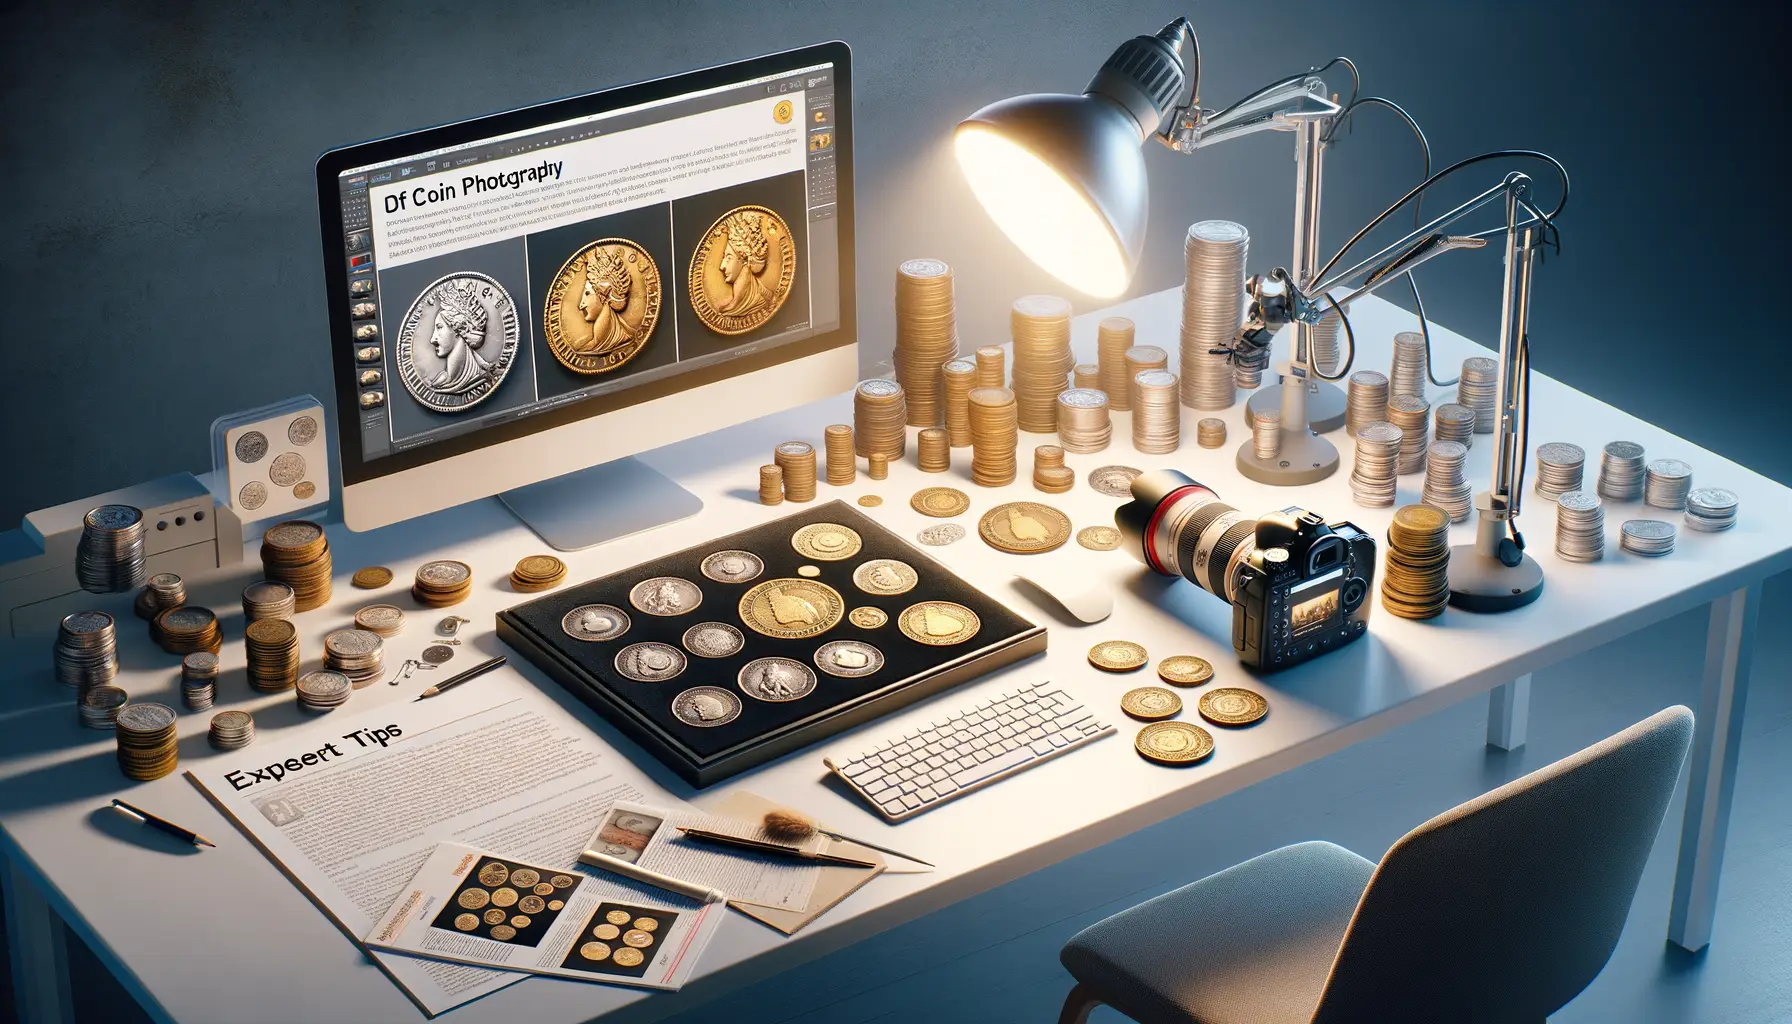
Unleash the Magic of Lighting and Contrast
When it comes to coin photography post-processing, lighting is your best friend—or your worst enemy. A poorly lit image can make a rare coin look like a dull token, but with a few tweaks, you can let its brilliance shine through. Experiment with adjusting contrast and highlights. Coins often have intricate details that crave attention, so use tools like dodge and burn to emphasize texture without overdoing it.
Also, don’t overlook shadows! Softening harsh shadows while preserving depth can give your coin an almost 3D effect, leaping off the screen. It’s as if you’re sculpting light around your coin—because, in a way, you are.
- Use the “Curves” tool for precise contrast adjustments.
- Play with white balance to bring out subtle metal tones like gold, silver, or copper.
- Keep experimenting until the coin looks as fabulous on screen as in your hand!
Master the Subtle Art of Background Edits
The backdrop sets the stage for your coin’s glory. Smooth out uneven backgrounds or remove distracting marks with the healing brush or clone stamp. A pristine, neutral backdrop helps the coin pop effortlessly. Feel daring? Add a soft gradient to make the photo feel museum-worthy, but don’t let it steal the spotlight.
Tidiness is key, but don’t sterilize the vibe. That worn patina on a 19th-century penny? That’s its story; preserve it. Post-processing isn’t about perfection—it’s about capturing character.
