Understanding the Basics of Camera Settings
Where Magic Meets Mechanics: Getting to Know Your Camera
Let’s face it—grabbing a camera can feel like holding a mysterious gadget straight out of a sci-fi movie. But here’s the thing: those buttons, dials, and endless menu options? They’re your tools to make magic happen. It’s time to peel back the curtain.
Imagine your camera as a painter’s brush. The settings you choose are the strokes, colors, and textures. Knowing the basics makes the difference between photography that’s *meh* and photos that stop someone mid-scroll on Instagram.
Start with the holy trinity of settings: Aperture, Shutter Speed, and ISO. Think of them as the building blocks of your masterpiece:
- Aperture: Like a window—open it wide for dreamy, blurred backgrounds or close it for sharp, detailed landscapes.
- Shutter Speed: Freeze motion with a quick click, or slow it down for artistic light trails.
- ISO: Your secret weapon for lighting. Boost it in dim conditions but watch out for that pesky graininess!
Don’t stress if it feels overwhelming at first—exploration is half the fun. You’ll soon find yourself instinctively tweaking these settings, hearing that satisfying *click*, and knowing you’ve caught something spectacular.
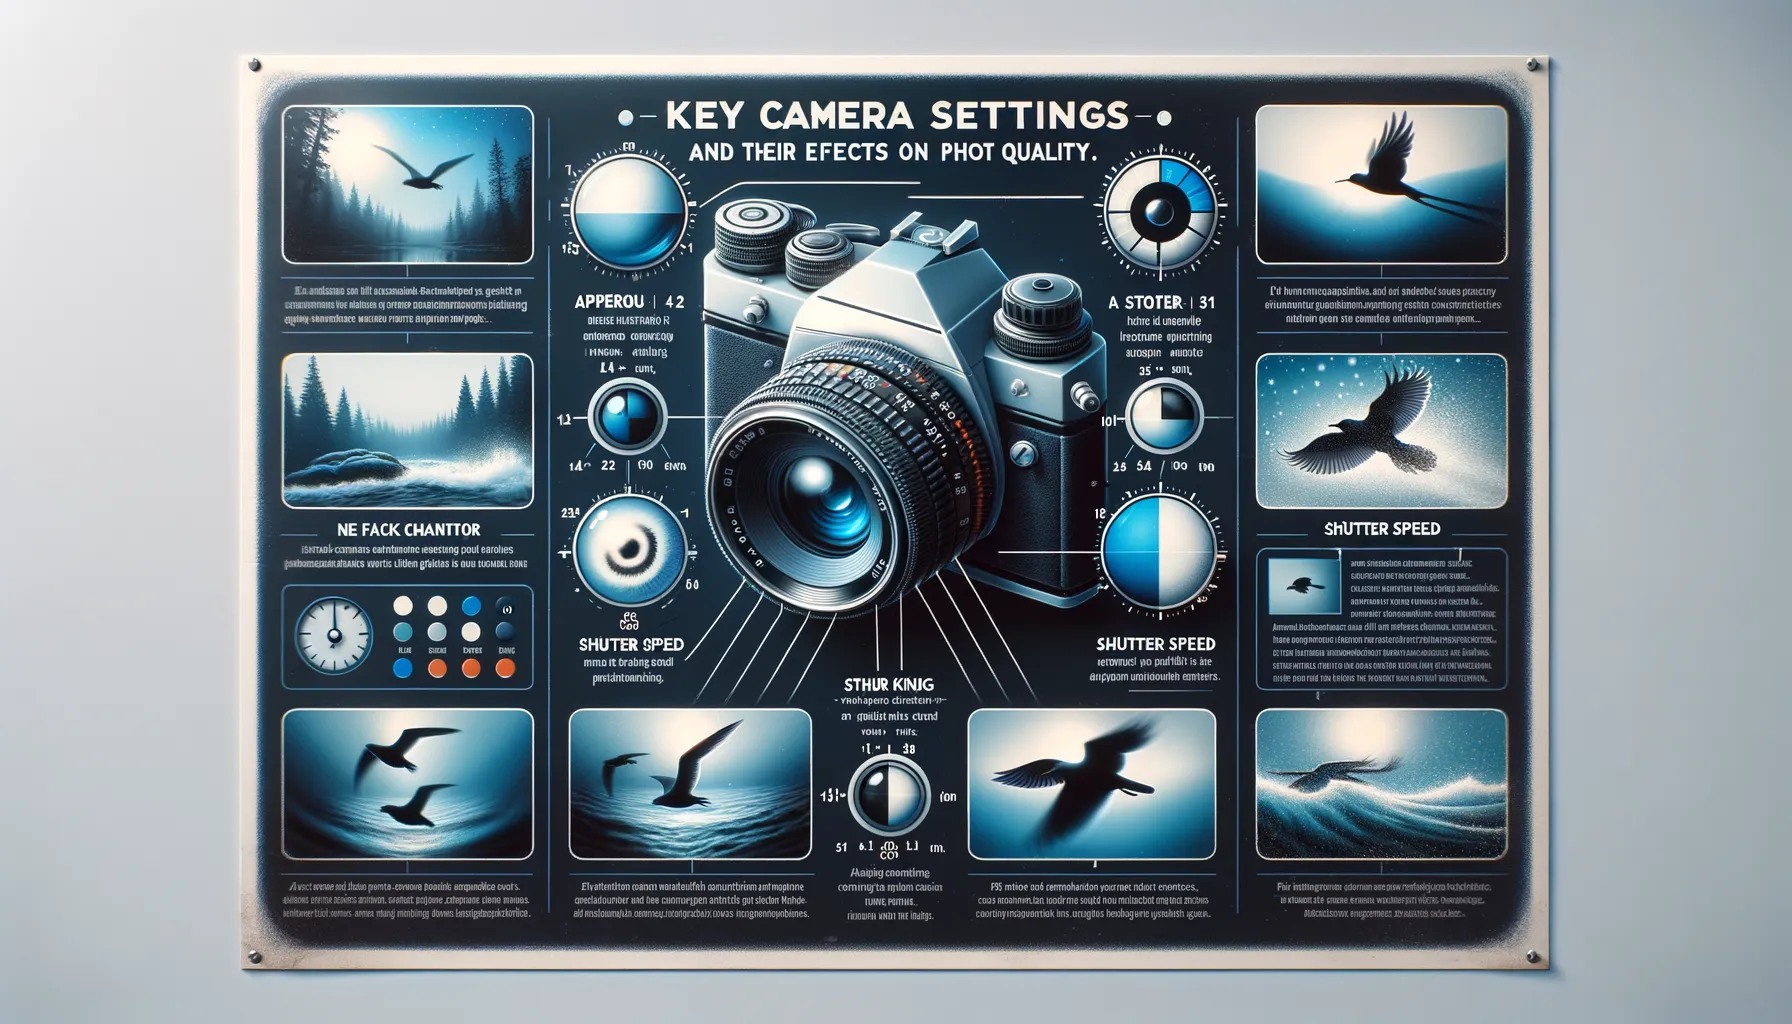
Key Camera Settings and Their Effects on Photo Quality
Discovering the Magic of Aperture, Shutter Speed, and ISO
Ever wonder how some photos look dreamy while others freeze reality in jaw-dropping detail? It all begins with mastering the holy trinity of settings: aperture, shutter speed, and ISO. These three work together like ingredients in a recipe—get them right, and your photo will be nothing short of a masterpiece.
Aperture controls the size of your camera’s “eye.” A wide aperture (like f/1.8) creates creamy, blurred backgrounds, isolating your subject like it’s on center stage. Perfect for portraits! On the other hand, a narrow aperture (like f/16) sharpens everything from foreground to background, bringing landscapes to life with stunning clarity.
Shutter speed changes the way motion is captured. Want silky-smooth waterfalls? Opt for a long exposure like 1 second. Shooting kids or sports? Freeze the action with lightning-fast speeds like 1/1000.
Then there’s the sneaky hero, ISO, which boosts light sensitivity. Higher ISO (e.g., 3200) helps in low light but adds grainy noise. Keep it low, around 100-200, for crisp, clean shots when the lighting’s just right.
- Balance is key: A wide-open aperture affects shutter speed.
- Always experiment: Try unusual combos to surprise yourself.
How to Adjust Camera Settings for Different Lighting Conditions
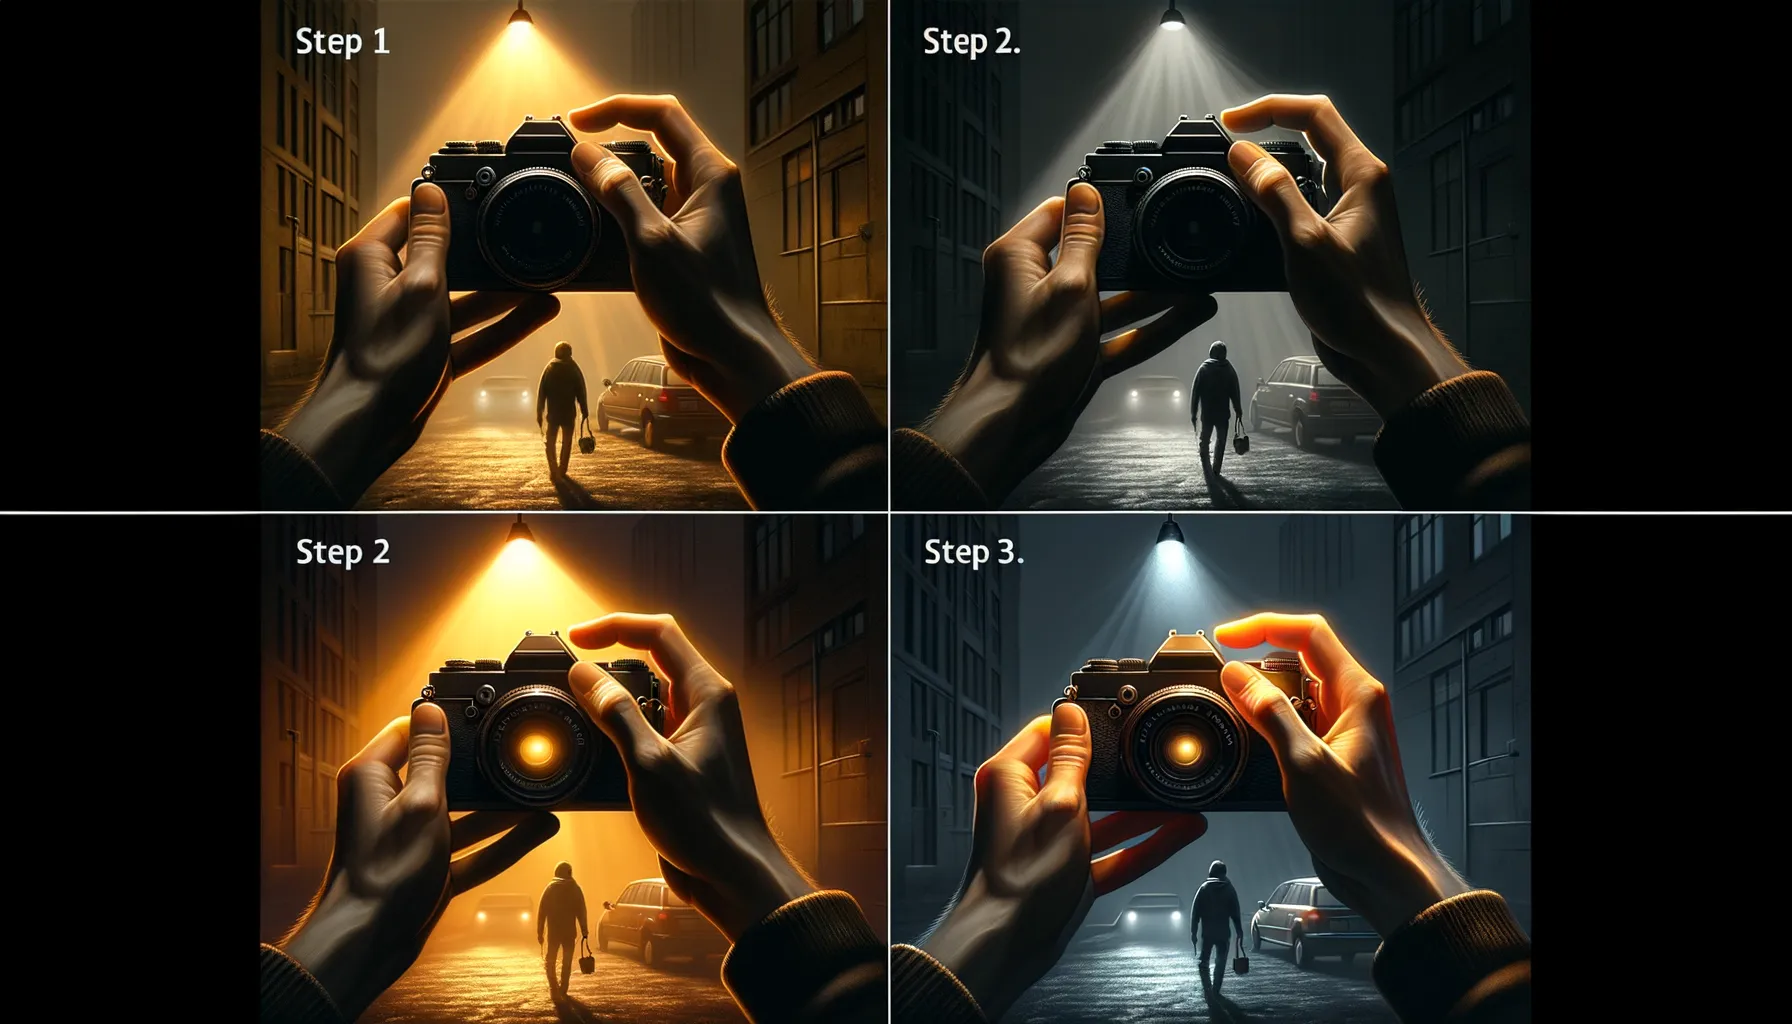
Master the Art of Reacting to Changing Light
Photography is a dance with light, and your camera settings are the choreography. Whether you’re chasing the golden hour or capturing action in moody, low light, adjusting your settings isn’t just a technical task—it’s how you tell your story.
In bright sunlight, where every detail can feel stark, try lowering your ISO. A setting between 100–200 works wonders. Pair it with a tighter aperture (like f/16), which narrows the light entering your lens. Don’t forget your shutter speed—something around 1/500 sec can freeze moments crisp and clear.
For dusk or indoor shots, things shift. Raise your ISO, perhaps to 800 or even 1600, but don’t go overboard—noise can creep in like an uninvited guest. Widen your aperture (f/2.8 or similar) to let the light pour in, and slow down that shutter speed slightly. Just remember: too slow and you’ll catch blur, not clarity.
- Bright midday landscape? Think ISO 100, f/11, 1/1000 sec.
- Romantic candlelit dinner? Try ISO 1600, f/2, 1/60 sec.
Experiment, play, and don’t fear mistakes—they’re the spark behind your best photos!
Common Mistakes to Avoid with Camera Settings
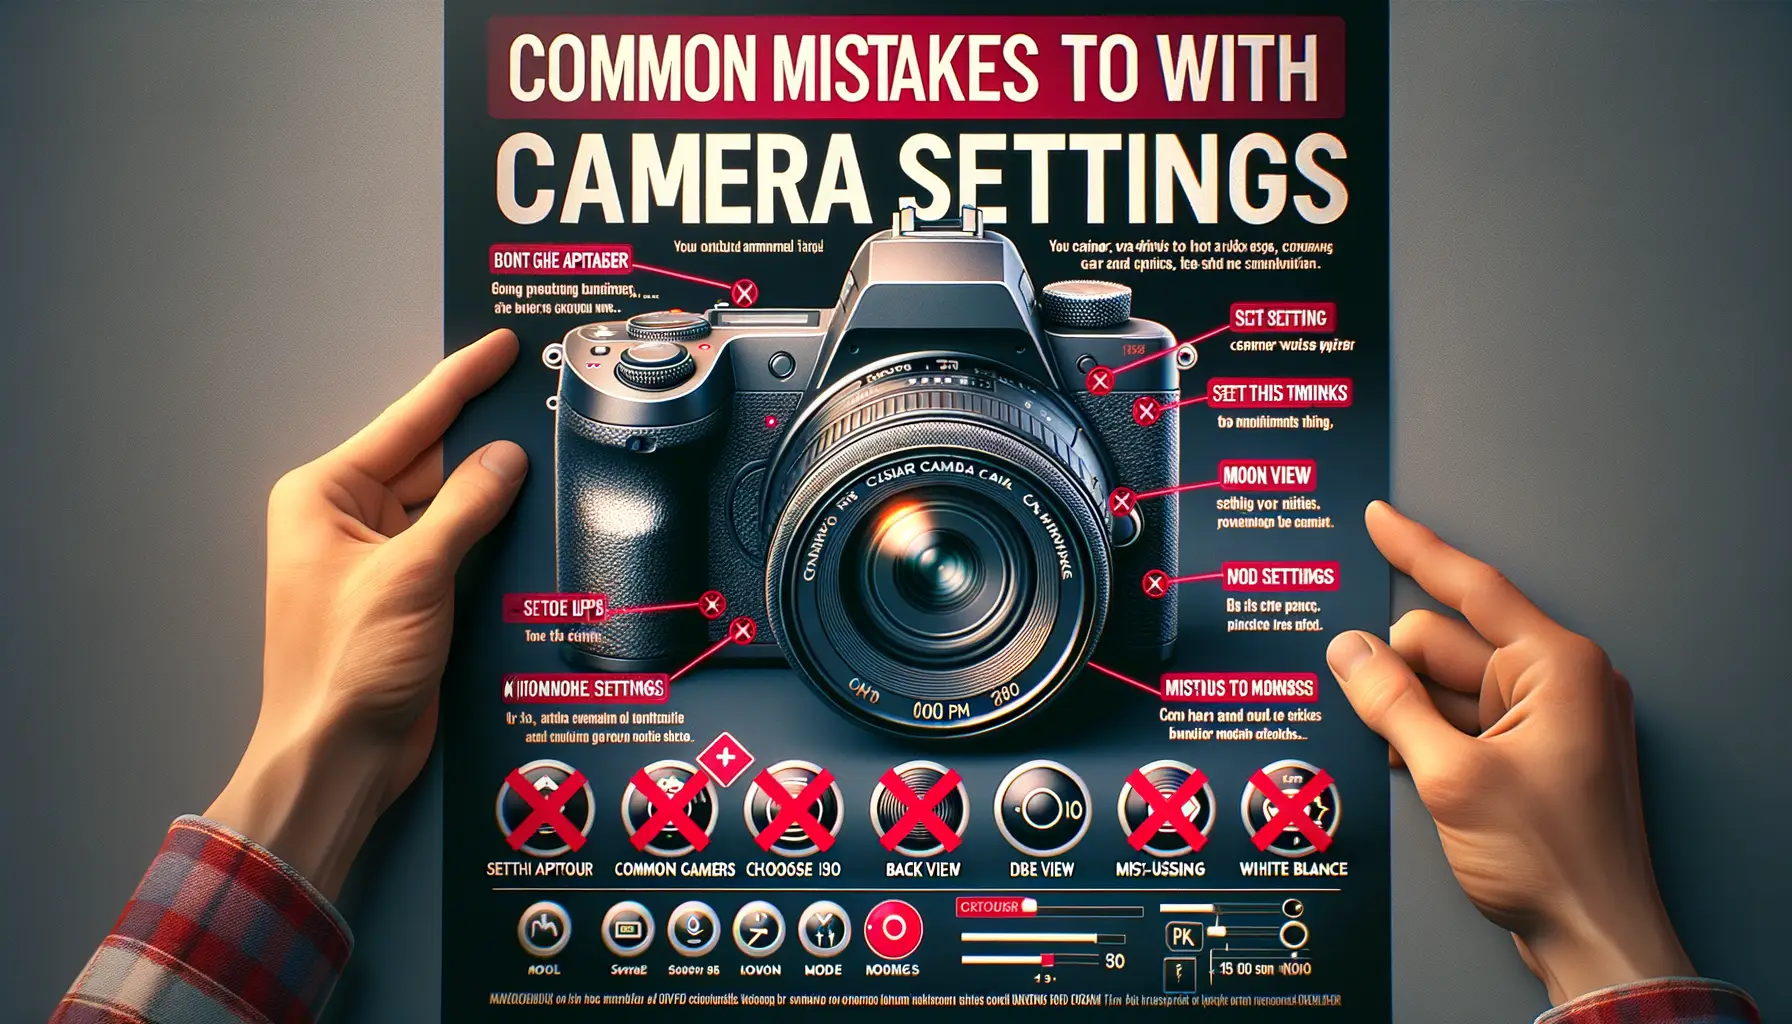
Overlooking Exposure Settings
One of the most common pitfalls? Letting your camera’s exposure settings run wild. It’s like baking a cake without measuring the ingredients—disaster waiting to happen! If you rely solely on automatic modes, your photos might end up too dark (underexposed) or unbearably bright (overexposed). Pay close attention to your aperture, shutter speed, and ISO. For example, shooting in broad daylight with a high ISO can lead to noise-filled chaos. Conversely, a slow shutter speed without a tripod? Hello, blurry mess.
Ignoring Focus and White Balance
Here’s a rookie slip-up: relying on your camera to handle focus and white balance perfectly every time. Cameras are smart, but they’re not mind readers!
To avoid frustration:
- Use manual focus when shooting subjects with intricate details, like a close-up of a flower petal.
- Set your white balance manually to match the mood of your shot—warm hues for a sunset; crisp whites for snowy landscapes.
Trust me, leaving white balance entirely on auto can turn your golden-hour masterpiece into a washed-out nightmare. Small tweaks = huge differences.
Don’t let these mistakes steal the spotlight from your creativity. Pay attention now, thank yourself later!
Tips for Mastering Camera Settings for Perfect Photos
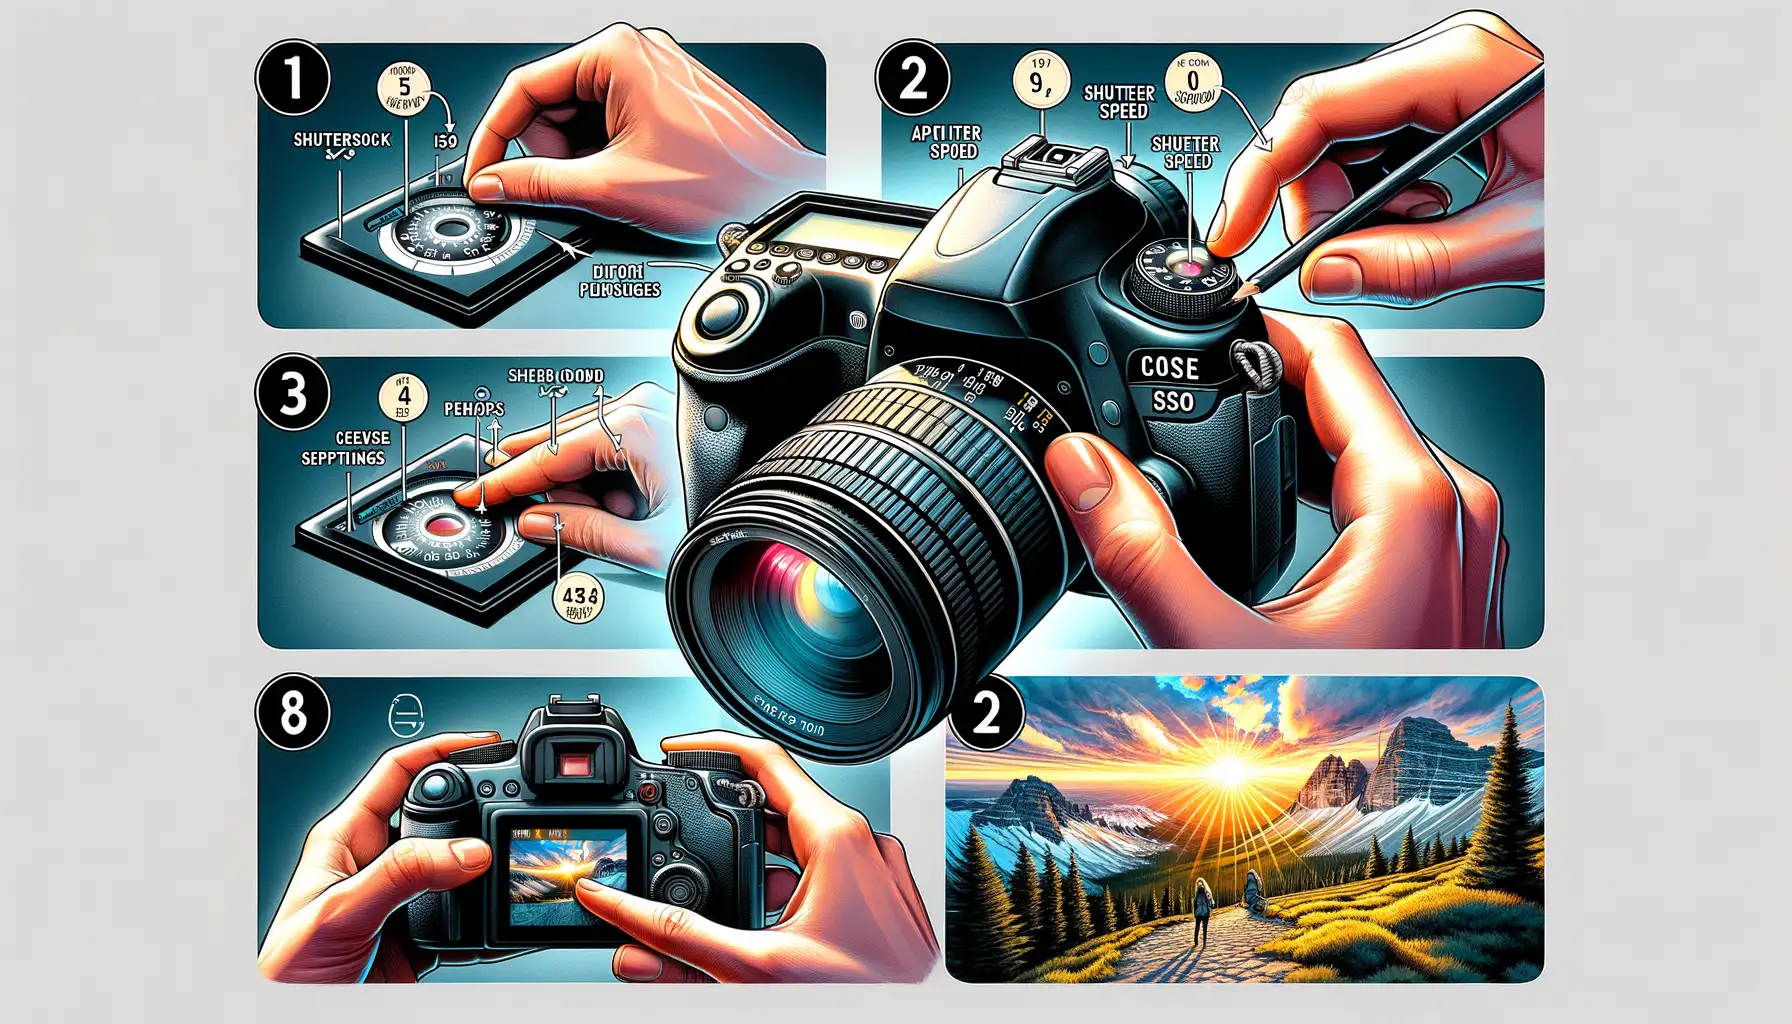
Unlocking the Secrets Behind Your Camera
Mastering your camera settings is like learning to speak its language. Once you know how to “talk” to it, it’ll transform into your most loyal companion, producing jaw-dropping photos every single time. Let’s get practical and dive into a few powerful tips to sharpen your skills.
First off, don’t let the mysterious terms like ISO, aperture, or shutter speed intimidate you. Think of ISO as the party animal—it loves light. The higher the number, the louder it gets, but beware: too high, and your photo gets noisy! Aperture? That’s your BFF for focus; imagine it as your eye. A wide-open aperture (like f/2.8) blurs backgrounds into creamy perfection, while smaller ones (f/11) keep everything clear and sharp.
- Experiment with Manual Mode: It’s where the real magic happens. Start with small tweaks and watch how each setting interacts with the others.
- Use the Histogram: This tool is like a cheat sheet for exposure. Check it often to avoid surprises like blown-out highlights.
Remember, even pro photographers don’t perfect every shot in-camera. Photography isn’t about being flawless—it’s about feeling the moment and crafting something that speaks to you.


