Introduction to Focus Stacking for Coin Photography
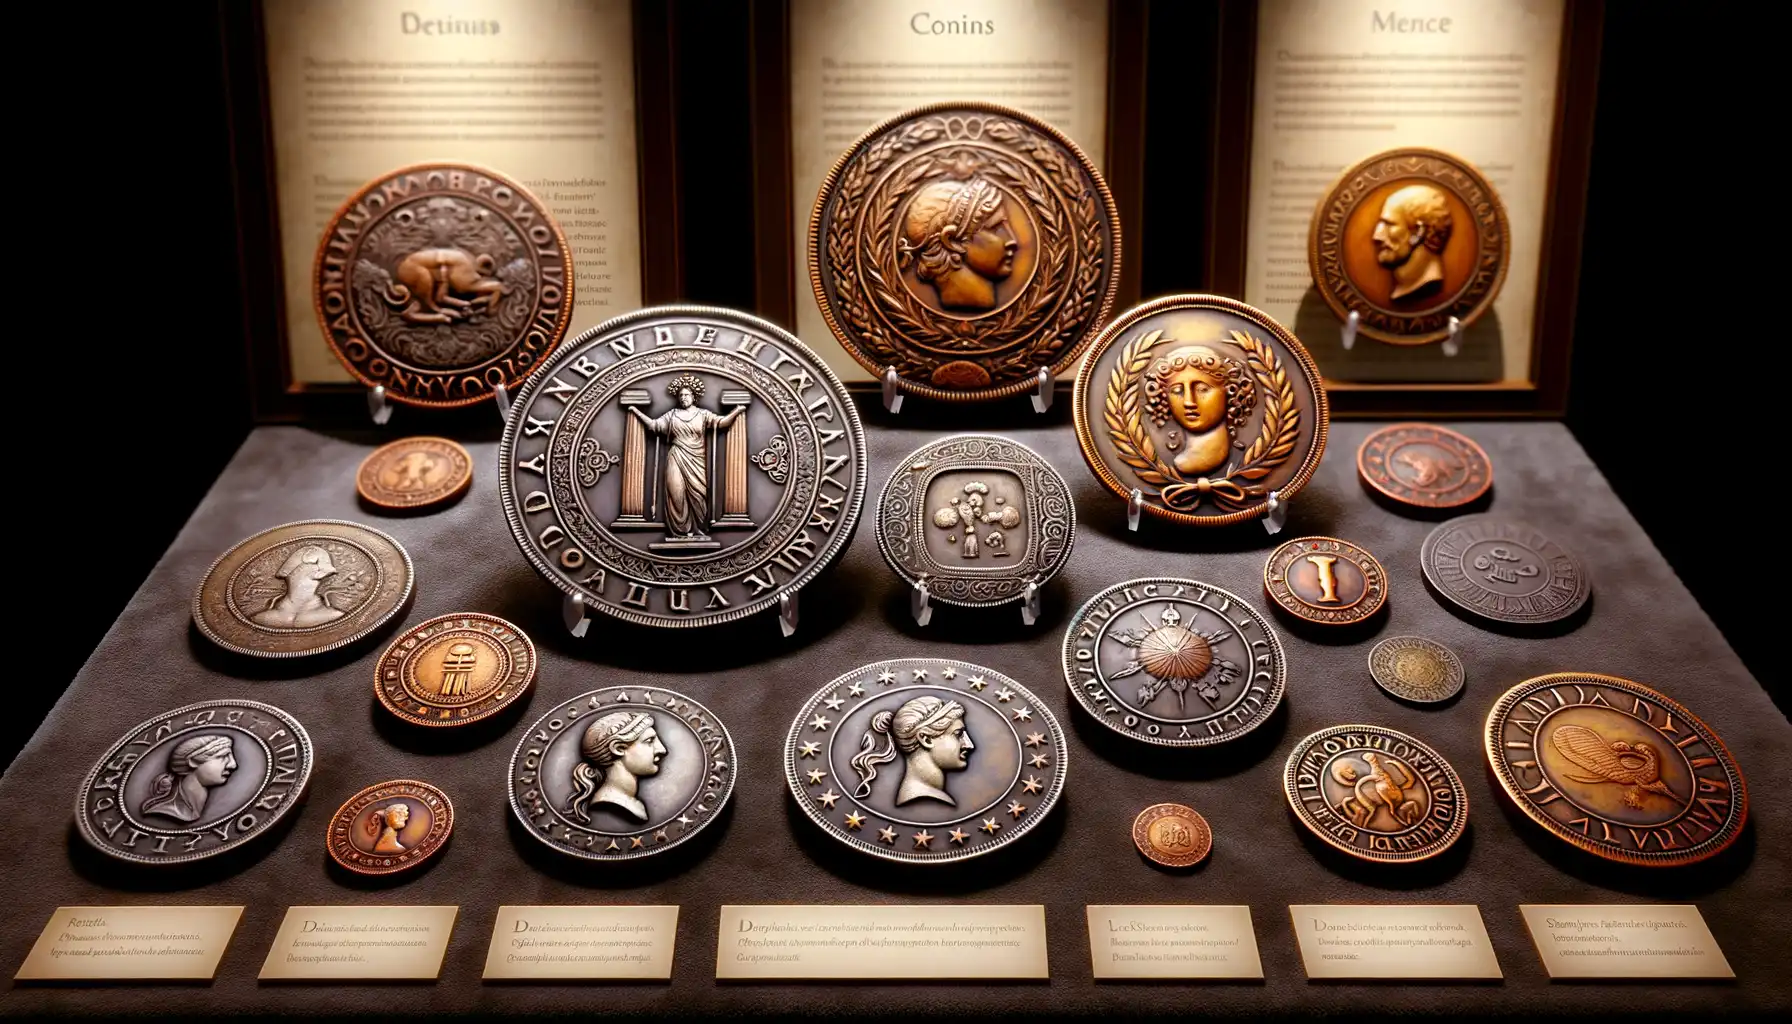
Imagine trying to capture the beauty of a coin’s intricate details—its shimmering edges, the fine ridges of Liberty’s face, or the almost-hidden mint marks that tell a story of history and value. One snap from your camera, and instead of clarity, you’re left with blurry sections. Frustrating, isn’t it? Enter the powerful technique of focus stacking, a game-changer for anyone passionate about coin photography.
What Exactly Is Focus Stacking?
Focus stacking is like giving your camera superpowers. Instead of taking just one photo, you take multiple shots, each focusing on a different part of the coin—bottom to top, front to back. Then, through some digital wizardry (don’t worry, we’ll get there later), these images are “stacked” together to create a single masterpiece where every tiny detail pops with razor-sharp clarity.
When Should You Use Focus Stacking?
Ever tried to photograph a coin at an angle, maybe to emphasize a mint mark? You’ll notice parts of the coin look sharp, but others fade into a blur. This happens because of a shallow depth of field—a common issue in macro photography. Focus stacking solves this by ensuring all layers of the coin are equally in focus, highlighting those intricate features collectors obsess over, like:
- The faint “S” of a San Francisco Mint mark.
- The delicate micro-details of a coin’s texture and inscriptions.
- The stunning interplay of light across its metallic surface.
Once you dive into focus stacking, you’ll realize it’s not just a tool—it’s a revelation. One that transforms your coin photography from good to jaw-dropping.
Benefits of Focus Stacking in Highlighting Mint Marks

Why Focus Stacking Transforms Mint Mark Photography
Have you ever tried capturing the intricate details of a coin’s mint mark, only to feel frustrated because it’s either out of focus or lost in the noise of everything else? That’s where the magic of focus stacking comes in—it’s like putting on glasses for the first time and suddenly seeing the world clearly! By combining multiple images taken at different focus points, this technique creates one perfectly sharp photo that brings mint marks to life.
Here’s where this really shines:
- Unmatched clarity: Even the tiniest details of a mint mark—a dot, a serif, a curve—become razor-sharp.
- No distractions: The rest of the coin can fade into a soft background, keeping all the attention on that one crucial detail.
- Reveal hidden quirks: Tiny imperfections or unique features in a mint mark pop out, giving your photograph depth and character.
Imagine showcasing that rare 1944 steel cent or a double-die error with a crispness so vivid that collectors can’t look away. With focus stacking, it’s not just photography—it’s storytelling.
Step-by-Step Guide to Implementing Focus Stacking
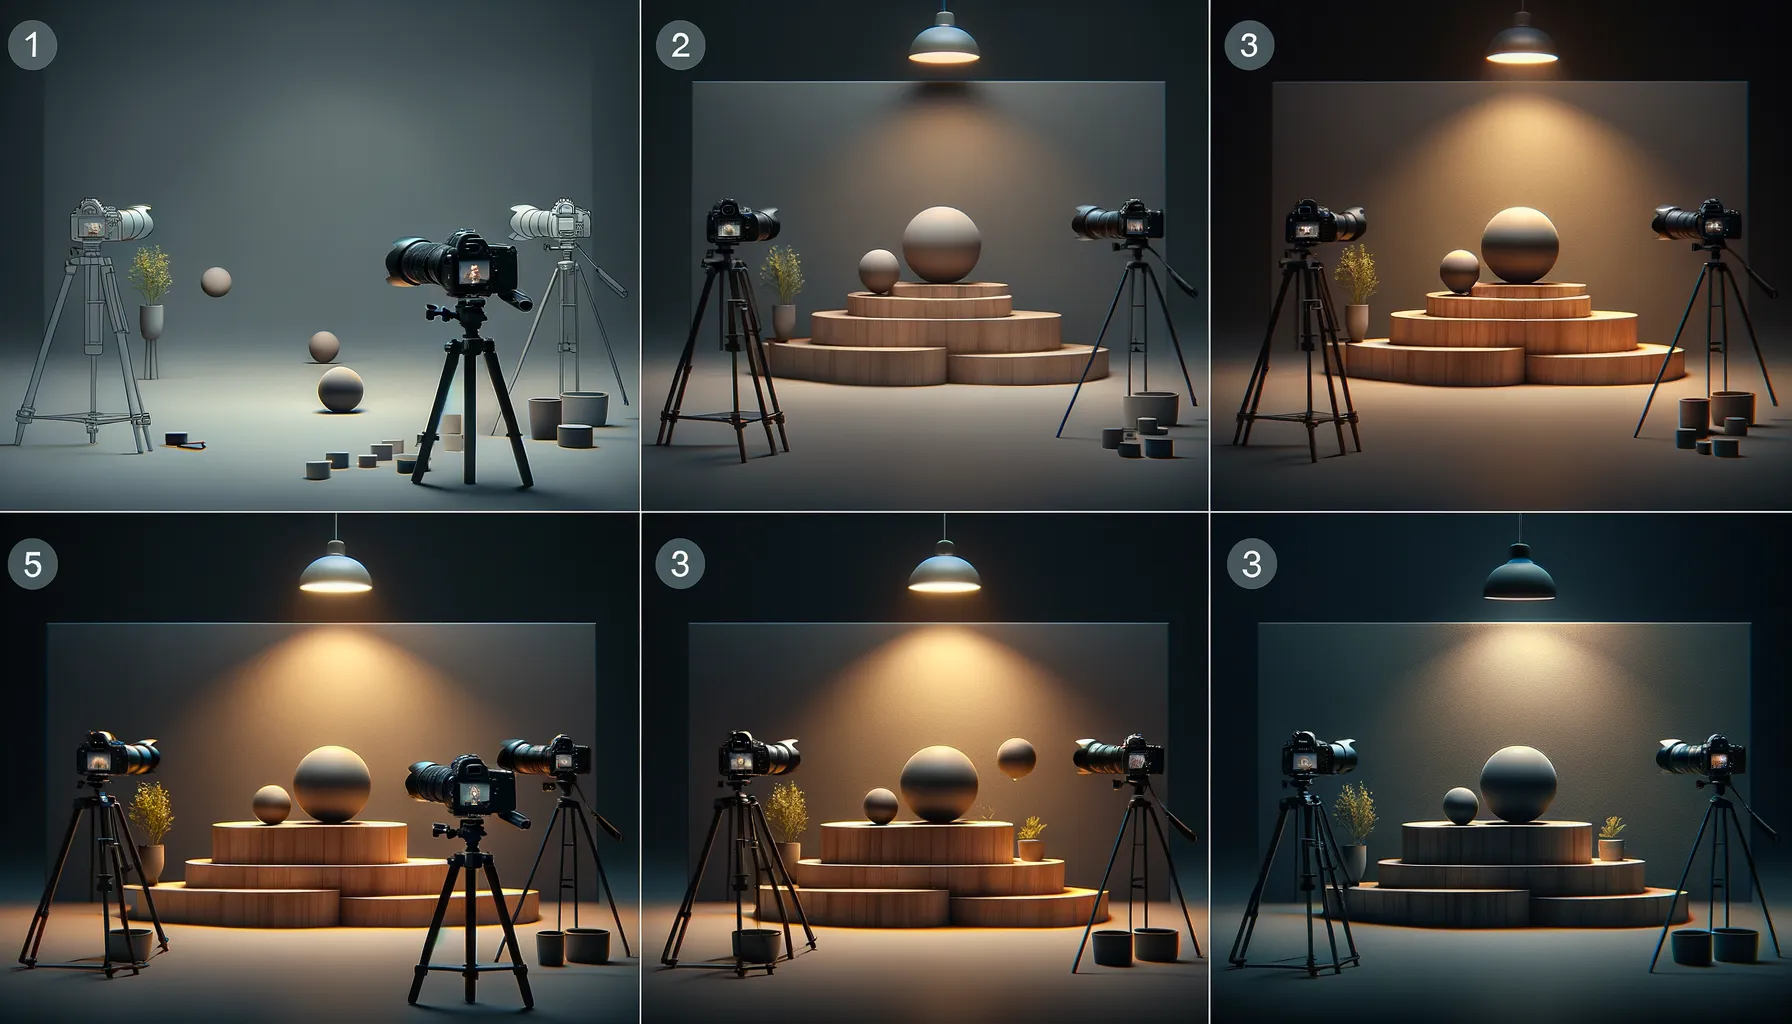
Getting Your Gear Ready
To kick off your focus stacking journey, let’s talk about the essentials you’ll need. Think of this as gathering your painter’s palette—every tool matters. Start with a stable tripod; it’s the anchor that keeps everything steady. Combine that with a DSLR or mirrorless camera (even many smartphones can shine here). And don’t forget a macro lens! It’s the star of this photography show, allowing you to get up close and personal with those tiny, intricate details like mint marks on coins.
Another key player? *Lighting*. Coins love to gleam, so use diffused light to reduce harsh shadows. A ring light or softbox works wonders. Finally, ensure you’ve got a remote shutter release or timer function to eliminate any shaky hands from spoiling the focus game.
- Set up your coin securely—use museum putty if needed to hold it in place without damaging it.
- Adjust your settings: low ISO, narrow aperture (e.g., f/8–f/16), and manual focus mode.
- Shoot multiple images, shifting the focus slightly with each shot. Work from the closest point to the farthest detail.
Bringing the Stack Together
Now comes the magic: merging your images. Load your shots into focus stacking software (more on tools later), and let technology work its wonders. The software aligns those frames and blends them to create one stunning composite image where *every detail*—from the curve of the mint mark to the faintest edge—is crystal clear.
Here’s a tip: Preview your final image closely. Look for any artifacts caused by misalignments. Spot a glitch? Revisit the affected areas and tweak your setup until perfection shines through. Focus stacking is half art, half science—but when you see those sharp mint marks pop, it’s pure reward!
Best Tools and Software for Focus Stacking

Unlocking the Best Gear for Stellar Focus Stacking
When it comes to showing off those intricate mint marks, the right tools can make the difference between ho-hum shots and jaw-dropping masterpieces. Trust me, your gear is your MVP in this game. Let’s dive into some standout options.
- Camera Gear: A DSLR or mirrorless camera with manual focus is your ticket to precision. Pair it with a sturdy tripod because, seriously, shaky hands and focus stacking don’t mix.
- Specialized Lenses: For coins, macro lenses like the Canon EF 100mm f/2.8L Macro are the golden standard. Stunning clarity is just a click away.
- Automated Rail Systems: Devices like the StackShot are life savers. They glide your camera millimeter by millimeter, ensuring every detail shines.
Game-Changing Software for Seamless Stacking
The heroes behind your focus-stacked images? That would be software like Helicon Focus, famous for its intuitive controls, or Zerene Stacker, which excels at teasing out fine details. For free options, you’ve got CombineZP. And yes, even Photoshop offers focus stacking with a pinch of patience! Whatever tool you choose, think of it as the digital artist bringing your vision to life.
Tips and Tricks for Optimal Results

Unlocking Hidden Details with Precision
When it comes to focus stacking, tiny adjustments can make a monumental difference—especially under the magnifying glass of coin photography. Here’s a nugget of wisdom: treat your setup like a treasure map. Every detail matters! Ensure stability by using a sturdy tripod; even the tiniest wobble feels like an earthquake at high magnification.
Want sharper images? Play with your lighting! Too harsh, and your coin’s mint mark will look washed out. Too dim, and those intricate details are lost in the shadows. Try diffusing light with a softbox or even something simple like parchment paper. It’s a game of balance, like fine-tuning an orchestra.
- Align Your Frames: Overlap each shot slightly to make stacking seamless in post-processing.
- Experiment with Depth Increments: Start wide, then refine. Smaller gaps between shots often yield crisp results.
The Magic Touch: Post-Processing Secrets
Here’s where the real magic begins: in software. Whether you’re using Helicon Focus or trusty old Photoshop, take time to clean up. Zoom in at 200% to catch rogue specks and misalignments—it’s strangely satisfying, like dusting off buried treasure!


